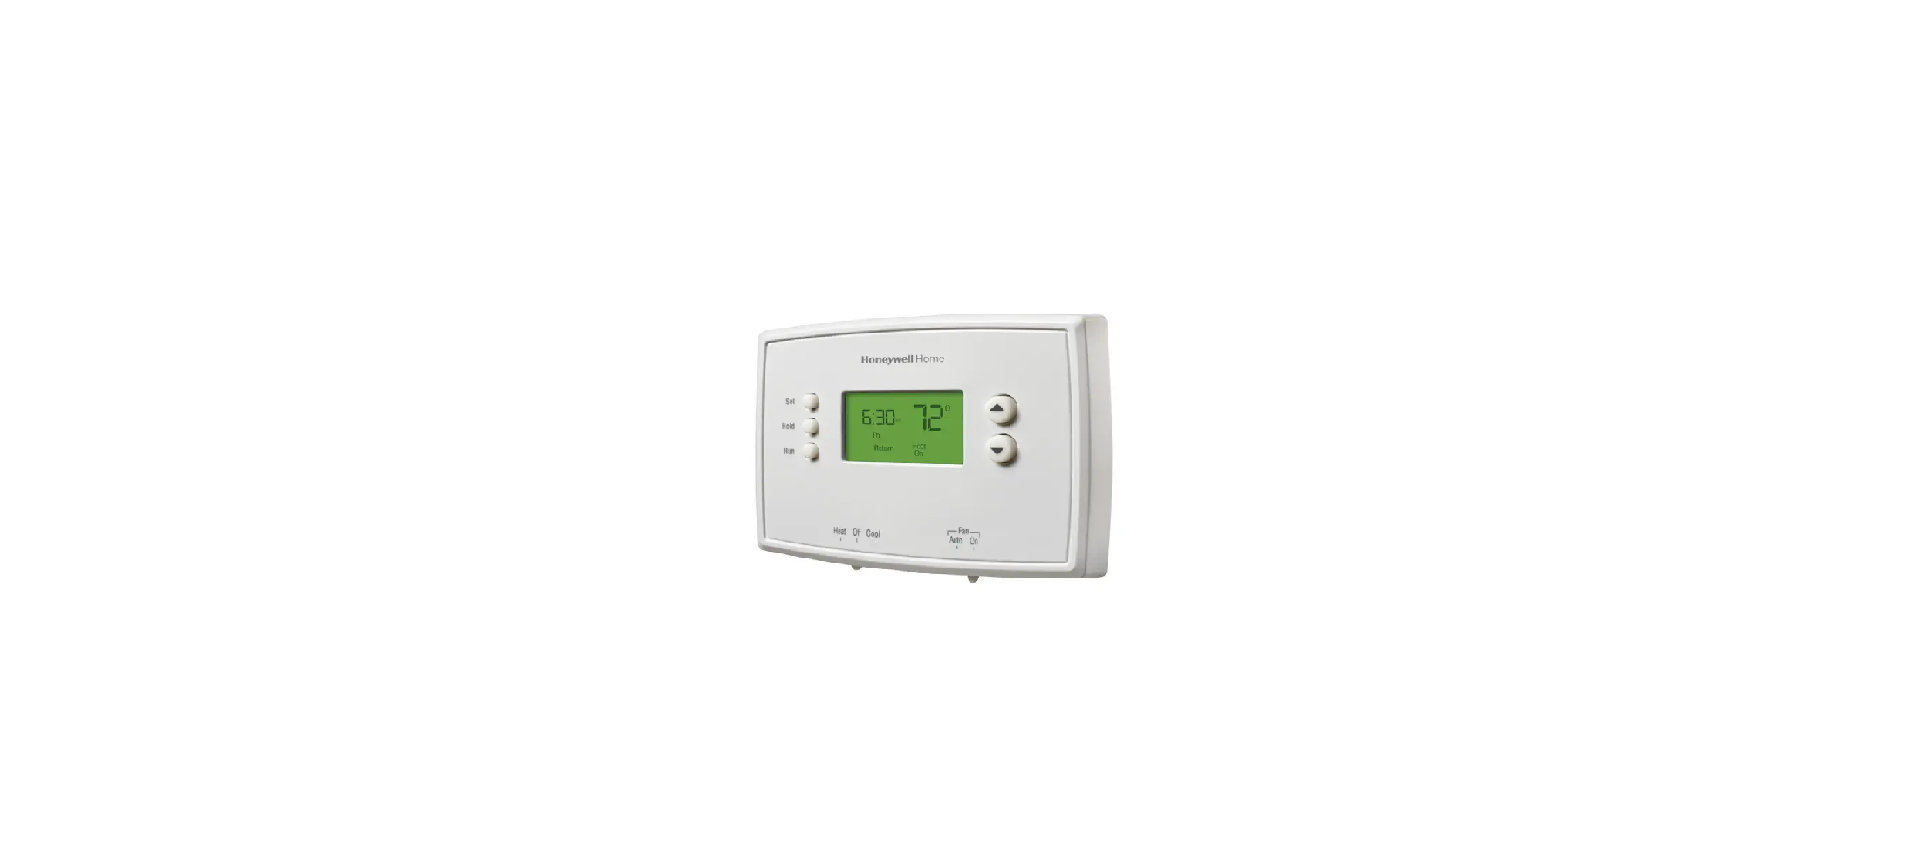
Honey Well RTH2510 Programmable Thermostat User Guide

Read and save these instructions
Wallplate installation
- Separate wallplate from thermostat.
- Mount wallplate as shown below.

 CAUTION: ELECTRICAL HAZARD
Can cause electrical shock or equipment damage. Disconnect power before beginning installation.
 MERCURY NOTICE
If this product is replacing a control that contains mercury in a sealed tube, do not place the old control in the trash.
Wiring

Terminal Designations

Wiring guide — conventional systems
Wiring Instructions
- This thermostat requires a 24Vac common to power the thermostat. The K terminal is available for C-wire adaptor (THP9045A1098).
- Straighten the wire. Using a pen tip to hold down the terminal, gently slide the wire into terminal hole.
Note: Terminal hole will only accept one wire.

NOTES
Wire specifications: Use 18- to 22-gauge thermostat wire. Shielded cable is not required.
- Power supply. Provide disconnect means and overload protection as required.
- Remove jumper loop for 2-transformer systems.
- Common connection must come from cooling transformer
Wiring Instructions
- This thermostat requires a 24Vac common to power the thermostat. The K terminal is available for C-wire adaptor (THP9045A1098).
- Straighten the wire. Using a pen tip to hold down the terminal, gently slide the wire into terminal hole.
Note: Terminal hole will only accept one wire.

NOTES
Wire specifications: Use 18- to 22-gauge thermostat wire. Shielded cable is not required.
- Power supply. Provide disconnect means and overload protection as required.
- In Setup, set changeover valve to O or B.
Initial setup
Upon initial power up, or after being reset to factory defaults, the initial thermostat options (language, location, and system type) must be set to define the heating/cooling system. Other options can be customized later. Follow prompts on the screen to select appropriate options.
- Touch the language you want the thermostat to display, then touch Next.

- Select Home or Business installation, then touch Next.

- Touch Next, or name the thermostat location—touch THERMOSTAT and follow the rest of the instructions.

- Select what the thermostat will control and touch Next.
Note: Touch the orange Help button on any screen for more information.

- Select the system type and touch Next. The system type determines other selections for completing initial setup

- Touch Next after making selections on each screen.
- Touch Done on the last screen. The thermostat displays an option to connect to the Wi-Fi network.
System setup
From the home screen, touch Menu > System Setup to modify the initial system setup.

System Setup Options (MENU > System Setup)

Connecting to the Wi-Fi network
After the initial setup, walk the homeowner through connecting to a Wi-Fi network. Or, refer the homeowner to the User’s Guide, so the homeowner can connect the thermostat to a Wi-Fi network at a later time.
- Connect the Wi-Fi network. Touch Yes to connect the thermostat to the Wi-Fi network. The screen displays the message “Searching for wireless networks. Please wait…” after which it displays a list of all Wi-Fi networks it can find.

Note: If you cannot complete this step now, touch I’ll do it later. The thermostat will display the home screen. Complete this process by selecting MENU > Wi-Fi Setup. Continue with Step 2.
- Select the network.
- Touch the name of the homeowner’s network. The thermostat displays a password page.

Note: If the home network is not shown on the list, touch Rescan.
- Using the keyboard, touch the characters that spell out the home network password.
 Touch Done. The thermostat displays “Connecting to your network. Please wait…” then shows a “Connection Successful” screen.
- Touch Next to display the registration information screen.
 Have the homeowner register the thermostat by going to http://www.mytotalconnectcomfort.com

Note the Thermostat MAC and CRC; they’ll be needed during registration. Or, refer the homeowner to the User’s Guide.
Note: The Register Online screen remains active until you complete registration and/or touch Done.
- For remote access, the homeowner or end-user must register at mytotalconnectcomfort.com

Setting advanced preferences
- Touch MENU. The thermostat displays a list of options.
- Select Preferences > Advanced Preferences. The thermostat displays the first screen of options that you can change.
- On each screen, make changes as needed, then touch Next to display new options. Repeat this step until you have made all changes.
- When you have made all changes, press Done to save and exit.


Troubleshooting
If you have difficulty with your thermostat, please try the following suggestions. Most problems can be corrected quickly and easily.

Accessories & replacement parts
Please contact your distributor to order replacement parts. Cover plate assembly. . Part Number THP2400A1027W
Specifications

FCC REGULATIONS 47 CFR § 15.19 (a)(3)
- This device complies with part 15 of the FCC Rules. Operation is subject to the following two conditions:
- This device may not cause harmful interference, and
- This device must accept any interference received, including interference that may cause undesired operation.
The operation of this equipment is subject to the following two conditions: (1) this equipment or device may not cause harmful interference, and (2) this equipment or device must accept any interference, including interference that may cause undesired operation.
Need Help?
For assistance with this product please visit http://customer.resideo.com or call Resideo Customer Care toll-free at 1-800-468-1502
DOWNLOAD PDF
Honey Well RTH2510 Programmable Thermostat User Guide


 Touch Done. The thermostat displays “Connecting to your network. Please wait…” then shows a “Connection Successful” screen.
 Have the homeowner register the thermostat by going to

