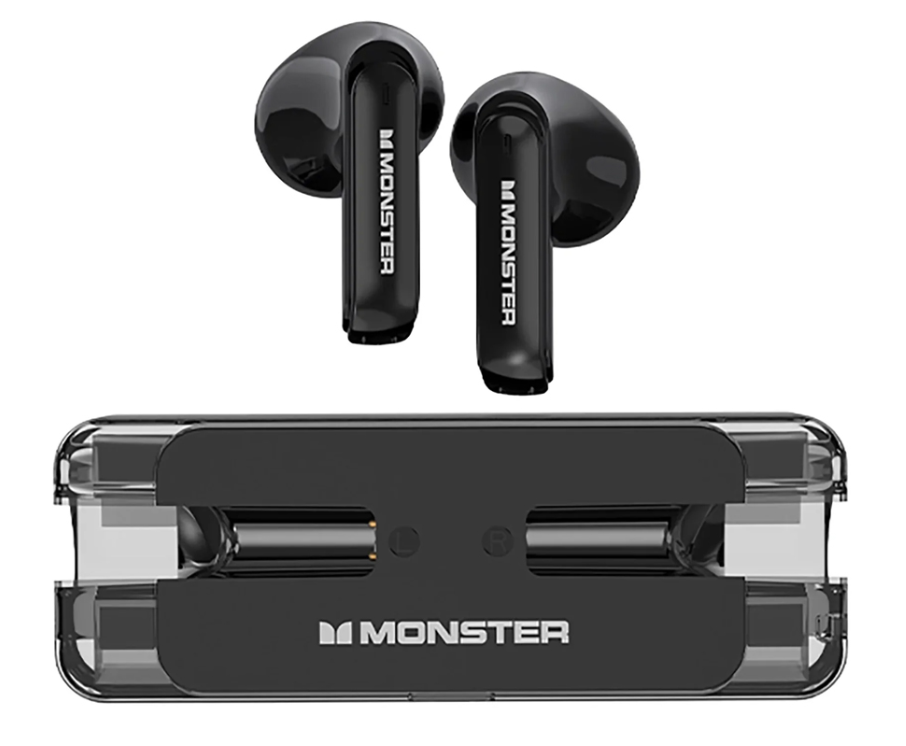
Monster Airmars XKT08 Bluetooth Wireless Headphones Instructions Manual

Packing list

Product Schematic Description

Charge the charging case
Connect the charging case to the 5V power adapter with Type-C charging cable

Tips: When the ice blue indicator flashes while closing the cover, please charge in time.
Indicator audio

Product operating instructions
- Power on
Method 1:Take out the headphones from charging box, the headphones will turn on automatically.
Method 2: Long press MFB for 3 seconds - Power off
Method 1 : put the headphone/s into the charging case and close the cover.
Method 2 : after disconnected from the Bluetooth device for 3 minutes. - Pairing
Method 1: take out the headphones from the charging case, the headphones will start pairing automatically.
Method 2: search and click for “Monster Airmars XKT08* on the Bluetooth list of the smart device, and when connection is successful, Connected” will be heard. - Headphones will try reconnecting to the device with in 3 minutes when connection is lost.

Note:
- Fully charge the headphones and power off before an intended not-in -use period.
- Unplug the charging cable after charging.
Operation

Restore factory settings
Either headphones is not connected to the Bluetooth device when turned on, click the MB 5 times to clear the previous pairing information and turn off.
Precautions
- Headphones will turn on automatically (needless to press any button) pair and connect the device when the charging case is opened. After placing the headphones in the charging case, they will turn off and automatic charging will start when the cover is closed.
- Charging every 15 days will extend battery life when not in use often. Cleaning off dirt on the charging contacts by cotton swabs with alcohol will maintain a good contact for charging.
- Keep battery (battery pack) away from inflammables or excessive heat such as direct sunlight.
- Intermittent is normal during playback for wireless products due to environmental factors, device brand, users’ behavior, etc.
Warnings
- Do not use headphones at high volume for an extended period of time.
- Keep the headphones away from dust and water.
- Do not disassemble the headphones and accessories, otherwise warranty will be voided.
- Keep headphones away from any impact or vibration.
- Do not use any chemical solvents or cleaning agent on the headphones.

Warranty Service
Dear user, this warranty card is the proof of your future warranty application with the seller to fill it out and keep it for future use!

FCC Statement
This equipment has been tested and found to comply with the limits for a Class B digital device, pursuant to Part 15 of the FCC Rules. These limits are designed to provide reasonable protection against harmful interference in a residential installation. This equipment generates uses and can radiate radio frequency energy and, if not installed and used in accordance with the instructions, may cause harmful interference to radio communications. However, there is no guarantee that interference will not occur in a particular installation. If this equipment does cause harmful interference to radio or television reception, which can be determined by turning the equipment off and on, the user is encouraged to try to correct the interference by one or more of the following measures:
- Reorient or relocate the receiving antenna.
- Increase the separation between the equipment and receiver.
- Connect the equipment into an outlet on a circuit different from that to which the receiver is connected.
- Consult the dealer or an experienced radio/TV technician for help.
DOWNLOAD PDF LINK
304ad5d7d3becdcf0ac8b4a1165f826de1891380c6c2458c8b75ef8873971540_optim


