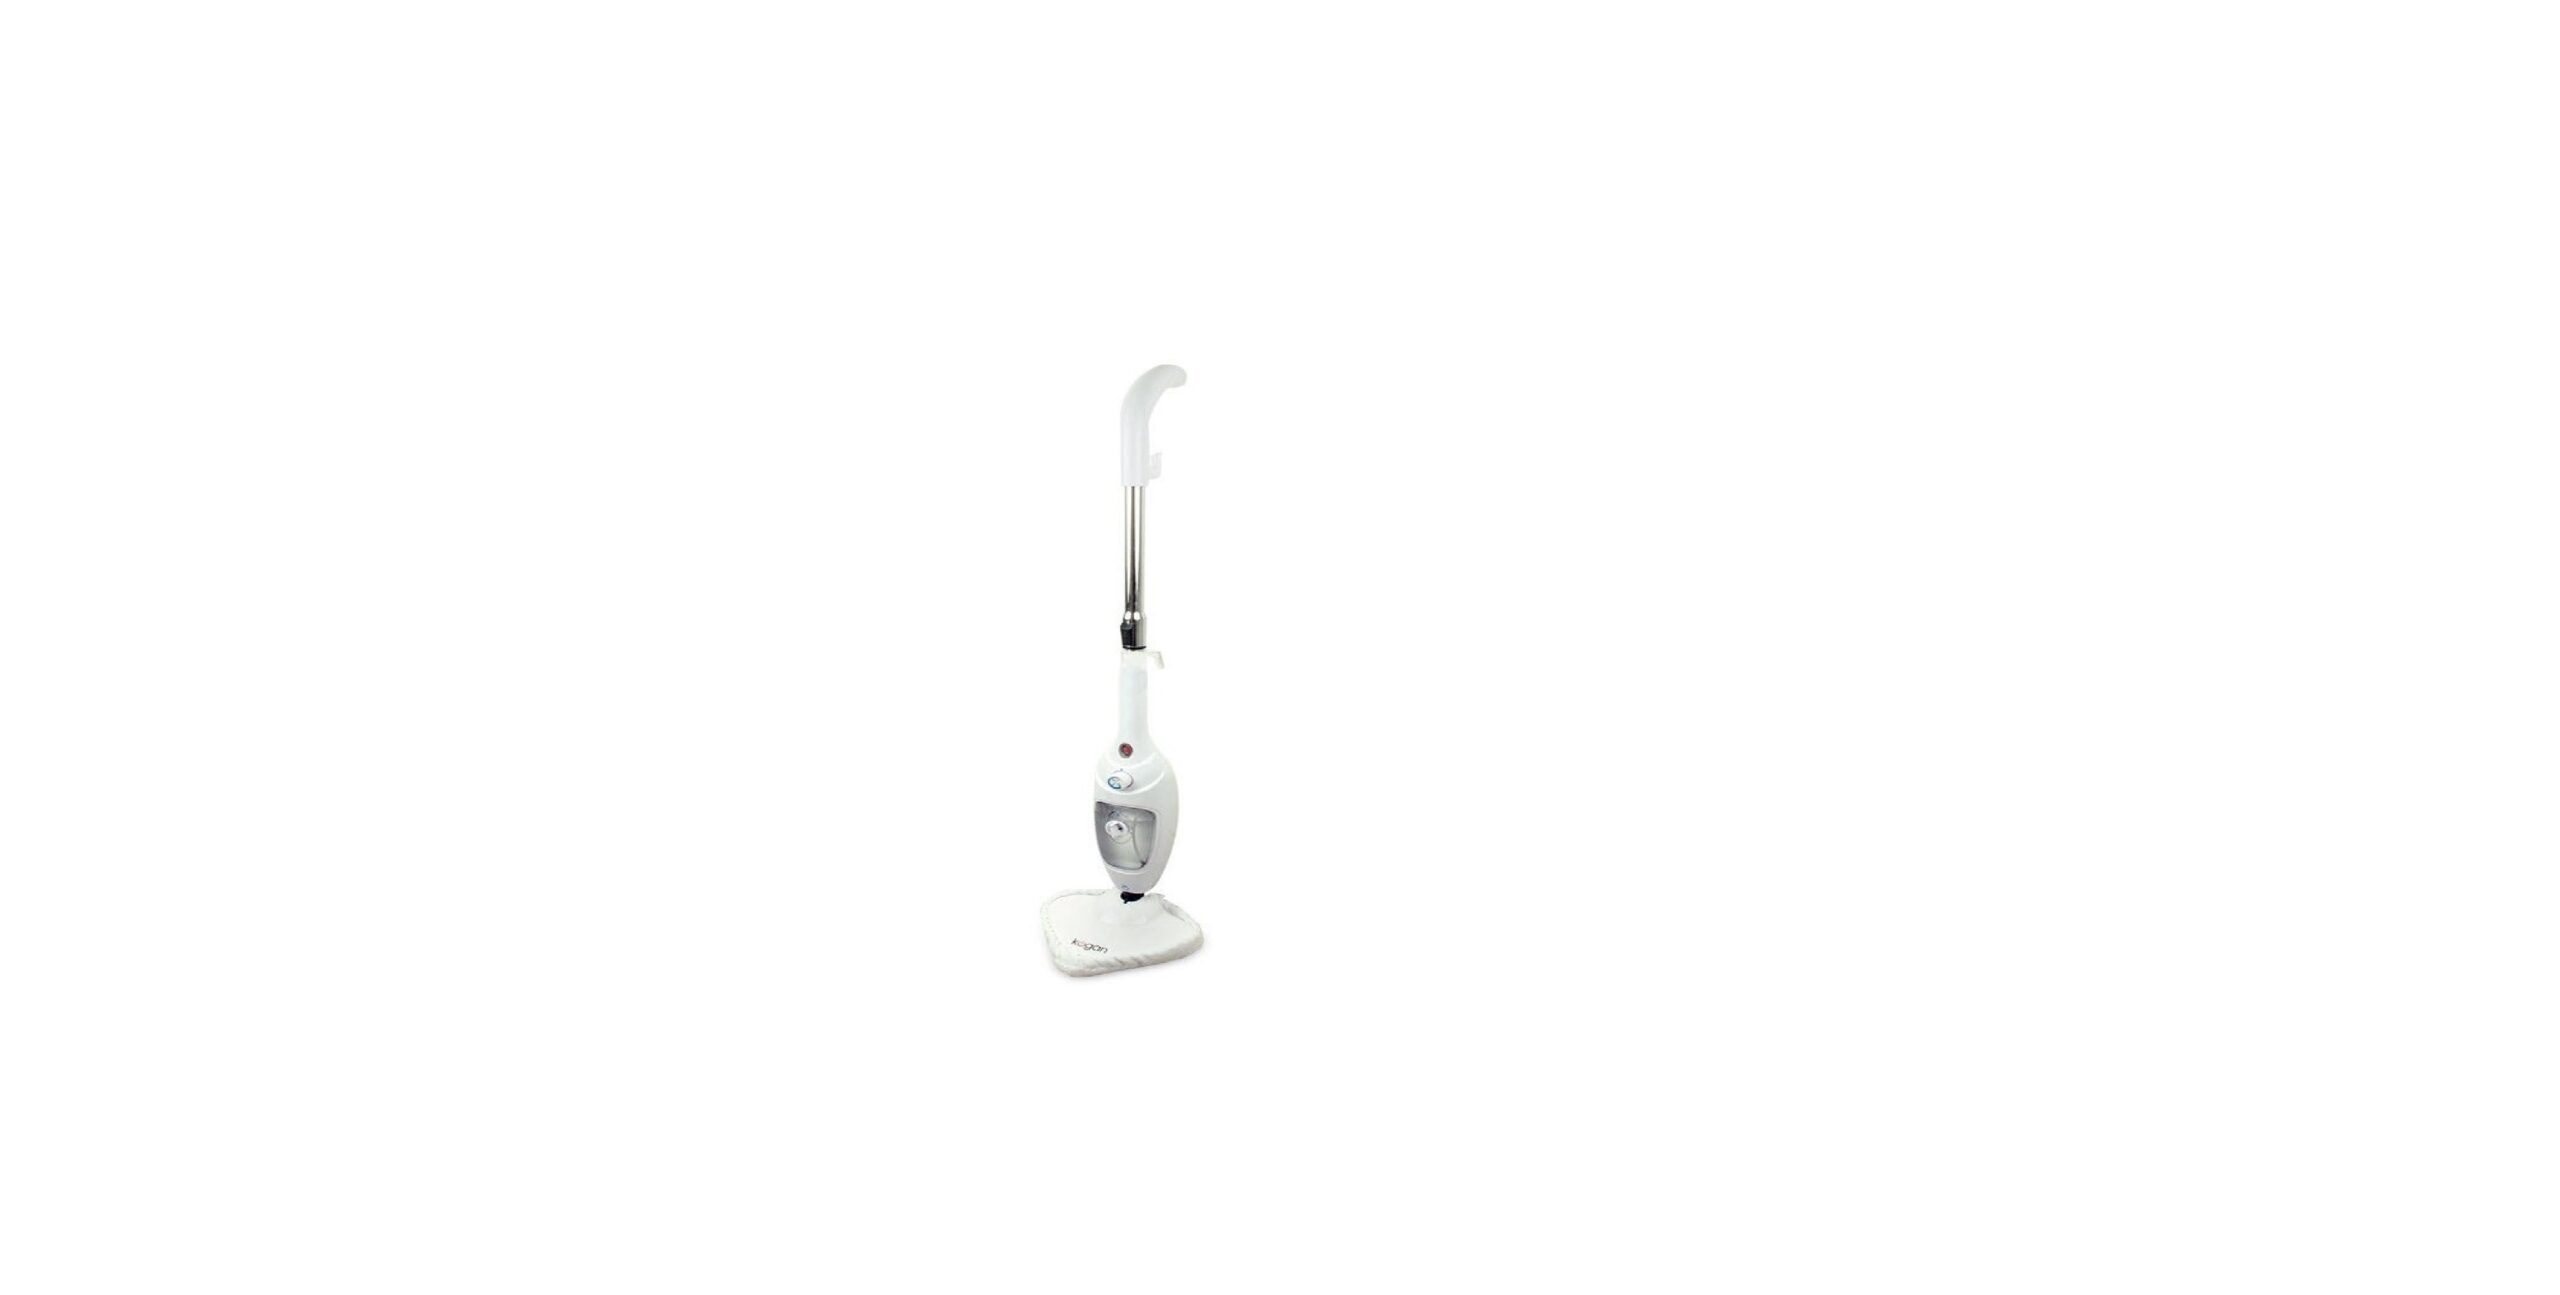
KOGAN KAMOP51STMA 9-in-1 Steam Mop User Manual

ABOUT
The Kogan KAMOP51STMA is a 9-in-1 steam mop designed for cleaning various surfaces in your home using the power of steam. Here are some key features and functions typically associated with this type of steam mop:
- Steam Cleaning: The primary function of this device is to clean surfaces using high-temperature steam. Steam is an effective and eco-friendly way to sanitize and remove dirt and grime from floors, tiles, and other surfaces.
- 9-in-1 Functionality: The “9-in-1” designation suggests that this steam mop can perform multiple cleaning tasks, such as cleaning different types of floors, carpets, and even some above-floor surfaces. The specific functions may vary, but it often includes options like steam mopping, carpet cleaning, and handheld steamer modes.
- Adjustable Steam Settings: Steam mops usually come with adjustable steam settings, allowing you to control the intensity of the steam output based on the type of surface and level of dirt.
- Detachable Handheld Steamer: Many steam mops, including this one, have a detachable handheld steamer component. This can be used for cleaning smaller surfaces, upholstery, grout, and more.
- Swivel Head: A swivel head design makes it easier to maneuver the steam mop around obstacles and into tight spaces.
- Water Tank: These steam mops have a water tank where you pour water to generate steam. The size of the tank can vary, affecting the runtime between refills.
- Accessories: Steam mops often come with a variety of attachments and accessories for different cleaning tasks. These may include mop pads, scrubbing brushes, squeegees, and more.
- Heat-Up Time: The time it takes for the steam mop to heat up and be ready for use can vary between models. Some may heat up quickly, while others may take a bit longer.
- Safety Features: Steam mops typically have safety features like a locking mechanism to prevent accidental steam release, and they may also come with a cooling down period after use.
TROUBLLSHOOT
| Problem | PosibleCause | Solution |
| Unitdoesnotpoweron. | Unitisnotpluggedin. | Makesuretheunitispluggedintoaproper outletandtheswitchison. |
| Reducedsteam orno steam. | • Watertankempty. • Blockedsteam nozzle. • Limescale. | • Filwatertank. • Removethemopheadandclean thenozzle. • Folow thecleaningprocedurein thismanual. |
| Steam escapesfrom con ections. | • Atachmentisnot con ectedproperly. • Thereissome debris/obstructionsinthe con ectionpoints. | • Turnunit OFF,alow ittoco ldown, thendiscon ectac esoriesand reatach them properly. • Remove ac series and check and clean them. |
| Cleaning cloth genset. | Exposuretomoisture. | Remove the wet cloth and replace with a new cleaning cloth, over night out and reattach. |
Cleaning and Maintenance
WARNING: Be sure that the unit is disconnected from the power outlet before cleaning.
Drain the remaining water in the tank and clean the tank after every use.
Please use detergent to clean the accessories (Jet Nozzle and Rough Brush) when they are dirty, then wash with clean water and air dry.
How to decalcify the Water Tank interior:
To clean calcium deposits that build up inside the Water Tank, add one or two tablespoons of white vinegar to a full Water Tank, close the Water Tank cap and shake the contents.
DO NOT TURN THE STEAMER ON.
Let the unit sit for a few hours. Then, empty the Water Tank and refill with clean water and empty until it rinses clear.
WARNING: Do not immerse the steam mop in water!
Cleaning Blocked Steamer Accessories
Due to the high mineral content of water in some areas, you may notice that less steam comes out from the Hand-Held Steamer accessories. This may be caused by calcium build-up inside the tip of the nozzle.
To clean calcium build-up, we recommend using a spray lubricant. Spray a small burst or two of the lubricant inside the tip of the Jet Nozzle. After spraying lubricant inside the component, fill the steamer with water according to the directions and run a continuous
jet of steam through the affected accessory to several minutes to remove the deposit.
Once the steam pathway is clean, aim the steamer at a neutral surface or a cleaning cloth to make sure no debris is emitted.
WE RECOMMEND PREFORMING THIS PROCEDURE IN A PROTECTED AND WELLVENTILATED AREA.


 Afrikaans
 Albanian
 Amharic
 Arabic
 Armenian
 Azerbaijani
 Basque
 Belarusian
 Bengali
 Bosnian
 Bulgarian
 Catalan
 Cebuano
 Chichewa
 Chinese (Simplified)
 Chinese (Traditional)
 Corsican
 Croatian
 Czech
Czech Danish
 Dutch
Dutch English
 Esperanto
 Estonian
 Filipino
 Finnish
 French
 Frisian
 Galician
 Georgian
 German
 Greek
Greek Gujarati
 Haitian Creole
 Hausa
Hausa Hawaiian
 Hebrew
 Hindi
Hindi Hmong
Hmong Hungarian
 Icelandic
 Igbo
Igbo Indonesian
 Irish
Irish Italian
 Japanese
 Javanese
 Kannada
 Kazakh
 Khmer
Khmer Korean
 Kurdish (Kurmanji)
 Kyrgyz
 Lao
Lao Latin
Latin Latvian
 Lithuanian
 Luxembourgish
 Macedonian
 Malagasy
 Malay
Malay Malayalam
 Maltese
 Maori
Maori Marathi
 Mongolian
 Myanmar (Burmese)
 Nepali
 Norwegian
 Pashto
 Persian
 Polish
 Portuguese
 Punjabi
 Romanian
 Russian
 Samoan
 Scottish Gaelic
 Serbian
 Sesotho
 Shona
Shona Sindhi
 Sinhala
 Slovak
 Slovenian
 Somali
 Spanish
 Sundanese
 Swahili
 Swedish
 Tajik
Tajik Tamil
Tamil Telugu
 Thai
Thai Turkish
 Ukrainian
 Urdu
Urdu Uzbek
Uzbek Vietnamese
 Welsh
Welsh Xhosa
Xhosa Yiddish
 Yoruba
 Zulu
Zulu