
MPOW BH453A Bluetooth Headphone User Manual
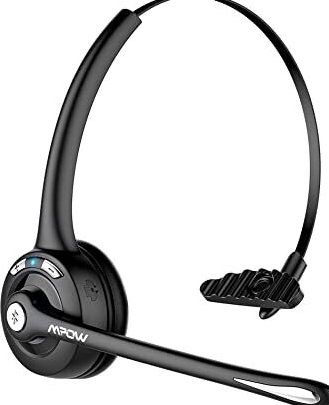
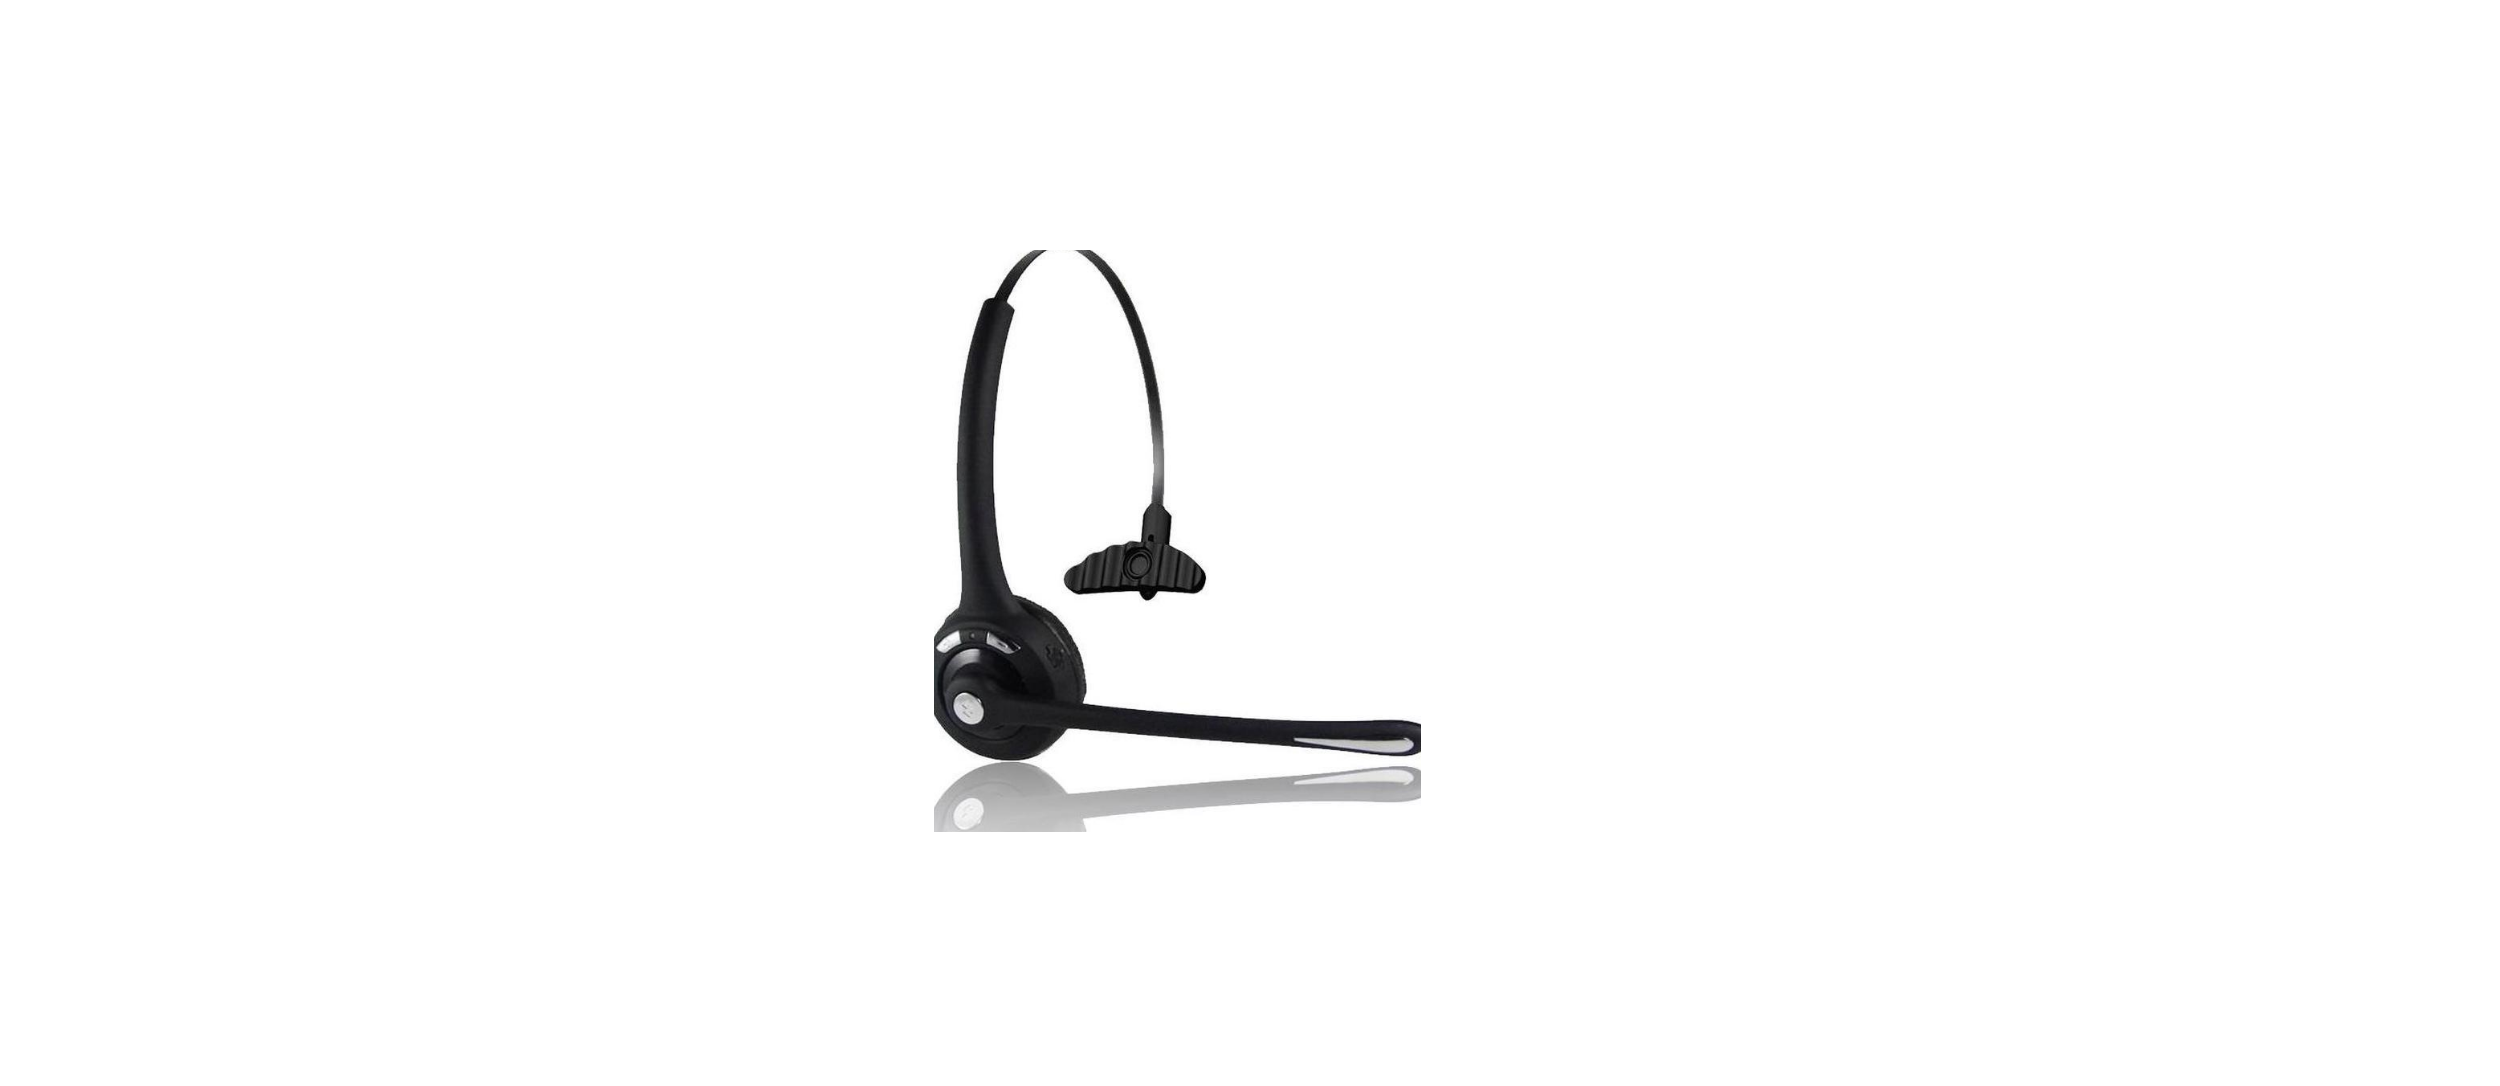
Package

Specification
- Standby Time
- About 200 hours
- Charging Time
- 2 hours
- Charging Input
- 5V = 120mA
- Talking Time
- About 16 hours
- Headset Battery Capacity
- 3.7V =– 180mAh
Function Button
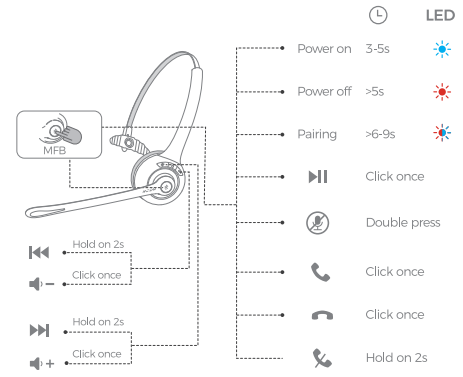
Charging

Connection With Two Devices

- Pair with your first device.
- Turn off the Bluetooth of the first device.
- Long press the headset to enter into pairing mode and pair with your second device. The blue light will flash slowly after successfully connected.
- Turn on the Bluetooth of the first device, and manually connect “MPOW ” in the paired list. After the connection is successful, your headset is connected to the two Bluetooth devices at the same time (If the first device is the IOS, then you need to manually connect. If it is Android, it can be automatically connected.).
Call/Music Setting on PC
- If you want to make calls on the Windows system with this headset, please follow the steps below and make sure you’ve connected to the headset successfully. After paring the headset to your PC, enter the Control Panel –— Sound — Set Bluetooth Hands-free Audio as the default audio device Set Bluetooth Audio Input Device as the default microphone device Once the default device has been set correctly, please confirm that the default device of the calling software you use also have been set correctly (if there is no sound for the first time use, double-click the MFB to activate the headset).
- If you want to listen to music on the Windows system with this headset, please follow the steps below and make sure you’ve connected to the headset successfully. After paring the headset to your PC, enter the Control Panel — Sound — Set Bluetooth Audio Renderer as the default audio device Set Bluetooth Audio Input Device as the default microphone device
Q&A
How to Pair if Failed?
In standby mode, hold the MFB and Volume+ buttons simultaneously for 5 to clear the pairing record. Then long press the MFB until the blue and red indicator light flashes alternatively to pair again.
Any Password Needed when Paring?
If needed, please try 0000 or 8888, 1111, 1234
How Can I Charge My Headset
You can charge it via the USB cable.
How to Restart the Headset if Failed?
Try to charge it via a USB cable and then restart it.
Warranty Information
guarantee &, Support Mpow offers 45-day money back & 24-month worry-tre After-service Email: support@xmpow.com Mpow Customer Service Phone: 1-844-869-3583
FCC Statement Any Changes or modifications not expressly approved by the party responsible for compliance could void the user’s authority to operate the equipment. This device complies with part 15 of the FCC Rules. Operation is subject to the following two conditions: (1) This device may not cause harmful interference, and (2) this device must accept any interference received, including interference that may cause undesired operation.
FCC Radiation Exposure Statement:
This equipment complies with FCC radiation exposure limits set forth for an uncontrolled environment. This transmitter must not be co-located or operating in conjunction with any other antenna or transmitter. This equipment has been tested and found to comply with the limits for a Class B digital device, pursuant to part 15 of the FCC Rules.
These limits are designed to provide reasonable protection against harmful interference in a residential installation. This equipment generates, uses, and can radiate radio frequency energy and, if not installed and used in accordance with the instructions, may cause harmful interference to radio communications.
However, there is no guarantee that interference will not occur in a particular installation. If this equipment does cause harmful interference to radio or television reception, which can be determined by turning the equipment off and on, the user is encouraged to try to correct the interference by one or more of the following measures.
- Reorient or relocate the receiving antenna.
- Increase the separation between the equipment and the receiver.
- Connect the equipment to an outlet on a circuit different from that to which the receiver is connected.
- Consult the dealer or an experienced radio/TV technician for help
ISEDC RSS warning
his device complies with the Innovation, Science and Economic Development Canada Compliance license-exempt RSS standard (s). Operation is subject to the following two conditions: (1) this device may not cause interference, and (2) this device must accept any interference, including interference that may cause undesired operation of the device.
ISEDC Radiation Exposure Statement:
This equipment complies with ISEDC RF radiation exposure limits set forth for an uncontrolled environment. This transmitter must not be co-located or operating in conjunction with any other antenna or transmitter.
REFERENCE LINK