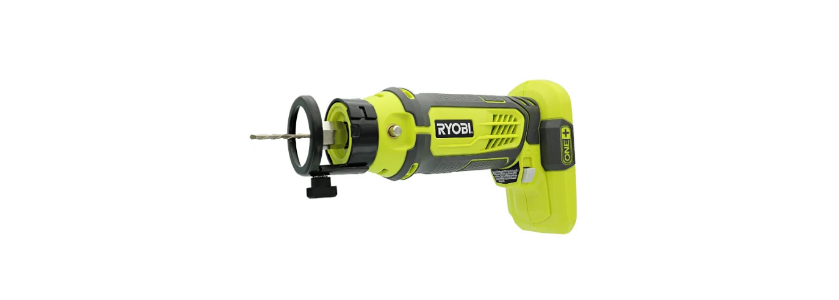
Ryobi P531 18 Volt Speed Saw Rotary Cutter User Manual
POWER TOOL SAFETY WARNINGS
WORK AREA SAFETY
- Keep work area clean and well lit. Cluttered or dark areas invite accidents.
- Do not operate power tools in explosive atmospheres, such as in the presence of flammable liquids, gases
or dust. Power tools create sparks which may ignite the dust or fumes. - Keep children and bystanders away while operating a power tool. Distractions can cause you to lose control.
ELECTRICAL SAFETY
- Power tool plugs must match the outlet. Never modify the plug in any way. Do not use any adapter plugs with
earthed (grounded) power tools. Unmodified plugs and matching outlets will reduce risk of electric shock. - There is an increased risk of electric shock if your body is earthed or grounded.
- Do not expose power tools to rain or wet conditions. Water entering a power tool will increase the risk of
electric shock.
PERSONAL SAFETY
- Use personal protective equipment. Always wear eye protection
non-skid safety shoes, hard hat, or hearing protection used for appropriate conditions will reduce personal
injuries. - Prevent unintentional starting and/or battery pack, picking up or carrying the tool.
- Do not overreach. Keep proper footing and balance at all times. This enables better control of the power tool
in unexpected situations. - Dress properly. Do not wear loose clothing or jewelry. Keep your hair, clothing and gloves away from moving
parts. Loose clothes, jewelry or long hair can be caught in moving parts.
OPERATION APPLICATIONS
You may use this product for the purposes listed below:
- Cutting electrical outlet openings in drywall or wood paneling. It is recommended to use a 1/8 in. bit for cutting
wood paneling. - Creating decorative wood accents
- Cutting tile
NOTE: Applications for this tool require different types of bits. Be sure to use the right bit for your tool.
INSTALLING/REMOVING BATTERY PACK
- Insert the battery pack into the product as shown.
- Make sure the latches on each side of the battery pack snap in place and that battery pack is secured in the
product before beginning operation. - Depress the latches to remove the battery pack. For complete charging instructions, see the operator’s manuals for your battery pack and charger.
INSTALLING/REMOVING BITS
- Remove battery pack from speed saw.
NOTE: The collect is machined to precision tolerances to fit bits with 1/4 in. diameter shanks. To use bits with
1/8 in. shank bits, remove the collect nut and insert the 1/8 in. adaptor into the 1/4 in. collect. Replace the collect
nut before inserting the bit.
OPERATING THE SPEED SAW
- Hold speed saw firmly.
- Start speed saw.
- Tilt speed saw at a 45o angle.
- Plunge bit into material using guide ring as a pivot.
- Raise speed saw slowly to a 90o angle.
- Begin cutting.
ADJUSTING DEPTH OF CUT
- Remove battery pack.
- Loosen adjusting knob by turning counterclockwise.
- Move depth adjustment ring to desired position.
- Tighten adjusting knob by turning clockwise.
REMOVING DEPTH ADJUSTMENT RING
- Remove battery pack from speed saw.
- Place wrench in tab on depth adjustment ring.
- Depress spring-loaded tab.
- Lift depth adjustment ring off tool.
MAINTENANCE
Avoid using solvents when cleaning plastic parts. Most plastics are susceptible to damage from various types of
commercial solvents and can be damaged by their use. Use clean cloths to remove dirt, dust, oil, grease, etc.
BITS
Get faster and more accurate cutting results by keeping bits clean. Remove all accumulated build-up from bits after each use. Replace bits when they become dull.
COLLECT
From time to time, it also becomes necessary to clean the collect and collect nut. To do so, simply remove collect nut
and collect from the shaft and clean the dust and chips that have collected. Tighten collect nut on collect without a bit installed.


