Table of contents
show
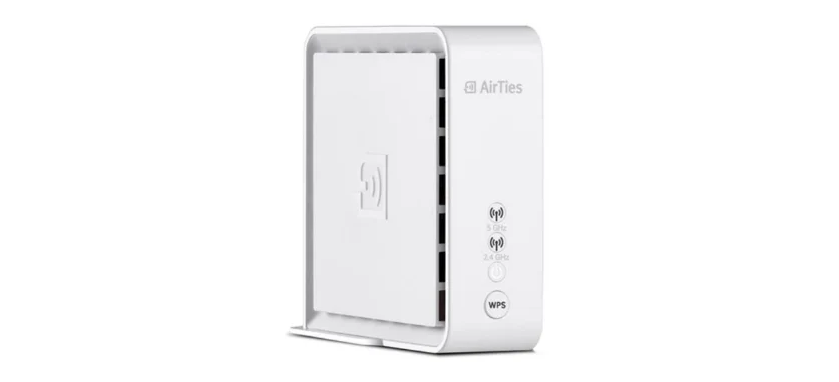
Airties Air 4920 Smart Mesh Expansion Unit User Manual

EASY SETUP: ACCESS POINT
- Position one Air 4920 next to your router and connect the two using the enclosed Ethernet cable (yellow plug).
- Connect the Air 4920 device to the mains and press the power switch.
- Wait until both 5 GHz and 2.4 GHz LEDs are solid green ( ). This may take up to 3 minutes.
 Now, you can connect mobile devices to your new wireless network.
 You can change network name (SSID) and password of your network. Connect to your network, open the web browser and type “http://air4920.local” to the address bar. Log in and navigate to QUICK SETUP from the left pane. (Default login password is blank.)
EXTEND YOUR WiFi COVERAGE (MESH):
Preparation: Connecting the new Air 4920
- In the room in which the router is located, position the new Air 4920 at a distance of around three meters from the existing Air 4920 device, connect it in to the mains and wait until both 5 GHz and 2.4 GHz LEDs are flashing green ( 4 seconds ON, 4 seconds OFF ). This may take up to 3 minutes.
 Press the WPS button on the existing Air 4920 (next to the router) for 2 seconds and then on the new Air 4920 for 2 seconds.The 5 GHz and 2.4 GHz LEDs start to flash and the devices connect automatically. This process may take up to five minutes. The connection has been established once the ( ) LEDs light up green . Congratulations, you have successfully configured your new device. Your existing Air 4920 network credentials are automatically configured to your new Air 4920.
- The new Air 4920 can now be unplugged and placed in the room of your choice. The connection will be established automatically. This process will take up to three minutes. 5 seconds) within three minutes, please consult the chapter «Troubleshooting» (page 5).
- (Optional) Now, you can connect wired devices (in this example, the Set-Top Box) to the Air 4920 using the ethernet cable (yellow plug).
 (Optional) You can add additional Air 4920s to your network by repeating steps from 1.
 Press the WPS button on the existing Air 4920 (next to the router) for 2 seconds and then on the new Air 4920 for 2 seconds.The 5 GHz and 2.4 GHz LEDs start to flash and the devices connect automatically. This process may take up to five minutes. The connection has been established once the ( ) LEDs light up green . Congratulations, you have successfully configured your new device. Your existing Air 4920 network credentials are automatically configured to your new Air 4920.
 (Optional) You can add additional Air 4920s to your network by repeating steps from 1.
Improving wireless coverage
If you would like to improve wireless coverage in another room, you can set up an additional Air 4920. You can also
connect devices via Ethernet to this Air 4920.
Improving range
If the location you want to cover is too far away from your existing Air 4920, you can install additional Air 4920s to reach there.

TIPS FOR BEST PERFORMANCE
- Turn off wireless service on your modem.
- Potential sources of electrical interference. Equipment that potentially cause interference include ceiling fans, home security systems, microwaves, PCs, and cordless phones (handset and base).
- Large metal surfaces and objects. Large objects and wide surfaces such as glass, insulated walls, fish tanks, mirrors, brick, and concrete walls can also weaken wireless signals.
- Sources and areas of heat such as ovens and sun rooms as well as direct sun light even if there is good air conditioning.
- Also, it is highly recommended that uninterruptable power supplies (UPSes) are used to protect Air 4920s and other electrical devices from electrical dangers. Electrical storms, voltage surges and other risks associated with the electrical power grid can cause significant damage to electrical devices.

