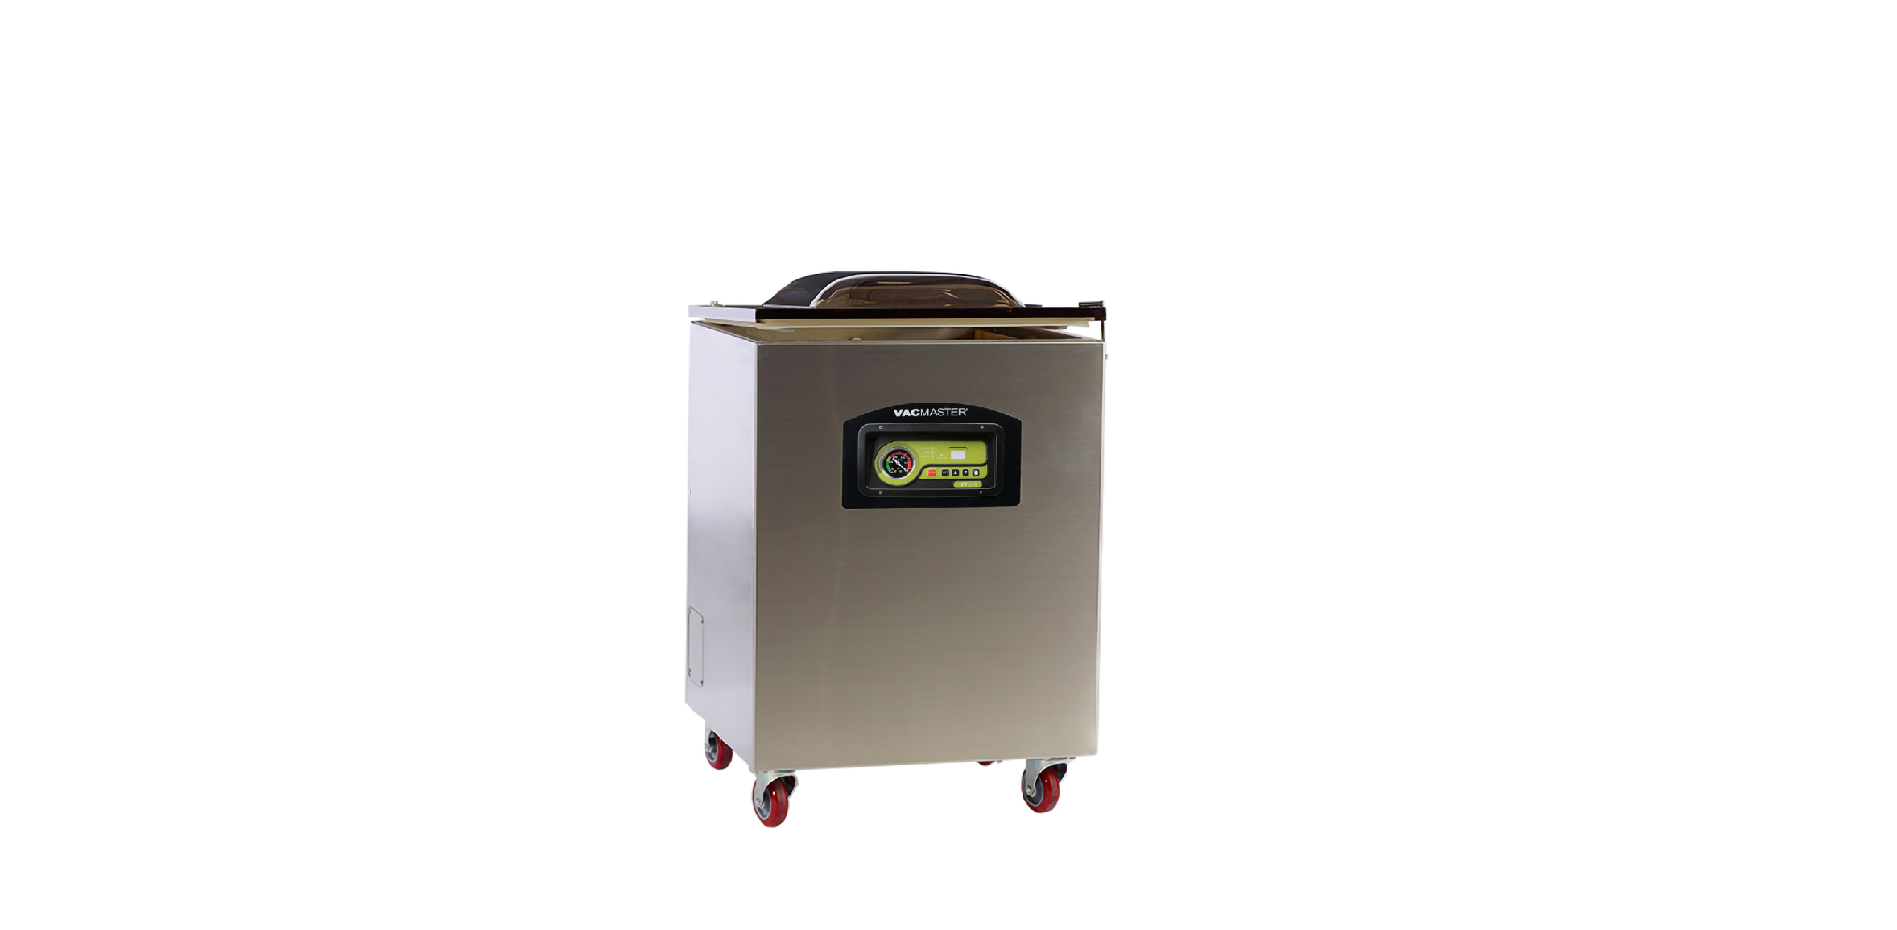
Vacmaster VP540 Chamber Vacuum Sealer User Manual

Safety Precautions
For your safety, follow these precautions when using your VacMaster® VP540:
- Read Operator’s Guide carefully before using the machine for the first time.
- Do not use the VP540 on wet or hot surfaces, or near a heat source.
- Do not immerse machine or power cord in water or any other liquid.
- Plug VP540 into grounded power sources only. Do not use extension cord.
- To disconnect, unplug directly from power source. Do not disconnect by pulling cord.
- Do not operate machine with damaged power cord.
- Only use VacMaster® vacuum pouches and accessories.
- Do not allow to be used as a toy. Close supervision is necessary when used by or near children.
- Only use VP540 for its intended use.
Care, Maintenance & Troubleshooting
The VacMaster® VP540 has been designed with ease of use and low maintenance in mind. Follow these few points for years of trouble-free operation:
Cleaning
- UNPLUG your VP540 before cleaning.
- Regularly clean machine with damp cloth removing any food debris.
- Use only a mild soap or stainless steel cleaner.
- DO NOT use any acetone-based or abrasive cleaner on the lid or other plastic parts. Parts will scratch and discolor.
- Wipe the seal bar with damp cloth only. NOTE: Seal bar is removable for safe cleaning.
Maintenance
Periodically inspect the following items:
- Seal bar – inspect the brown Teflon tape covering the seal wire. If the tape becomes burnt or torn, replace.
- Lid gasket – make sure gasket and the top of the chamber remains clean and free of debris.
Troubleshooting
Nothing happens when lid is closed:
- Make sure power cord is firmly plugged into the electrical outlet.
- Make sure the power switch is turned “ON”.
- Make sure the power switch is not damaged in any way.
- Plug in a different appliance to verify outlet is good.
Low vacuum (vacuum gauge not reading in the “green”):
- Make sure the open end of the pouch is inside the chamber.
- Confirm that the lid gasket and sealing area are clean and free of
debris. - Increase the vacuum cycle time.
Changing/Replacing Oil in Vacuum Pump
- Run vacuum process a couple of times to “warm up” the oil.
- Turn off machine and unplug to prevent electrocution.
- Locate the drain & fill plugs on the side of the unit.
- Locate drain bolt on underneath side of vacuum pump.
- For access and ease of draining the oil, position machine so the drain bolt is “clear” and the dirty oil can be captured.
- Oil will flow immediately when bolt is removed. Place catch cup underneath before removing drain bolt.
- Capture oil from pump. When oil is completely drained, replace and tighten bolt. (Dispose of old oil properly, according to your local and state regulations.)
- Follow the “Adding Oil to Vacuum Pump” instructions at beginning of manual. Do not use machine until oil has been added.

Vacuum Pump Maintenance
The VP540 vacuum pump requires periodic oil changes. Required oil change schedule:
- First oil change: after 25 hours of VP540 usage.
- Future oil changes: change oil after every 60 hours of machine usage.
Using pump site glass, check the oil level and color frequently.
- Oil must remain between 1/2 and 3/4 of site glass.
- With use, the pump oil will become cloudy, dark or even “milky”.
- Once oil becomes discolored, change oil replacing with new VacMaster® vacuum oil.
Features of VP540

- Lid Lock Feature: not to be used during the vacuuming cycle. Used to keep lid closed when machine is not in use or while machine is in storage.
- Filler Plates: used to “take up space” in the vacuum chamber. Using the plates will result in a faster vacuum time since there is less air to be removed from chamber. Can also be used to keep product centered on the seal bar and preventing liquids from escaping.
Operating Instructions
- Select the Pouch
Select the proper size VacMaster® barrier vacuum pouch. Allow a minimum of 1” to 2” of extra headspace at the top of the pouch to ensure a quality, positive seal. - Plug in machine and switch power “ON”
The “WORKING” indicator light on the control panel will illuminate when the power is on.

- Adjust / Set Timing Controls
All adjustments must be made with lid in the OPEN position. - Vacuum Time: Press the “SET” button once and you will notice the “VACUUM” indicator will light. Adjust the vacuum time “up” or “down” by using the “+” or “-” buttons. For initial test set the vacuum time to 40 seconds. Adjust vacuum accordingly to achieve the vacuum required.
- Gas Flush: This model does not offer the gas flush option, Press “SET” button and leave at 0.0 seconds.
- Sealing Time: Press the “SET” button until the “SEALING” indicator lights. Adjust the sealing time “up” or “down” using the “+” or “-” buttons. For initial test set the sealing time to 1.6 seconds. Adjust sealing time accordingly to achieve a positive seal.
- Cooling Time: Press the “SET” button until the “COOLING” indicator lights. Adjust the cooling time “up” or “down” using the “+” or “-” buttons. For initial test set the cooling time to 2.6 seconds.
- Press “SET” until all setting lights are clear and the machine is ready to work. “Ed” will appear on display
- Fill pouch and place in Chamber
- Remove or replace filler plate to accommodate the product to be vacuumed.
- Always use as many filler plates as possible. Lay the pouch flat in the chamber with the opening of the pouch across the seal bar.
- Pouch opening should extend across the seal bar by ½” to 1”. Make sure the opening is flat and wrinkle-free.
Note: the entire pouch must remain inside the chamber.
- Close lid
Hold down firmly until vacuum engages. - Process
Closing the lid begins the vacuum cycle.

- Remove pouch & inspect
Vacuum – check the quality of the vacuum by looking at the tightness of the pouch and the product. If you notice “air pockets” increase the vacuum time by a few seconds, test again. This may take up to 60 seconds depending on pouch size and the volume of product being packaged. Seal – Inspect the pouch seal.
Note: A positive seal will look “clear” upon inspection. If the seal is “spotty or incomplete” increase the sealing time by 0.2 seconds. If the seal is “white or milky” decrease seal time by 0.2 seconds.
Additional Controls:
- Vacuum Gauge
Represents the vacuum level inside the chamber. - STOP Button
Stops the vacuum cycle and the pouch will be sealed immediately. This feature can be used to eliminate or minimize product from escaping the pouch during the vacuum cycle. It can also be used to control the vacuum level when packaging softer, fragile items.

- Hexagon Socket Cap Screw 2
- Upper Platen for Lid 1
- Chamber Lid 1 979501
- Lid Gasket 1 979202
- Top Bar 2 979505
- Seal Pad 2 976598
- Seal Wire 2 979109
- Teflon Tape 4 979822
- Seal Bar 2
- Brass Contacts 6
- Seal Bar Tension Blocks 6
- Vacuum Chamber 1
- Lower Platen for Lid 2

- Instrument Panel 1 979125
- Vacuum Gauge 1 979126
- Circuit Board 1 979127
- Cover Plate 1
- Cable Sheath 1
- Housing Case 1
- Lid Latch Assembly 1 979170
- Power Switch Bracket 1 979137
- Power Switch 1 979138
- Rear Cover 1
- Decal, Instrument Panel 1 979124

- Housing of Electric Box 1
- Connecting Terminal 1
- Intermediate Relay 1 979141
- Control Transformer 1 979139
- Cover for Electrical Box 1
- Large Silicone Tube 1 979158
- Circuit Board Port 1
- Frame for Wire Holder 1
- Piston 4 979380
- Connecting Terminal 1
- Small Silicone Tube 1 979156
- Gas Shock 1 979356
- Lid Hinge 2 979552
- Lid Hinge Support 2
- Screw and Nut 2 979357
- Proximity Switch Seat 1 979354
- Proximity Switch 1 979355
- Pull Rod 1
- Lid Hinge Pin 2
- Small Silicone Tube 1 979156
- Combined Solenoid Valve 1 979560
- Sealing Transformer 1 979540
- Inner Inlet Ring 1
- Inlet Ring 1
- Exhaust Tube 1
- Through-Tube Connector 1
- Vacuum Pump 1 979320
- Bottom Plate 1
- Wheel Casters 4 979395
- Shoulder Bolt 2 979358
Limited Warranty
ARY, Inc. a distributor and manufacturer of vacuum packaging and other machines (collectively, the “Goods”), extends to the purchaser of the Goods a Limited One Year Warranty, from the receipt of the Goods, under terms and conditions set out herein. All Goods sold by ARY, Inc. are warranted to be free from defects in material and workmanship at the time of delivery to purchaser. Defective material may be returned to ARY, Inc. after inspection by an agent of ARY, Inc. and upon receipt from ARY, Inc. of shipping instructions specific to the defective Goods authorized by ARY, Inc. to be returned. ARY, Inc. at its sole option, may either
- replace or repair any defective materials and workmanship (and return the Goods to purchaser without charge),
- refund the purchase price, or
- grant a reasonable allowance with the foregoing procedure.
REFRENCE LINK
https://www.vacmasterfresh.com/vacmaster-vp540-high-volume-commercial-chamber-vacuum-sealer/


