Table of contents
show
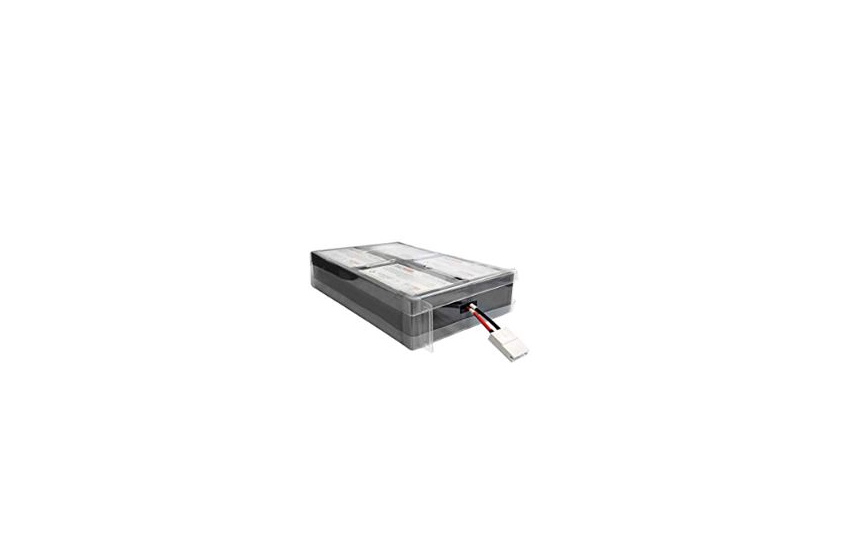
Xfinity Voice Battery Casing User Manual

What You’ll Need
- Xfinity Voice Battery Casing
- 3rd Generation Xfinity Wireless Gateway or above
- Six Comcast-Approved 6V Spring Terminal Lantern Batteries (See the approved batteries at:
https://www.batteryjunction.com/gateway-battery.html)
How to Install the Batteries
Before proceeding:
- Ensure the Xfinity Voice Battery Casing is disconnected from both the Gateway and the Gateway’s External Power Supply.
- All batteries must be new and the same type of battery from the same manufacturer. Do NOT mix batteries. Do NOT use old and/or used batteries.


- Loosen the screws on both corners of the Voice Battery Casing.
- Lift both “tabs” of the Voice Battery Casing lid at the same time.
- Open the Voice Battery Casing lid.
- Remove the plastic caps from the spring terminals, if applicable.
- Align the battery with the corresponding polarity (+/-) as marked on the Voice Battery Casing. To the right, note the proper rotation of the battery by following the insertion illustrations. Ensure the (+) terminal is below the (-) terminal when inserting into the battery slot.
- Press down on the terminals side first and then the other side to secure into place. Ensure the springs are making proper contact with both (+/-) terminals.
- Insert all six batteries as indicated above. Close the Voice Battery Casing lid.
- Finger tighten the screws on both corners of the Voice Battery Casing. The Voice Battery Casing is ready to be connected to your Gateway.
- Follow the Getting Started Guide for activation instructions of the Xfinity Voice Battery Casing.
How to Replace the Batteries
Before proceeding:
- To avoid disruption in service and maximize battery life, only replace the batteries when there is no power outage. The Gateway must be running on AC power (not in battery backup mode) during battery replacement.
- Disconnect the Gateway and the Gateway’s External Power Supply from the Voice Battery Casing.
- All batteries must be new and the same type of battery from the same manufacturer. Do NOT mix batteries. Do NOT use old and/or used batteries. Warning: Risk of explosion if incorrect battery type is installed.


- Loosen the screws on both corners of the Voice Battery Casing.
- Lift both “tabs” of the Voice Battery Casing lid at the same time.
- Open the Voice Battery Casing lid.
- Remove all six batteries and dispose of them properly.
- Remove the plastic caps (if any) from the spring terminals on the new batteries.
- Align the battery with the corresponding polarity (+/-) as marked on the Voice Battery Casing. To the right, note the proper rotation of the battery by following the insertion illustrations. Ensure the (+) terminal is below the (-) terminal when inserting into the battery slot.
- Press down on the terminals side first and then the other side to secure into place.
- Insert six new batteries as indicated above and close the Voice Battery Casing lid.
- Finger tighten the screws on both corners of the Voice Battery Casing.
- Reconnect the Gateway and the Gateway’s External Power Supply to the Voice Battery Casing.
REFERENCE LINK
https://www.xfinity.com/support/articles/getting-a-new-battery


 Afrikaans
 Albanian
 Amharic
 Arabic
 Armenian
 Azerbaijani
 Basque
 Belarusian
 Bengali
 Bosnian
 Bulgarian
 Catalan
 Cebuano
 Chichewa
 Chinese (Simplified)
 Chinese (Traditional)
 Corsican
 Croatian
 Czech
Czech Danish
 Dutch
Dutch English
 Esperanto
 Estonian
 Filipino
 Finnish
 French
 Frisian
 Galician
 Georgian
 German
 Greek
Greek Gujarati
 Haitian Creole
 Hausa
Hausa Hawaiian
 Hebrew
 Hindi
Hindi Hmong
Hmong Hungarian
 Icelandic
 Igbo
Igbo Indonesian
 Irish
Irish Italian
 Japanese
 Javanese
 Kannada
 Kazakh
 Khmer
Khmer Korean
 Kurdish (Kurmanji)
 Kyrgyz
 Lao
Lao Latin
Latin Latvian
 Lithuanian
 Luxembourgish
 Macedonian
 Malagasy
 Malay
Malay Malayalam
 Maltese
 Maori
Maori Marathi
 Mongolian
 Myanmar (Burmese)
 Nepali
 Norwegian
 Pashto
 Persian
 Polish
 Portuguese
 Punjabi
 Romanian
 Russian
 Samoan
 Scottish Gaelic
 Serbian
 Sesotho
 Shona
Shona Sindhi
 Sinhala
 Slovak
 Slovenian
 Somali
 Spanish
 Sundanese
 Swahili
 Swedish
 Tajik
Tajik Tamil
Tamil Telugu
 Thai
Thai Turkish
 Ukrainian
 Urdu
Urdu Uzbek
Uzbek Vietnamese
 Welsh
Welsh Xhosa
Xhosa Yiddish
 Yoruba
 Zulu
Zulu