Table of contents
show
AmazonBasics AB-LB102 Wall Mount Push Button Key Storage Lock Box Guide

OVERVIEW

Caution
This product contains small items that could be a choking hazard if swallowed. Keep these items away from young children.
- Make Sure these instructions are read and completely understood before attempting installation. If you are unsure of any part of this installation, please contact a professional installer for assistance.
Notice
The default combination is 0-0-0. To change the combination, follow the steps below.
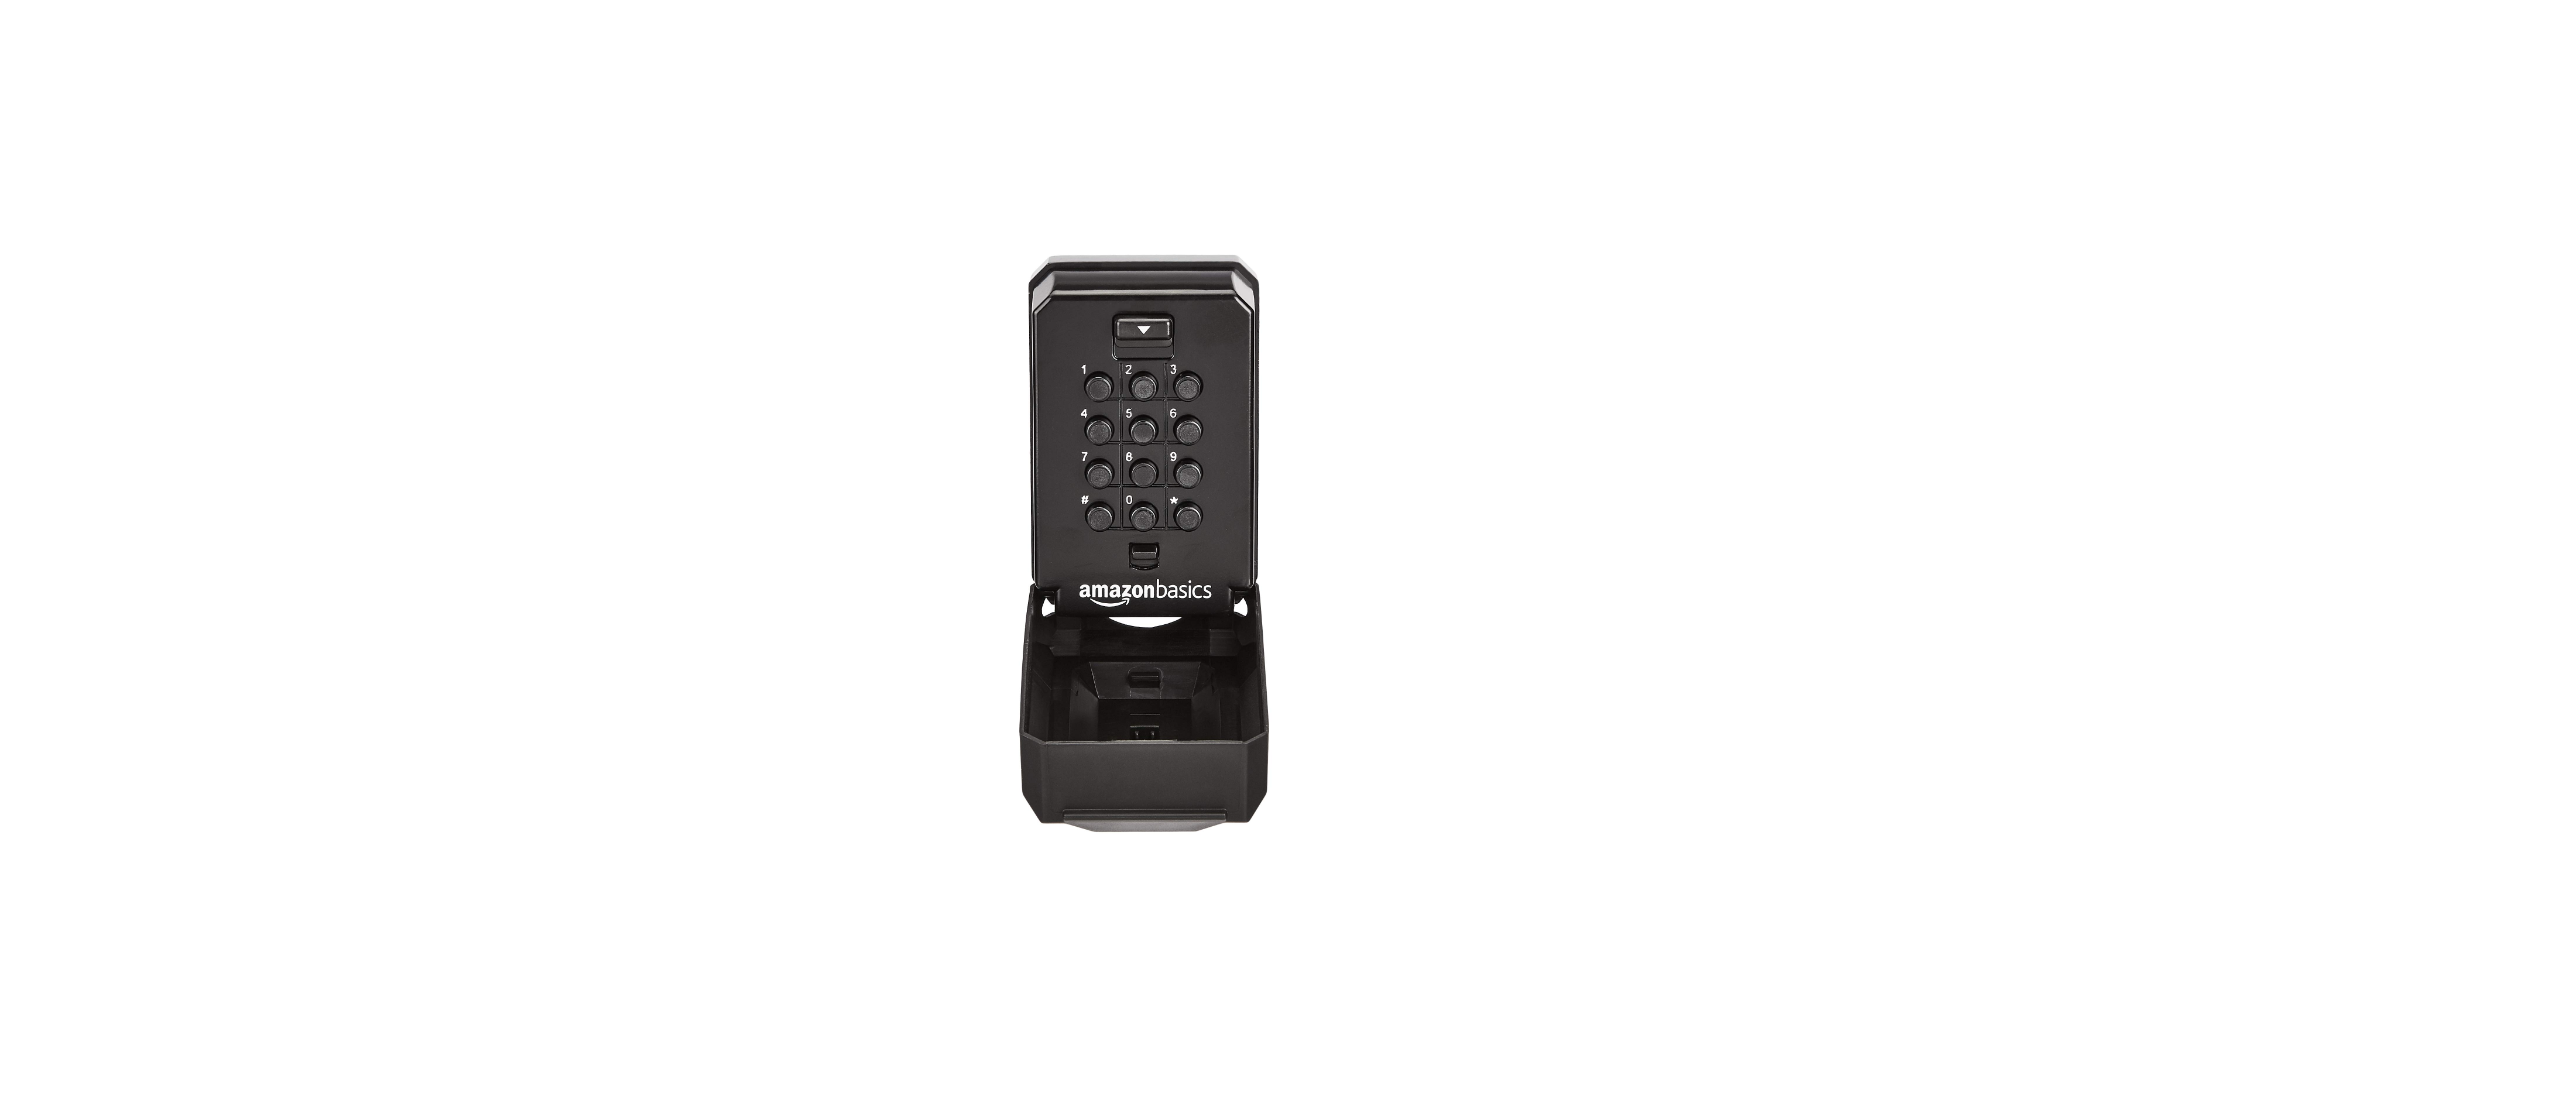
- Step 1: Open the Dust Cover (A) to reveal the Opening Lever (B), Push buttons (C), and Clear Button (D). There is no pre-set combination, push the Clear Button (D)and pull down the Opening Lever (B) to open the Front Door (E).
- Step 2: Open the door by using the method above to reveal the setting dials on the back of the door.
- Step 3: Remove the yellow setting key (G). Choose a combination and write it down before setting the lock (Each button can be used once only).
- Step 4: Each Yellow Dial (F) has an “On” and “Off” setting using a dial that can be rotated 180 ° by using the setting key. Test the combination before closing the lid. After setting, the “Opening Lever (B)” can not be pressed down to be locked.
NOTICE Enter your combination to test the function.- Press down the “Clear Button (D)”, and then enter your combination.
- Press down the “Open Button” and pull the door close.
- Step 5: Return the yellow setting key to the original position for future use.
- Step 6: Wall Mounting: Choose a mounting location. (We recommend a discrete location away from direct view). Open the Dust Cover (A) and lock the door using your combination. Position the lock in the desired position.
- Step 7: Use a spirit level to ensure the lock is mounted straight & vertically. Mark the position of the screw holes on the desired surface.
- Step 8: Remove the lock drill holes and fit wall plugs. Insert and tighten screws. Always use the front cover if mounted in an outdoor position.


 Afrikaans
 Albanian
 Amharic
 Arabic
 Armenian
 Azerbaijani
 Basque
 Belarusian
 Bengali
 Bosnian
 Bulgarian
 Catalan
 Cebuano
 Chichewa
 Chinese (Simplified)
 Chinese (Traditional)
 Corsican
 Croatian
 Czech
Czech Danish
 Dutch
Dutch English
 Esperanto
 Estonian
 Filipino
 Finnish
 French
 Frisian
 Galician
 Georgian
 German
 Greek
Greek Gujarati
 Haitian Creole
 Hausa
Hausa Hawaiian
 Hebrew
 Hindi
Hindi Hmong
Hmong Hungarian
 Icelandic
 Igbo
Igbo Indonesian
 Irish
Irish Italian
 Japanese
 Javanese
 Kannada
 Kazakh
 Khmer
Khmer Korean
 Kurdish (Kurmanji)
 Kyrgyz
 Lao
Lao Latin
Latin Latvian
 Lithuanian
 Luxembourgish
 Macedonian
 Malagasy
 Malay
Malay Malayalam
 Maltese
 Maori
Maori Marathi
 Mongolian
 Myanmar (Burmese)
 Nepali
 Norwegian
 Pashto
 Persian
 Polish
 Portuguese
 Punjabi
 Romanian
 Russian
 Samoan
 Scottish Gaelic
 Serbian
 Sesotho
 Shona
Shona Sindhi
 Sinhala
 Slovak
 Slovenian
 Somali
 Spanish
 Sundanese
 Swahili
 Swedish
 Tajik
Tajik Tamil
Tamil Telugu
 Thai
Thai Turkish
 Ukrainian
 Urdu
Urdu Uzbek
Uzbek Vietnamese
 Welsh
Welsh Xhosa
Xhosa Yiddish
 Yoruba
 Zulu
Zulu