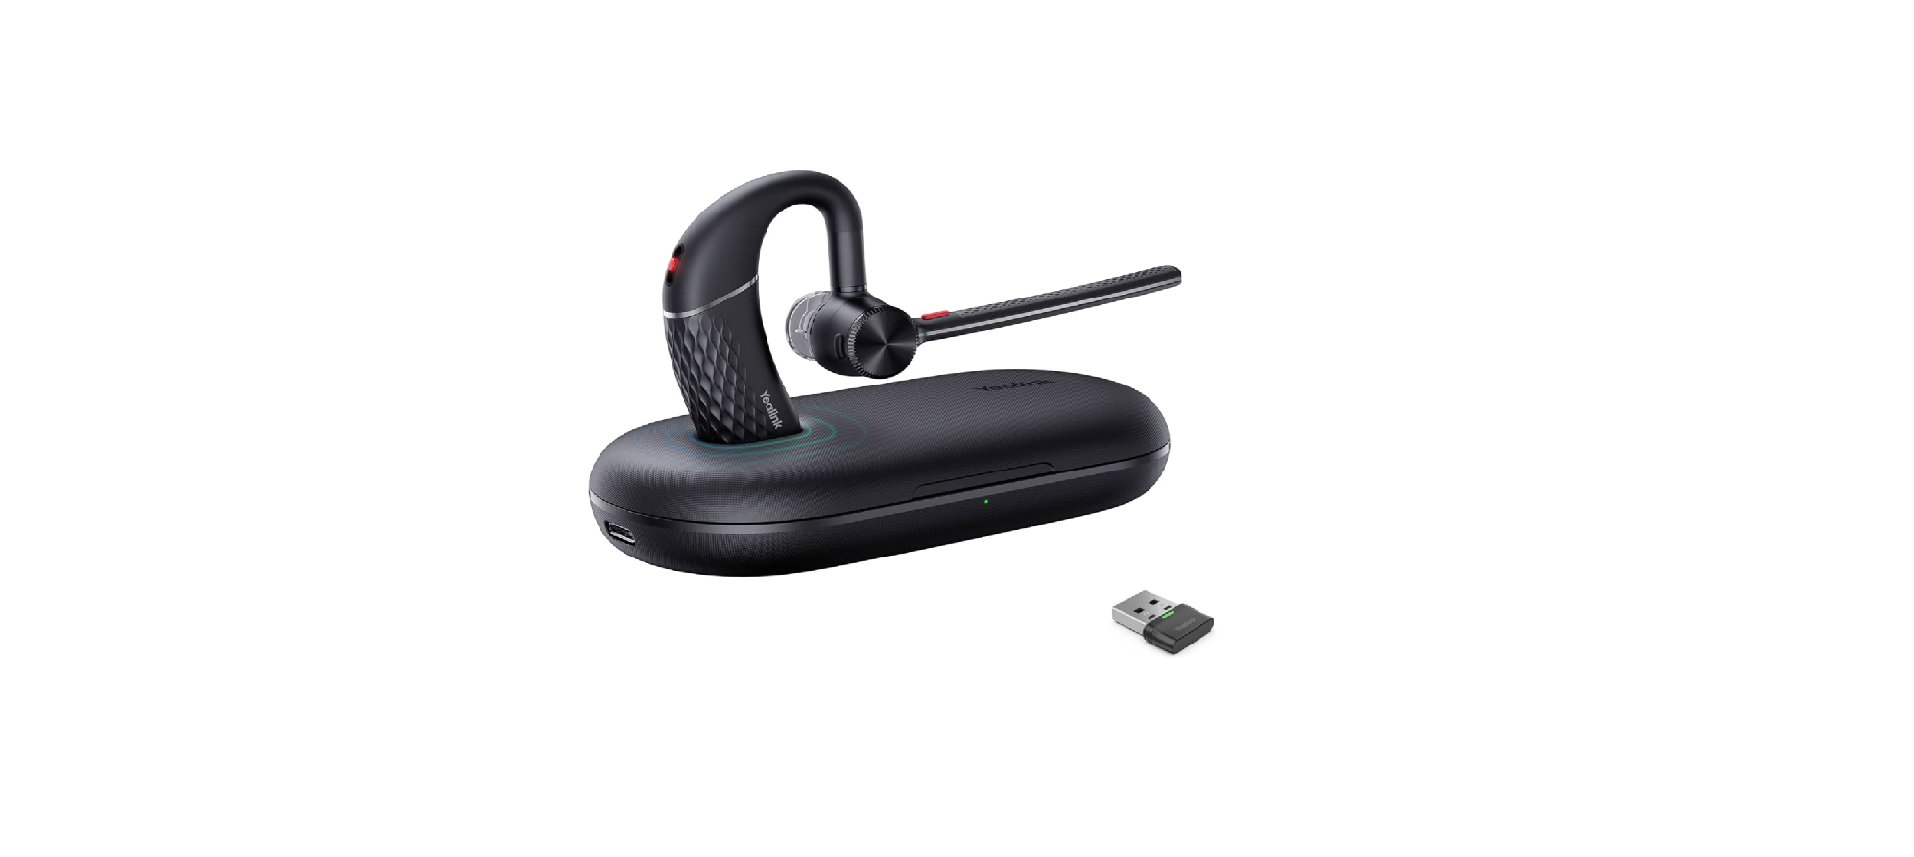
Yealink BH71 Mono Bluetooth Headset Series User Guide

About This Guide
This guide contains instructions for connecting and using your headset, charging case, and carrying case.
Note: Please read the Safety Instruction for important safety, charging, battery and regulatory information before using your new device.
Overview
- Headset Overview
- Charging/Carrying Case Overview
Headset Overview

Charging/Carrying Case Overview


Note:
- The BT51 dongle is placed inside the charging case (BT51 dongle is only applicable for BH71 Pro).
- The carrying case of BH71 cannot directly charge the headset and requires an external USB cable.
Power on/off Headset
- Power on Headset
- Power off Headset
Power on Headset
Slide the switch to the middle position and then the LED indicator turns solid blue for 2s.

Power off Headset
Slide the switch to the “off” position and then the LED indicator turns solid red for 2s.

Charge Headset/Charging Case
- Check Headset Battery Level
- Charge Headset
- Charge Charging Case
Check Headset Battery Level
- Check on Headset (BH71/BH71 Pro)
- Check on Mobile Phone (BH71/BH71 Pro)
- Check on Charging Case (BH71 Pro)
- Check on Yealink USB Connect (BH71 Pro)
Check on Headset (BH71/BH71 Pro)
Listen to the voice prompt when you power on your headset.

Related information
Power on Headset
Check on Mobile Phone (BH71/BH71 Pro)
Pair the headset with your mobile phone’s Bluetooth and check the headset battery level on the phone’s taskbar.

Related information
Enter Headset into Pairing Mode
Check on Charging Case (BH71 Pro)
Put the headset into the charging case and open the charging case to check the headset battery.

Note:
- When the headset is not in the charging case, the LED indicator shows the battery level of the charging case.
- When the headset is in the charging case, the LED indicator shows the battery level of the headset.


Check on Yealink USB Connect (BH71 Pro)
Do one of the following to check the battery level on the Yealink USB Connect application: Before you begin:
- Download via http://support.yealink.com/.
- Connect the headset to the PC via a BT51 dongle.
- Connect the charging case and headset to the PC via a USB cable.

Note:
- You need to power on the headset and stand it on the charging case when you connect the charging case and headset to the PC via a USB cable.

- The carrying case does not support checking the battery level in the Yealink USB Connect for headset.
- The BH71 need to purchase the BT51 dongle separately.
Charge Headset
It takes approximately 90 minutes to charge the headset fully, and the LED indicator turns off once charging is complete. You can use the charging case and carrying case to charge your headset. And you can connect the other end of the USB cable to the USB port on your PC or wall charger.
- Use the carrying case to charge
- Stand the headset on the carrying case.

- Put the headset into the carrying case and charge it via the USB cable.

Use the charging case to charge Do one of the following:
- Stand the headset on/put the headset into the case to charge.

- Stand the headset on/put the headset into the case and charge it via the USB cable.

Note:
- The carrying case of BH71 cannot directly charge the headset and requires an external USB cable. The charging case of BH71 Pro can directly charge the headset.
- When the headset is not in the charging case, the LED indicator of the charging case shows the battery statue of the charging case.
- When the headset is in the charging case, the LED indicator of the charging case shows the battery statue of the headset.
Charge Charging Case
You can connect the other end of the USB cable to the USB port on your PC or wall charger.

Note:
- When the headset is not in the charging case, the LED indicator shows the battery statue of the charging case.
- When the headset is in the charging case, the LED indicator shows the battery statue of the headset.
Fit Headset
When you wear the headset, the microphone should rest as close to your cheek as possible.
- Right Ear Wearing
- Take out the headset, as shown in figure 1. Twist the speaker to the left, and then rotate microphone boom down.

- Before wearing, you can adjust the height of the speaker up or down to get the perfect fit for your ear.

- Place the eartip in your ear and slide headset over and behind your ear, then press gently toward your ear. Fine-tune the headset according to your own situation.
Note: Remove your eyeglasses before donning the headset for best fit.

Note: The headset comes with three sizes of ear tips. Choose one that fits you best.

Left Ear Wearing
- Take out the headset, as shown in figure 1. Twist the speaker to the right, and then rotate microphone boom down.

- For wearing methods, please refer to steps 2 and 3 of the right ear wearing.
Connect Headset
- Enter Headset into Pairing Mode
- Connect to Mobile Phone/PC via Bluetooth
Enter Headset into Pairing Mode
Slide and hold the power switch away from the off position for 3 seconds until you hear “pairing mode”, and the headset’s LED indicator flashes red and blue.

Connect to Mobile Phone/PC via Bluetooth
- Pair with Mobile Phone
- Pair with PC
Pair with Mobile Phone
Before you begin
Make sure the headset is in Bluetooth pairing mode.
Procedure
- Activate Bluetooth on your mobile phone and set it to search for new devices.
- Select Yealink BH71 on your mobile phone.

Note:
- The Yealink BH71 is the default device name. You can edit the device name via the Yealink USB Connect application.
- The headset can connect to up to two devices simultaneously.
Pair with PC
You can connect the headset to the PC via the following methods:
- Pair Headset with PC Directly
- Pair Headset with PC via BT51 (BH71 Pro)
Pair Headset with PC Directly
- Make sure the headset is in Bluetooth pairing mode.
- Activate Bluetooth on your PC.
- Select Yealink BH71 on your PC. After the connection is successful, the headset’s LED indicator turns solid blue for 2s.

Note:
- The headset can connect to up to two devices simultaneously.
- For more information on the compatible PC, refer to the specific compatible guide.
Related information
Enter Headset into Pairing Mode
Pair Headset with PC via BT51 (BH71 Pro)
The BT51 dongle has been pre-paired with the headset and ready for use, and you just only need to power on the headset.
- Connect the BT51 dongle to your PC.
- The headset and PC pair automatically. After the connection is successful, the BT51 dongle’s LED indicator turns solid blue and the headset’s LED indicator turns solid blue for 2s.

Note:
- The BT51 dongle can only connect to one headset at a time.
- The headset can connect to up to two devices simultaneously.
- For more information on the compatible PC, refer to the specific compatible guide.
Headset Usage


Yealink USB Connect
Yealink USB Connect is a computer software designed to manage Yealink USB devices.
Before you begin
- Download via http://support.yealink.com/.
- Connect the headset to the PC via a BT51 dongle.
- Connect the charging case and headset to the PC via a USB cable.
Note: You need to power on the headset and stand it on the charging case when you connect the charging case and headset to the PC via a USB cable.

About this task
With the Yealink USB Connect, you can:
- Get an overview of connected Yealink USB devices.
- Manage your Yealink USB devices.
- Update your Yealink USB device to enhance its performance and features.
- Give feedback on your Yealink USB devices.

- Manually Pair Headset with BT51
- Update Firmware
- Basic Settings
- Advanced Settings
Manually Pair Headset with BT51
The BT51 dongle of the BH71 Pro has been pre-paired with the headset and is ready for use. If you want to pair the BT51 dongle with another headset, or a separately purchased the BT51 dongle pairs with the headset, it needs to be paired through Yealink USB Connect. Before you begin Make sure that the headset is in Bluetooth pairing mode.
Procedure
- Select BT51 dongle device CARD.
- Click Device Settings.
- In the Pairable devices List field, click to search the pairable device.
- Find the desired device and click Start pairing.]

Note:
- One BT51 dongle can only save one headset pairing information.
- If you want to pair the BT51 dongle with a new headset, you need to unpair the old headset first.
- If you want to pair the headset with a new BT51 dongle, you need to make the headset enter the pairing mode. Then search for the headset on the new BT51 dongle through the Yealink USB Connect and connect it.
Update Firmware
Procedure
- Do one of the following:
- Connect the headset to the PC via a BT51 dongle (only for BH71 Pro).
- Connect the charging case and headset to the PC via a USB cable (only for BH71 Pro).
Note: You need to power on the headset and stand it on the charging case when you connect the charging case and headset to the PC via a USB cable.

- Click Update device to select Update now or Update manually

Basic Settings
You can change the basic settings of headset via the Yealink USB Connect. Click Device settings > Basic Settings.


Advanced Settings
You can change the advanced settings of headset via the Yealink USB Connect. Click Device settings > Advanced Settings.


Support
- FAQ
- Safety Instruction
FAQ
View the FAQ guide on http://support.yealink.com/.
Safety Instruction
- Do not disassemble the product by yourself or bring it near fire and water to avoid short circuit leakage or damage to the product.
- Do not use the product in high temperature, humidity, and corrosive environment to avoid damaging the circuit and causing failure to charge or other failures.
- Do not expose the product to corrosive liquids. Otherwise, it will cause severe damage.
- Do not disassemble or re-equip the product for any reason to avoid secondary failure and burnout.
- Do not place the product in an environment below -10°C or above 60°C.
- Do not knock, throw or shake the product because rough methods will damage the internal circuit board structure. If your headset needs warranty service, the process is quick and easy. Please go to https:// ticket.yealink.com/page/headset/warranty-service.html and submit RMA Claim to Yealink.
REFRENCE LINK


