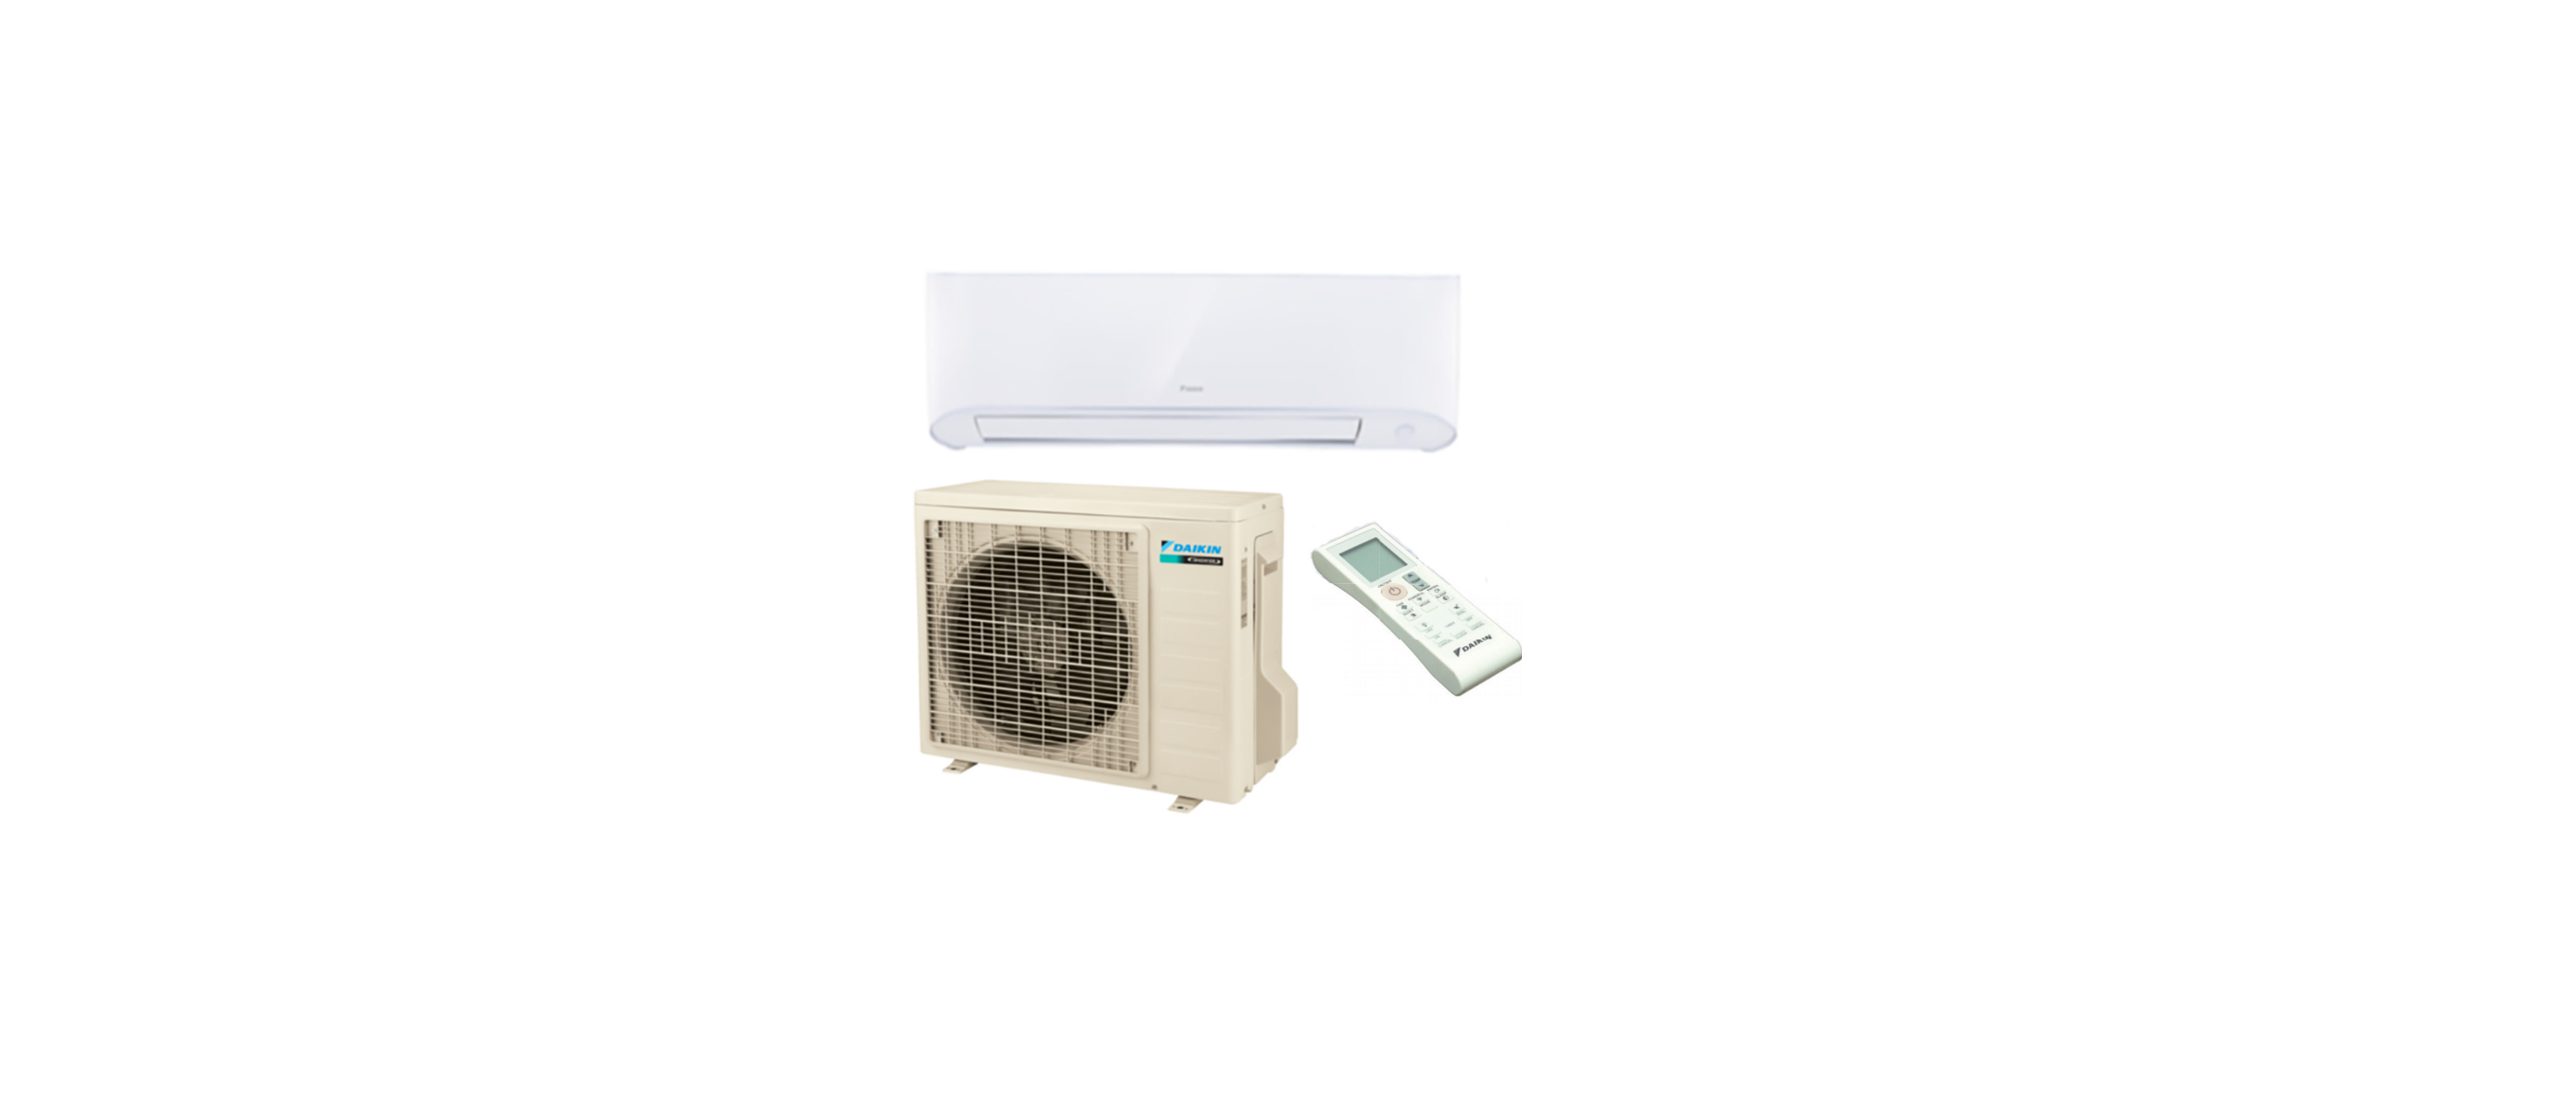
Daikin FTX90BXVJU ROOM AIR CONDITIONER USER MANUAL

SAFETY PRECAUTIONS
- Do not place objects, including rods, your fingers, etc., in the air inlet or outlet. Product malfunctioning, product, or injury damage may result due to contact with the air conditioner’s high-speed fan blades.
- Do not attempt to repair, dismantle, reinstall, or modify the air conditioner yourself as this may result in water leakage, electric shocks, or fire hazards.
- Do not attempt to install or repair the air conditioner yourself. Improper workmanship may result in water leakage, electric shocks, or fire hazards. Please contact your local dealer or qualified personnel for installation and maintenance work.
- Do not use the flammable spray near the air conditioner, or otherwise, fire may result.
- Do not place flammable items, such as spray cans, within 3 ft of the air outlet. Spray cans may explode as a result of hot air from the indoor or outdoor units.
- If the air conditioner is malfunctioning (giving off a burning odour, etc.) turn off the power of the unit and contact your local dealer. Continued operation under such circumstances may result in failure, electric shocks, or fire hazards.
- Do not use a refrigerant other than the one indicated on the outdoor unit (R410A) when installing, moving, or repairing. Using other refrigerant may cause trouble or damage to the unit, and personal injury.
CAUTION
- Be aware that prolonged, direct exposure to cool or warm air from the air conditioner, or to air that is too cool or too warm can be harmful to your physical condition and health.
- Do not use the air conditioner for purposes other than those for which it is intended.
- Do not use the air conditioner for cooling precision instruments, food, plants, animals, or works of art as this may adversely affect the performance, quality, and/or longevity of the object concerned.
- Do not expose plants or animals directly to airflow from the unit as this may cause adverse effects.
- Do not place appliances that produce naked flames in places exposed to the air flow from the unit as this may impair combustion of the burner.
- Do not block air inlets or outlets. Impaired airflow may result in insufficient performance or trouble.
- Beware of fire in case of refrigerant leakage. If the air conditioner is not operating correctly, i.e. not generating cool or warm air, refrigerant leakage could be the cause. Consult your dealer for assistance. The refrigerant within the air conditioner is safe and normally does not leak. However, in the event of a leakage, contact with a naked burner, heater, or cooker may result in the generation of noxious gas. Do not use the air conditioner until a qualified service person confirms that the leakage has
been repaired. - Do not place objects that are susceptible to moisture directly beneath the indoor or outdoor units. Under certain conditions, condensation on the main unit or refrigerant
pipes, air filter dirt, or drain blockage may cause dripping, resulting in fouling or failure of the object concerned. - After prolonged use, check the unit stand and its mounts for damage. If left in a damaged condition, the unit may fall and cause injury. To avoid injury, do not touch the air inlet or aluminum fins of the indoor or outdoor units.
This appliance is not intended for use by persons, including children, with reduced physical, sensory, or mental capabilities, or lack of experience and knowledge, unless they have been given supervision or instruction concerning the use of the appliance by a person responsible for their safety.
Installation site.
To install the air conditioner in the following types of environments, consult the dealer.
- Places with an oily ambient or where steam or soot occurs.
- Salty environments such as coastal areas.
- Places where sulfide gas occurs such as hot springs.
- Places where snow may block the outdoor unit.
- The indoor unit is at least 3.5 ft away from any television or radio set (the unit may cause interference with the picture or sound).
- The drain from the outdoor unit must be discharged to a place of good drainage.
Consider nuisance to your neighbours from noises
Also, pay attention to operating noise.
- Select the following kinds of locations:
A. A place that can sufficiently withstand the weight of the air conditioner with fewer running noises and vibrations.
B. A place where warm airflow from the air outlet of the outdoor unit and operating noise do not cause a nuisance to neighbors. - Be sure there are no obstructions near the air outlet of the outdoor unit.
- Obstructions may result in poor performance and increased operating noise. If abnormal noise occurs, ask your dealer for advice.
REMOTE CONTROLLER OVERVIEW

PREPARATION BEFORE OPERATION
Accessories
The following accessories are included

To set the batteries

- Release the battery cover at the back of the remote controller.
- Insert two dry batteries (LR03:AAA).
- Set the battery cover as before.
About Batteries
- Remove the batteries from the remote controller if the air conditioner will not be used for an extended period of time.
- When replacing the batteries, it is advised to replace both batteries together with batteries of the same type. Batteries should be replaced once a year. However, if the display of the remote controller starts to fade or there is a noticeable degradation in performance, replace both batteries with new LR03:AAA batteries.
- The attached batteries are provided for the initial use of the air conditioner. The usage period of these batteries depends on the manufactured date of the air conditioner.
To operate the remote controller
- Aim the transmitter of the remote controller at the receiver of the indoor unit.
- Ensure there is no blockage such as a curtain between the indoor unit and the remote controller, signal transmission will be unsuccessful.
- The maximum distance for successful communication is about 7 m
To fix the remote controller holder on the wall

- Choose a location where the signal is able to reach the unit.
- Fix the holder onto a wall, a pillar or etc with the screws supplied with the holder.
- Place the remote controller on the holder
About remote controller
- Do not drop or wet the remote controller. Never expose the remote controller to direct sunlight.
- Dust on the transmitter lense cover will reduce the sensitivity.
- Signal communication may be affected if the air conditioner is being installed near an electronic starter-type fluorescent lamp (such as inverter-type lamp) in the room.
To set the clock
Press and hold CLOCK button to set the clock time.

Notes
The remote controller is automatically in clock setting mode upon battery insertion. Users are advised to complete the clock setting before operation.
OPERATION
To start operation
- Press
 the button to start the unit operation.
 - Press the MODE button to choose the desired operation mode • Each pressing on the button advances the available operating mode in the sequence below:
- Heatpump model:

- Cooling-only model:

- Heatpump model:


To stop operation
Press ![]() the button again to start the unit operation.
the button again to start the unit operation.
| Operating Mode | Description |
| COOL | The air conditioner cools down the room by releasing the heat to outdoor unit. |
| DRY | The air conditioner operates to control the room humidity by regulating the indoor unit fan speed. Therefore, manual adjustment of the fan speed in DRY mode is not available. |
| FAN | The air conditioner indoor unit will run in fan only. |
| HEAT | The air conditioner heats up a room to be temperature setpoint. Since this air conditioner heats the room by taking heat from outdoor air to indoors, the heating capacity becomes smaller in lower outdoor temperatures. If the heating effect is insufficient, it is recommended to use another heating appliance in combination with the air conditioner. • The heat pump system heats the room by circulating hot air around all parts of the room. After the start of the HEAT operation, it takes some time before the room gets warmer. • In HEAT operation, frost may occur on the outdoor unit and lower the heating capacity. In that case, the system switches into defrosting operation to take away the frost. • During the defrosting operation, hot air does not flow out of the indoor unit. |
| AUTO | The air conditioner cools down or heats up a room to the temperature setpoint. It automatically switches between cooling and heating if necessary. |
Notes on the operating conditions
- The air conditioner will always consume a small amount of electricity even in standby mode.
- Ensure that the power supply/breaker is switched off if the air conditioner is not going to be used for an extended period of time
To change the temperature setting
Press ![]() button.
button.
- The temperature segments on the LCD display shall change whenever
 the button is pressed.
Operating Mode COOL HEAT AUTO DRY FAN Set Temperature Range 60 °F – 86 °F
60 °F – 86 °F
60 °F – 86 °F
60 °F – 86 °F
Not Applicable - Press simultaneously on to change the temperature display unit in Celcius (°C) or Fahrenheit (°F).
- For example

To change the fan speed setting
Press![]() button
button
- Each pressing on the button advances the fan speed mode in sequence
- In COOL, HEAT, and AUTO modes:

- In FAN mode:


TIMER OPERATION
To use OFF TIMER operation
Ensure the clock setting is set to the present time (refer to the method to set the clock under preparation before operation).

- Press
 button
 - Off
 will be displayed on the LCD.
 - Pressto set the off timer setting Set the desired off time by pressing the OFF TIMER button continuously.
To cancel OFF TIMER operation
Press![]() button to cancel the OFF TIMER
button to cancel the OFF TIMER
To use ON TIMER operation
To cancel ON TIMER operation
- Ensure the clock setting is set to the present time (refer to the method to set the clock under preparation before operation)
- Press on button.
Onwill be displayed on the LCD.

Error code definition
| Error Code | Meaning |
| 00 | Normal |
| A1 | Indoor PCB error |
| A3 | Drain pump abnormal |
| A5 | Antifreeze |
| A6 | Indoor fan motor abnormal |
| AH | Electrical air cleaner abnormal |
| C4 | Indoor heat exchanger (1) thermistor short / open |
| C5 | Indoor heat exchanger (2) thermistor short / open |
| C7 | Louver limit switch error |
| C9 | Indoor room thermistor short / open |
| E1 | Outdoor PCB error |
| E3 | High pressure protection |
| E4 | Low pressure protection |
| E5 | Compressor motor lock / compressor overload |
| E6 | Compressor start-up error |
| E7 | Outdoor DC fan motor lock |
| E8 | AC input overcurrent |
| E9 | EXV error |
| EA | 4 way valve error |
| F3 | Discharge pipe overheat |
| F6 | Heat exchanger overheat |
| H0 | Compressor sensor system error |
| H3 | High pressure switch error |
| H6 | Compressor feedback detection error |
| H7 | Fan motor overload / overcurrent / sensor abnormal |
| H8 | AC current sensor error |
| H9 | Outdoor air thermistor short / open |
| Error Code | Meaning |
| J1 | Pressure sensor error |
| J3 | Compressor discharge pipe thermistor short / open / misplaced |
| J5 | Suction pipe thermistor short / open |
| J6 | Outdoor heat exchanger thermistor short / open |
| J7 | Subcooling heat exchanger thermistor short / open |
| J8 | Liquid pipe thermistor short / open |
| J9 | Gas pipe thermistor short / open |
| L1 | Inverter outdoor PCB error |
| L3 | Outdoor control box overheat |
| L4 | Heat sink overheat |
| L5 | IPM error / IGBT error |
| L8 | Inverter compressor overcurrent |
| L9 | Compressor overcurrent prevention |
| LC | Communication error (outdoor control PCB and inverter PCB) |
| P1 | Open phase or voltage unbalance |
| P4 | Heat sink thermistor short / open |
| PJ | Capacity setting error |
| U0 | Insufficient gas |
| U2 | DC voltage out of range |
| U4 | Communication error |
| U7 | Communication error (outdoor control PCB and IPM PCB) |
| UA | Installation error |
| IF | Piping & wiring installation mismatch / wrong wiring / insufficient gas |
| UH | Antifreeze (other rooms) |
TROUBLESHOOTING
For any inquiries on spare parts, please contact your authorized dealer. If any malfunction of the air conditioner unit is noted, immediately switch off the power supply to the unit. Check the following fault conditions and causes for some simple troubleshooting tips.
| Fault | Causes / Action |
| 1. The compressor does not operate 3 minutes after the air conditioner unit is started. | – Protection against frequent starting. Wait for 3 to 4 minutes for the compressor to start operating. |
| 2. The air conditioner unit does not operate. | – Power failure, or the fuse needs to be replaced. – The power plug is disconnected. – It is possible that your delay timer has been set incorrectly. – If the fault persists after all these verifications, please contact the air conditioner unit installer. |
| 3. The air flow is too low. | – The air filter is dirty. – The doors or windows are open. – The air suction and discharge are clogged. – The regulated temperature is not high enough. |
| 4. Discharge air flow has bad odor. | – Odors may be caused by cigarettes, smoke particles, perfume etc. which might have adhered onto the coil. |
| 5. Condensation on the front air grille of the indoor unit. | – This is caused by air humidity after an extended long period of operation. – The set temperature is too low, increase the temperature setting and operate the unit at high fan speed. |
| 6. Water flowing out from the air conditioner unit. | – Switch off unit and call dealer. |
| 7. Insufficient heating during heating operation. (Multi Split Inverter System) | – If more than one room are being heated simultaneously during winter, it is possible that more time is needed to warm up the rooms. – Switch on heating operation in one room and continue to operate up to a certain extent before heating up the other room. |
| 8. Insufficient cooling during cooling operation. (Multi Split Inverter System) | – If more than one room are being cooled simultaneously, it is possible that more time is needed to cool down the rooms. – Switch on cooling operation in one room and continue to operate up to a certain extent before cooling down the other room. |
CARE AND CLEANING
CARE AND CLEANING
- Before cleaning, be sure to stop the operation and turn off the circuit breaker.
- Do not touch the aluminum fins of the indoor unit. If you touch those parts, this may cause an injury.
- Avoid direct contact with any coil treatment cleaners on the plastic parts. This may cause plastic parts to deform as a result of chemical reactions.
Quick reference
Cleaning parts

Notes
For cleaning, do not use any of the following:
- Water hotter than 40 °C / 104 °F.
- Volatile liquids such as benzene, gasoline, and thinner.
- Polishing compounds.
- Rough materials such as a scrubbing brush
AIR FILTER
- Pull out the air filters.
- Open the front panel.
- Push the filter tab at the center of each air filter a little upwards, then pull it down.

- Wash the air filters with water or clean them with a vacuum cleaner.
- It is recommended to clean the air filters every 2 weeks.


If the dust does not come off easily
- Wash the air filters with neutral detergent thinned with lukewarm water, then dry them up in the shade. Be sure to remove the titanium apatite deodorizing filter.

Set the filters as they were and close the front panel slowly.
- Press the front panel at both sides and the center.

- Set the filters as they were and close the front panel slowly.

HOW TO OPEN FRONT PANEL

- Open the front panel.
- Hold the panel at the recesses on the main unit (2 recesses on the right and left sides) and lift it until it stops.
- Remove the front panel.
- While lifting the front panel further, pull out the rotating shaft and pull it to the front side to remove it.
- Attach the front panel.
- Align the right and left rotating shafts of the front panel with the grooves and push them all the way in.
- Gently close the front panel. (Push both ends and the center on the front panel.)
CAUTION
- Don’t touch the metal parts of the indoor unit. It may cause an injury.
- When removing or attaching the front panel, support the panel securely with a hand to prevent it from falling.
- For cleansing, do not use hot water above 40°C, benzene, gasoline, thinner, nor other volatile oils, polishing compounds, scrubbing brushes, or other hand stuff.
- After cleaning, make sure that the front panel is securely fixed


