Gourmia GAF688 Air Fryer Oven User Manual

IMPORTANT SAFEGUARDS
Before using the appliance, the following basic precautions should always be followed:
- This appliance is not intended for use by persons (including children younger than 8) with reduced physical, sensory or mental capabilities, or lack of experience and knowledge, unless they have supervision.
- Check if the voltage indicated on the appliance corresponds to the local main voltage before you connect the appliance.
- Do not use the appliance if the plug, the main cord, or the appliance itself is damaged. Always make sure that the plug is inserted properly into a wall outlet.
- Do not operate any appliance with a damaged cord or plug, after the appliance malfunctions, or has been damaged in any manner. Return appliance to the nearest authorized service facility for examination, repair, or adjustment.
- Close supervision is necessary when any appliance is used by or near children. Children should be supervised to ensure that they do not play with the appliance. Cleaning and user maintenance shall not be done by children unless they are older than 8 and supervised.
- Do not let the cord hang over the edge of table or counter or touch hot surfaces.
- To protect against electric shock, do not immerse cord, plugs, or appliance in water or other liquid. Do not plug in the appliance or operate the control panel with wet hands.
- Never connect this appliance to an external timer switch or separate remote-control system into order to avoid a hazardous situation. Always attach plug to appliance first, then plug cord in the wall outlet. To disconnect, turn off the appliance, then remove plug from the wall outlet.
- Do not place the appliance on or near flammable materials such as a tablecloth or curtain. The accessible surfaces may become hot during use. Do not place on or near a hot gas or electric burner, or in a heated oven.
- Do not place the appliance against a wall or against other appliances. Leave at least 4 inches of free space on the back and sides and 4 inches of free space above the appliance. Do not place anything on top of the appliance.
- Do not use the appliance for any other purpose than described in this manual. The use of accessory attachments not recommended by the appliance manufacturer may cause injuries.
- Do not let the appliance operate unattended. Extreme caution must be used when moving an appliance containing hot oil or other hot liquids.
- Do not use outdoors.
- Do not touch the hot surfaces; use handle. During hot air frying, hot steam is released through the air outlet openings. Keep your hands and face at a safe distance from the steam and from the air outlet openings. Also be careful of hot steam and air when you remove the pan from the appliance.
- After using the appliance, the metal cover inside is very hot, avoid contact with the hot metal inside after cooking. Unplug from outlet when not in use and before cleaning. Allow to cool before putting on or taking off parts, and before cleaning the appliance.
- Immediately unplug the appliance if you see dark smoke coming out of the appliance. Wait for the smoke emission to stop before you remove the pan from the appliance.
- FOR HOUSEHOLD USE ONLY.
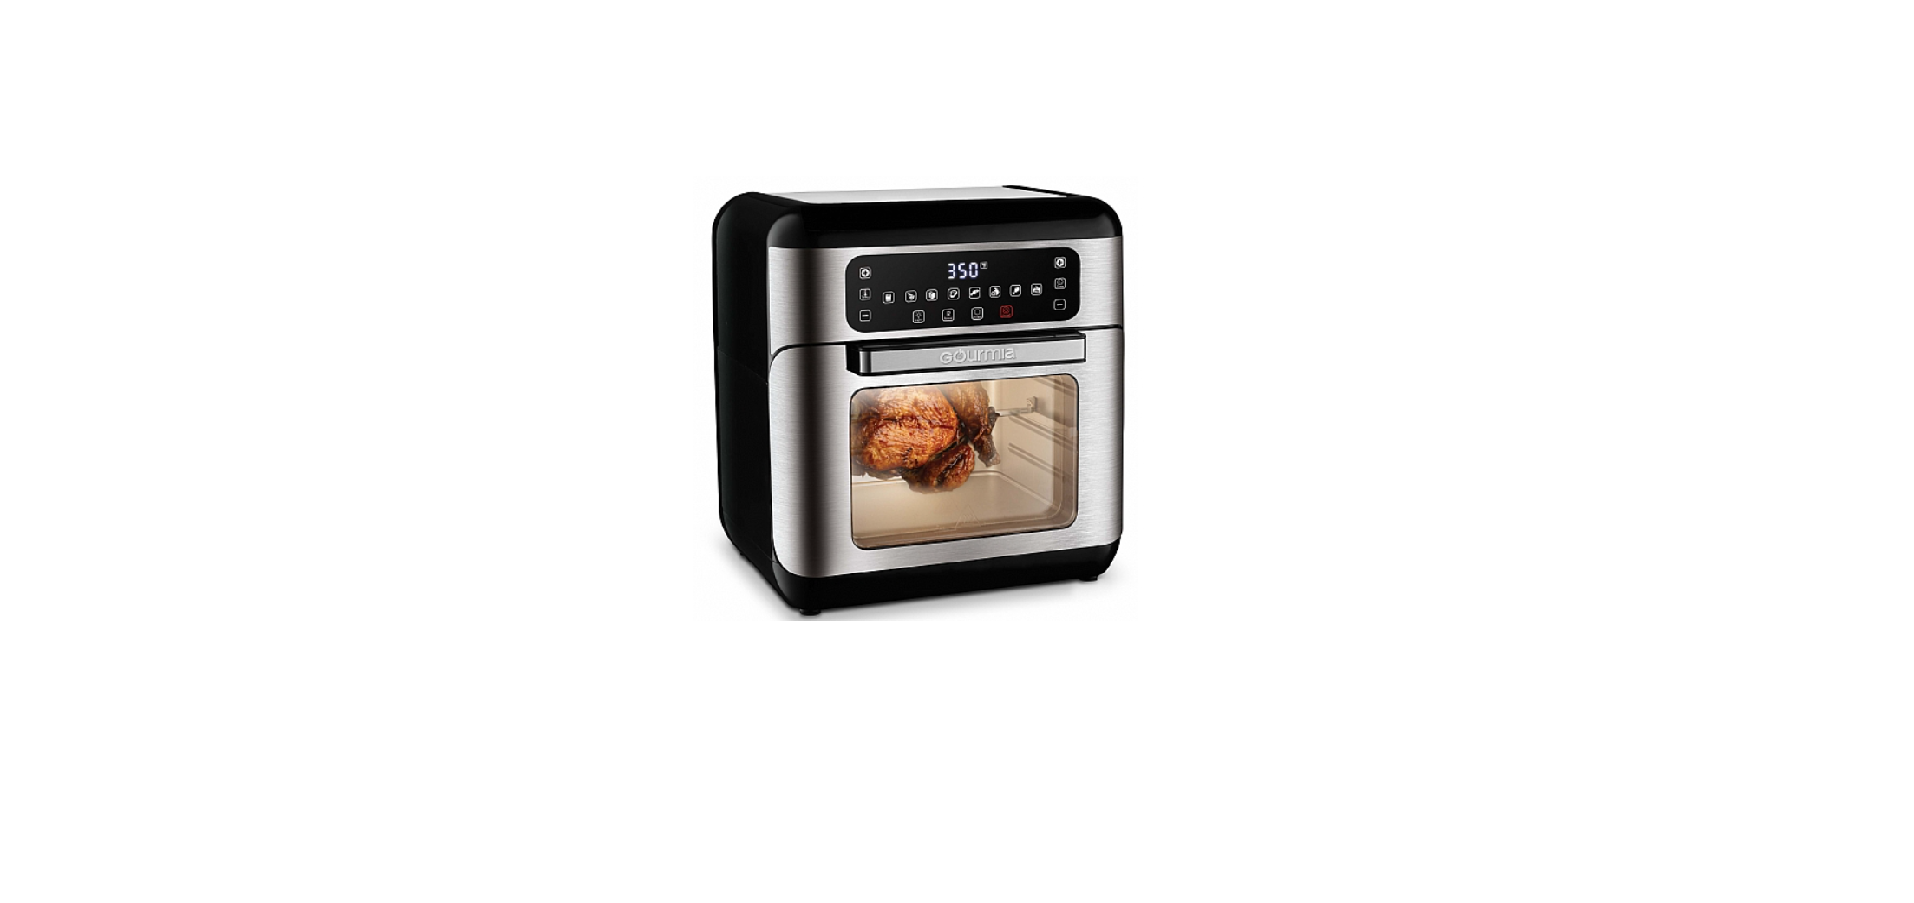
KNOW YOUR AIR FRYER OVEN


USING YOUR AIR FRYER OVEN
Before Using The Air Fryer Oven For The First Time
- Remove all packaging material. Remove any stickers or labels from the appliance.
- Thoroughly clean all parts with hot water, some dishwashing liquid and a non-abrasive sponge.
- Wipe the inside and outside of the appliance with a moist cloth.
Note: During the first few uses of your Air Fryer Oven, there may be a “hot plastic” smell. This is perfectly normal, as the material is being heated for first time. It will go away after the first few uses.
- This is an Air Fryer Oven that works using hot air.
- Do not fill the basket with oil, frying fat, or any other liquid.
- Do not put anything on-top of the appliance.
Note: Do not place the appliance against a wall or other appliances. It is important to leave at least 4 inches of space around the top, back, and sides of the appliance to allow for proper ventilation.

- Place the appliance on a stable, horizontal, heat-resistant, and leveled surface.
- Place the drip tray on the bottomof the Air Fryer Oven. Then place the ingredients inside using the accessory of your choice. Close the door.
- Plug the Air Fryer Oven into an outlet.

- Some recipes or ingredients call for shaking the ingredients halfway through the preparation time (see ‘Settings Chart’on page 14).
- When your selected cooking time has elapsed the timer bell will ring. Remove cooked food and place on a heat-resistant surface.
- If your food needs a little more cooking time, set the timer for a few extra minutes.
- To reheat food, tap the Reheat icon. It will set the Air Fryer Oven to 6 minutes at 280°F.

- To turn off the Air Fryer Oven, hold down the on/off button for 3 seconds.
To attach the handle to the basket:
- Open the latch and squeeze the sides of the handle. Slide the handle forks into the groove of the basket and release.
- Close the latch to secure.
To detach the handle from the basket:
- Open the latch, squeeze the handle and pull upward.

WARNING
During the cooking process, the basket and other accessories will become very hot – avoid touching. Use oven mitts and appropriate handle/holder to remove ingredients.Always place them on a heat resistant surface or on the rotisserie stand, and never directly on the counter-top or table.
USING ROTISSERIE ACCESSORIES
ROTISSERIE SET
Insert the Rotisserie/Kebab Rod lengthwise through the center of the poultry/roast. Slide the Rotisserie Forks through each side of the Rotisserie/Kebab Rod, so that they puncture the poultry/roast in between. Use the screws to secure the Rotisserie Forks in place . Ensure that the size of the poultry/roast leaves enough space in the Air Fryer Oven so that it can rotate.

KEBAB SET
Slide the Kebab Wheels onto each side of the Rotisserie/Kebab Rod, tightening the screws until secure. After loading the Skewers with ingredients, thread the pointed end of into a round hole on the wheel. Turn and “lock” the rounded top of the Skewer into place in the other wheel. Repeat with remaining Skewers.

FRYING TUMBLER
Fill the Frying Tumbler with ingredients. Cover with lid and twist to lock into place.

ROTISSERIE STAND
Insert the squared end of desired accessory into the Rotisserie Stand. Tighten the screw to secure in place.


- Tap the On/Off icon to begin the cooking cycle.
- After cooking time has elapsed, open the door and press the red lock/unlock button. Follow the directions below to remove accessories.
REMOVING THE ROTISSERIE ACCESSORIES
Wearing oven mitts, open the door. Hook the Rotisserie Holder under the right and left sides of the rotisserie accessory. Carefully pull the rotisserie accessory out from the Air Fryer Oven and place on the Rotisserie Stand.

TROUBLESHOOTING
Put the main plug into a grounded wall socket.
Tap the timer controls to set the required preparation time to turn on the appliance.
Place the accessory into the appliance properly.
Put smaller batches of ingredients in the basket.
Smaller batches are fried more evenly.
Tap the temperature controls to set the required temperature setting (see ‘Settings Chart’ on page 14).
Tap the timer controls to set the required preparation time (see ‘Settings Chart’ on page 14).
Ingredients that lie on top of or across each other (e.g.fries) need to be shaken halfway throug the preparation time (see ‘Settings Chart’ on page 14).
Use oven snacks or lightly brush some oil onto the snacks for a crispier result.
When you fry greasy ingredients in the air fryer, a large amount of oil will leak into the oven. The oil produces white smoke and the oven may heat up more than usual. This does not affect the appliance or the end result.
White smoke is caused by grease heating up in the oven. Make sure you clean the oven properly after each use.
Use fresh potatoes and make sure they stay firm during frying.
Rinse the potato sticks properly to remove starch from the outside of the sticks.
Make sure you dry the potato sticks properly before you add the oil.Cut the potato stickssmaller for a crispier result. Add slightly more oil for a crispier result.
The air fryer oven does not work.
The ingredients fried in the air fryer oven are not done.
The ingredients are fried unevenly in the air fryer oven.
Fried snacks are not crispy when they come out of the air fryer oven.
White smoke comes out of the appliance.
Fresh fries are fried unevenly in the air fryer.
Fresh fries are not crispy when they come out of the air fryer.
The appliance is not plugged in.
You have not set the timer.
The accessory is not put into the appliance properly.
The amount of ingredients in the basket is too much.
The set temperature is too low.
The preparation time is too short.
Certain types of ingredients need to be shaken halfway through the preparation time.
You used a type of snack meant to be prepared in a traditional deep fryer.
You are preparing greasy ingredients.
The oven still contains grease residues from previous use.
Quality potatoes will give an evencoo
Potatoes are too starchy. The crispiness of the fries depends on the amount of oil and water in the fries.
SETTINGS CHART
The settings below are only suggestions. As ingredients differ in origin, size, shape as well as brand, we cannot guarantee the best setting for your ingredients.
Portion Time Temperature Shake/Flip* Extra information (min.) POTATOES & VEGETABLES
Thin frozen fries 8 oz. 8-12 400 shake every 5 min.
Thick frozen fries 8 oz. 10-15 400 shake every 5 min.
Frozen onion rings 8 oz. 8-10 400 flip halfway
Roasted zucchini 1 medium sliced 8-10 400 flip halfway spray with oil
Roasted broccoli 8 oz. 10-15 400 shake halfway spray with oil
Fresh thin fries 8 oz. 12-15 400 shake every 5 min. spray with oil
Fresh thick fries 8 oz. 15-20 400 shake every 5 min. spray with oil
Fresh hash browns 4 pieces 10-12 375 flip halfway
MEAT & FISH
Frozen chicken fingers 8 oz. 10-20 400 flip halfway
Frozen fishsticks 8 oz. 10-20 400 flip halfway
Fresh fish fillet 2-4 fillets 10-12 400 flip halfway
Steak (medium) 8 oz. 10-15 400 flip halfway
Chicken breast 2-4 Breast 20-25 375 flip halfway
Chicken wings 6-8 Wings 10-15 400 flip halfway
Chicken legs 4-6 Legs 20-25 375 flip halfway
Chicken thighs 4-6 Thighs 20-25 375 flip halfway
Hamburgers 4 oz. Patties 8-10 400 flip halfway
BAKING
Cake 8 inch round 25-30 325
Cupcakes 6 cupcakes 15-20 325 pour batter into paper muffin cups
AIR FRYING TIPS
- Smaller ingredients usually require a slightly shorter preparation time than larger ingredients.
- Shaking smaller ingredients halfway through the preparation time optimizes the end result and can help prevent unevenly fried ingredients.
- Add 1 Tablespoon of oil to fresh potatoes for a crispy result. Fry your ingredients in the air fryer within a few minutes after you add the oil.
- Do not prepare extremely greasy ingredients, such as sausages, in the air fryer.
- Snacks that can be prepared in an oven can also be prepared in the air fryer.
- Use pre-made dough to prepare filled snacks quickly and easily. Pre-made dough also requires a shorter preparation time than homemade dough.
- Place a baking tin or oven dish on a crisper tray if you want to bake a cake or quiche, or if you want to fry fragile or filled ingredients.
- For even browning: Rotate top and bottom trays halfway through cooking when using two or more trays.
- For easy clean up: Spray trays and tumbler with nonstick cooking spray.
Baking Tips:
- Bake items on the middle and bottomtrays to prevent tops from burning.
- Rotate items halfway through to ensure an even bake.
- Smaller items, like cupcakes, perform better than items requiring a longer cook time, like cakes. Larger items will require additional cook time. Larger items with longer cook times run the risk of over-browning.
Note: Because the rapid hot air technology instantly reheats the air inside the appliance, pulling the ingredients out of the appliance during use for a short amount of time will not affect the process.
Tip:
- If you set the timer to half the preparation time, your timer will ring when you have to shake the ingredients. However, this means that you have to set the timer again to the remaining preparation time after shaking. (See ‘Settings Chart’ on page 14.)
- If you set the timer to full preparation time, there is no timer bell during cooking. Before finishing, you can pull out the ingredients at any time to check the cooking progress.
CLEANING AND MAINTENANCE
- Clean the appliance after every use.
- Make sure the appliance is completely cooled off before cleaning.
- Do not use metal kitchen utensils or abrasive cleaning material to clean the accessories.
DO NOT IMMERSE THE AIR FRYER IN WATER
- Unplug and let the appliance cool down.
Note: Remove the accessories from the Air Fryer Oven to let it cool down quicker.
- Wipe the outside of the appliance with a moist cloth.
- Clean the accessories with hot water, some dishwashing soap and a nonabrasive sponge.
Tip: If dirt is stuck to the bottom ofthe basket, fill the basket with hot water and some dishwashing soap and let the basket soak for approximately 10 minutes.
- Clean the inside of the Air Fryer Oven with a damp cloth to remove any food residues.

STORAGE
- Unplug the appliance and let it cool down.
- Make sure all parts are clean and dry.
- Put the Air Fryer Oven in a clean and dry place.
Environment
Do not throw away the appliance with the normal household waste at the end of its life, but hand it in at an official collection point for recycling. By doing this, you help to preserve the environment.
Guarantee and service
If you need service or information or if you have a problem, please visit our website or contact your distributor.
WARRANTY & SERVICE
This Limited Warranty is for one full year from the date of purchase and only valid when purchased from an authorized seller or retail location. It is only applicable to the original purchaser and is not transferable to a third party user. Repair or replacement of defective parts is solely at the seller’s discretion. In the event that repair isn’t possible, the seller will replace the product/part. If product repair replacement won’t suffice, the seller has the option of refunding the cash value of the product or component returned. Product defects not covered under the Warranty provisions include normal wear and damage incurred from use or accidental negligence, misuse of instruction specifications, or repair by unauthorized parties. The manufacturing company is not liable for any incidental or consequential damages incurred by such circumstances.
REFRENCE LINK


 Afrikaans
 Albanian
 Amharic
 Arabic
 Armenian
 Azerbaijani
 Basque
 Belarusian
 Bengali
 Bosnian
 Bulgarian
 Catalan
 Cebuano
 Chichewa
 Chinese (Simplified)
 Chinese (Traditional)
 Corsican
 Croatian
 Czech
Czech Danish
 Dutch
Dutch English
 Esperanto
 Estonian
 Filipino
 Finnish
 French
 Frisian
 Galician
 Georgian
 German
 Greek
Greek Gujarati
 Haitian Creole
 Hausa
Hausa Hawaiian
 Hebrew
 Hindi
Hindi Hmong
Hmong Hungarian
 Icelandic
 Igbo
Igbo Indonesian
 Irish
Irish Italian
 Japanese
 Javanese
 Kannada
 Kazakh
 Khmer
Khmer Korean
 Kurdish (Kurmanji)
 Kyrgyz
 Lao
Lao Latin
Latin Latvian
 Lithuanian
 Luxembourgish
 Macedonian
 Malagasy
 Malay
Malay Malayalam
 Maltese
 Maori
Maori Marathi
 Mongolian
 Myanmar (Burmese)
 Nepali
 Norwegian
 Pashto
 Persian
 Polish
 Portuguese
 Punjabi
 Romanian
 Russian
 Samoan
 Scottish Gaelic
 Serbian
 Sesotho
 Shona
Shona Sindhi
 Sinhala
 Slovak
 Slovenian
 Somali
 Spanish
 Sundanese
 Swahili
 Swedish
 Tajik
Tajik Tamil
Tamil Telugu
 Thai
Thai Turkish
 Ukrainian
 Urdu
Urdu Uzbek
Uzbek Vietnamese
 Welsh
Welsh Xhosa
Xhosa Yiddish
 Yoruba
 Zulu
Zulu