Medela Harmony Manual Breast Pump User Manual

Intended purpose
The Harmony breast pump is a manual breast pump to be used by lactating women to express and collect milk from their breasts. The Harmony breast pump is intended for a single user.
Product description
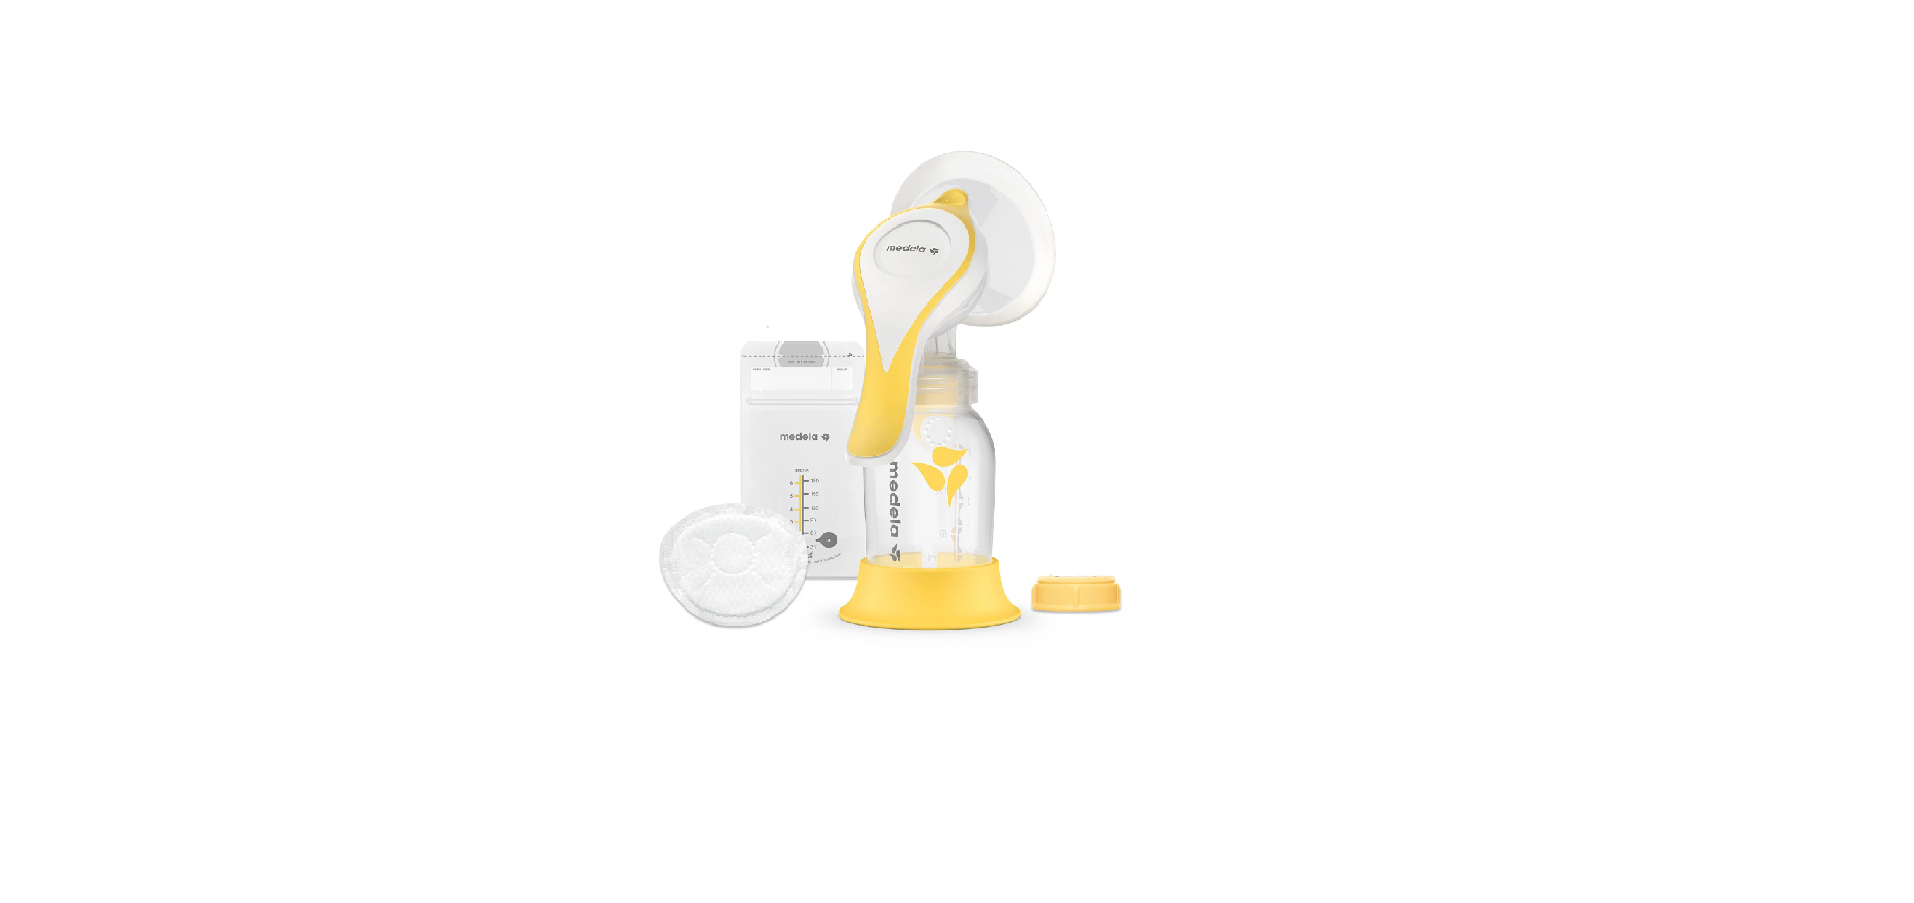
The Harmony is a personal-use manual breast pump with a PersonalFit Flex breast shield and an ergonomic 2-phase pump handle. This enables you to alternate between short low-volume movements to stimulate the milk flow and long, deep movements to optimally extract your milk – the way your baby does it. The Harmony breast pump
- is easy to handle and clean.
- enables you to silently and discreetly extract your milk.
- includes a 24 mm PersonalFit Flex breast shield to give you more comfort and more milk.
Product variants
There are two different variants of the Harmony breast pump:
- Harmony breast pump: Includes the pump only.
- Harmony Essentials Pack: Includes the pump, a silicon teat compatible with the Harmony bottle, four milk storage bags and four ultra-thin Safe & Dry nursing pads. Please also read the instructions for use provided with these additional items.
The Harmony breast pump includes
Refer to figure ¢6 on the foldout pages.
- 6-01 (Disposable) protective cover
- 6-02 PersonalFit Flex breast shield 24 mm
- 6-03 Connector
- 6-04 Handle
- 6-05 Stem with O-ring
- 6-06 Diaphragm
- 6-07 Valve head
- 6-08 Valve membrane (2 pcs)
- 6-09 Bottle
- 6-10 Lid
- 6-11 Bottle stand
The following items are included in the Harmony Essentials Pack only: - 6-12 Feeding teat
- 6-13 Milk storage bag (4 pcs)
- 6-14 Safe & Dry nursing pad (4 pcs)
Getting started
To be ready for expressing milk for the first time, separate the parts of the breast pump, then wash and sanitise them – see section 5.1.
Cleaning
Washing and sanitising the pump
Washing and sanitising are two different activities. They must be done separately to protect you and your baby, and to maintain the performance of the device.
- Wash – To clean the surfaces of the parts by physically removing contamination.
- Sanitise – To kill microorganisms, such as fungi, bacteria or viruses, that may be present on the surfaces of the parts.
CAUTION
- Separate and wash all parts that are exposed to breast milk immediately after use. This will help to remove breast milk residue and prevent growth of bacteria.
- Wash hands thoroughly with soap and water.
- Only use drinking-quality tap water or bottled water for cleaning.
- Do not place pump parts directly in the sink to rinse or wash. Use a clean wash basin used only for infant feeding items.
- Do not use a dish towel to rub or pat items dry.
- Do not use disinfectants for cleaning.
NOTICE
Pay attention to the following:
- Take care not to damage parts of the pump during cleaning. Do not use a sharp object (such as a toothpick) for cleaning.
- Some parts of the Harmony breast pump are very small (e.g. the O-ring or the valve membrane). Make sure that no parts are missing when you reassemble the pump after cleaning.
- Store the dried pump parts in a clean bag/container until next use.
- Do not store wet or damp parts as mould may develop.
- If you notice a white residue on the parts after boiling, your water may have a high mineral content. Remove residue by wiping parts with a clean towel and allow to air dry.
- Distilled water is recommended when boiling parts to prevent substantial mineral build-up over time, which may compromise your parts.
Before first use, remove and dispose of the protective cover ( ¢6-01) from the breast shield. Wash and sanitise the pump parts and bottles following the steps 1 to 4 below. Wash your pump parts and bottles after each use and sanitise the parts once per day after they have been washed.
Disassemble
Refer to figure ¢1 on the foldout page.
- Disassemble the pump into its individual parts (breast shield, connector, handle, valve head and milk bottle).
- Remove the diaphragm from the handle and pull the stem out.
- Remove the valve membrane from the valve head.
- Separate the milk bottle, lid and bottle stand.
- Wash
Rinse and wash by hand Wash in dishwasher or - Rinse the disassembled parts with cool water (approx. 20 °C).
- Clean these parts with plenty of warm, soapy water (approx. 30 °C). Use a commercially available washing-up liquid.
- Rinse the parts with cool water for 10 to 15 seconds (approx. 20 °C).

- Wash in dishwasher
Place the disassembled parts on the top rack or in the cutlery section. Use a commercially available dishwashing detergent.

- Sanitise (before first use and once per day)
Sanitise on stovetop Cover the disassembled, washed parts with water and boil at least for 5 minutes.

- Sanitise in microwave
Use Quick Clean* bags in the microwave in accordance with the instructions on the bags.

- Dry
Allow to air-dry on a clean, unused dish towel or paper towel. Store the dry parts in a clean environment. Do not store parts in an airtight container/bag if moist. It is important that all residual moisture dries.
Preparing for pumping
Only use clean and dry parts for assembly. Refer to chapter 5 for cleaning.
CAUTION
To prevent contamination of your milk:
- Wash hands thoroughly with soap and water before touching the pump parts and breasts.
- Dry your hands with a fresh towel or a single-use paper towel.
- Avoid touching the inside of bottles and lids.
To make sure that the device works properly and safely: - Check pump components for wear or damage before use. Replace if necessary.
- Always inspect all parts prior to use for cleanliness. If dirty, clean according to chapter 5.
NOTICE
The O-ring ensures a sealed connection between the handle and the connector. This is necessary to build up a vacuum. Make sure that the white O-ring is present in its groove of the stem. If it is missing or defective, contact the Medela Customer Service.
Selecting the correct breast shield size
Refer to figure ¢7 on the foldout pages.
- For proper sizing, measure the diameter of your nipple ( ¢7-01).
- Select the breast shield that is slightly larger than your nipple ( ¢7-02). For more information on breast shield sizing, visit www.medela.com.
Assembling the connector and breast shield
Refer to figure ¢2 on the foldout pages.
- 2-01 Carefully push the breast shield into the top opening of the connector.
- Choose a breast shield size that suits your needs.
- 2-02 Place the valve membrane in a horizontal position on the valve head. Carefully push the knob on the membrane‘s back into the smallest hole of the head until it engages.
- The membrane must lie flat on the head.
- 2-03 Push the valve head onto the inner sleeve of the connector.
- The valve head must be positioned sideways as shown in the picture.
- 2-04 Screw the bottle into the connector.
Assembling the handle
Refer to figure ¢3 on the foldout pages.
- 3-01 Insert the stem (with the O-ring) into the hole on the upper side of the diaphragm.
- 3-02 Make sure that the oval shaped base of the stem is aligned correctly to the diaphragm.
- 3-03 Place the diaphragm into the pump handle. Mind the orientation (the recess in the diaphragm engages on the tongue in the handle) and press down firmly around the entire edge to ensure a proper seal.
- 3-04 Insert the stem of the handle assembly in the opening on top of the connector. Push until the stem locks into place.
Placing the breast shield
Refer to figure ¢4 on the foldout pages.
- The oval breast shields can be rotated (360°) and placed in the desired position to have the most comfortable fit for you.
- 4-01 Place the breast shield on the breast so that the nipple is properly centred in the tunnel.
- 4-02 Hold the breast shield onto your breast with your thumb and index finger. Support your breast with the palm of your hand.
- Start pumping as described in section 7.2.
Operating your breast pump
Mimicking the baby’s rhythm (2-Phase expression)
Babies use a “two-speed” sucking action. At first, they suck quickly, and then they switch to a slower, deeper sucking rhythm once milk starts to flow. The quicker sucking action stimulates the milk ejection reflex and triggers the milk flow; the slower sucking draws the milk out for the feeding phase. 2-Phase expression is a “two-speed” pumping action that mimics the baby’s natural sucking rhythms. The pump’s handle design allows you to begin with fast sucking action called the stimulation phase. For this, you actuate the short side of the handle with your thumb in a fast manner. When you see milk flow or feel milk ejection, you can then switch to the expression phase by actuating the longer side of the handle with your fingers in a slower, full stroke manner.
Expressing your breast milk
CAUTION
- Do not hold the pump by the bottle. This can lead to engorgement and blockage of the milk ducts.
- Only fill the bottle to the 150 ml mark.
- Contact your healthcare professional or breastfeeding specialist if you can express only minimal or no milk or if expression is painful.
Refer to figure ¢5 on the foldout pages.
- 5-01 Start pumping with stimulation: Using your thumb, press down the smaller part of the handle. This is the part with the milk drops on top. Press and release quickly, again and again, until your milk starts to flow.
- 5-02 Once your milk starts to flow, switch to expression: With your fingers, press down the lower, longer part of the handle.
- By doing so, you build up a vacuum that facilitates the milk flow. You control the level of the vacuum with the speed of the handle stroke and the compression that is created. Decide yourself which pumping rhythm is the best for you.
- Stop pumping when you feel that the milk does not flow anymore or when the bottle is full.
After pumping
Prepare the milk for storage as follows:
- Unscrew the bottle from the connector.
- Use the bottle stand to prevent the bottle from tipping over.
- Close the bottle with a lid.
Handling of breast milk
General storage guidelines
Storage guidelines for freshly expressed breast milk (for healthy term babies) Room temperature
16 to 25°C (60 to 77°F) Refrigerator 4°C (39°F) or colder
Freezer –18°C (0°F ) or colder
Breast milk thawed in the refrigerator Up to 4 hours is best *Up to 6 hours for milk expressed under very clean conditions
Up to 3 days is best *Up to 5 days for milk expressed under very clean conditions
Up to 6 months is best *Up to 9 months for milk expressed under very clean conditions
At room temperature: Up to 2 hours
Refrigerator: Up to 24 hours Do not refreeze!
- Guidelines for expressing milk under very clean conditions: Before expressing breast milk, mothers should wash their hands with soap and water or an alcohol-based hand sanitiser. The pump parts, bottles and pumping area must be clean. Breasts and nipples do not need to be washed before pumping.
- These guidelines for storage and thawing of breast milk are a recommendation. Contact your lactation consultant or breastfeeding specialist for further information.
- Store breast milk in the coldest spot of the refrigerator (at the back of the glass shelf above the vegetable compartment).
Freezing
NOTICE
- Repeated freeze/thaw cycles destroy the structure of the milk. Therefore, never refreeze breast milk.
- Freeze expressed breast milk in plastic bottles or milk storage bags. Do not fill the bottles or bags more than 3/4 full to allow space for possible expansion.
- Label the bottles or bags with the date and volume of expression.
- Plastic bottles and parts become brittle when frozen and may break when dropped.
- Do not use the breast milk from bottles or components that show signs of damage.
CAUTION
- Do not thaw or warm breast milk in a microwave or a pan of boiling water. This helps preserve important components and prevents burns.
- To preserve breast milk components, thaw the milk overnight in the refrigerator.
- Alternatively, hold the bottle or bag under warm water (max.37°C / 98.6°F).
NOTICE
Gently swirl the bottle or bag to mix any fat that has separated. Avoid shaking or stirring the milk.
Troubleshooting
In case of an unexpected behaviour of your breast pump check with the troubleshooting table if you find the issue in the column “Problem” and follow the instructions in the column “Solution”.
Troubleshooting table
Problem Solution
There is low or
no suction
Check the O-ring on the stem for presence and proper condition. If it is missing or defective, contact the Medela Customer Service.
Make sure that the breast shield forms a complete seal around the breast.
Make sure that the yellow valve head and the white membrane are clean and not damaged.
Make sure that the membrane lies flat on the valve head.
Make sure that the valve head is positioned sideways on the connector.
Make sure that the components of the handle are assembled correctly.
Check all connections.
If suction does not improve after having followed these steps, contact the Medela
Customer Service.
There is no milk flow
Ensure your breast pump is assembled correctly and there is suction.
Relax and take a 10-15 minute break if expression is not achieved after two consecutive pumping sessions.
Consult your lactation consultant/breastfeeding specialist if expression still does not occur.
If you have not resolved the problem with your breast pump or you have further questions, please contact Medela Customer Service. For contact data visit www.medela.com. Under “Contact” choose your country
Accessories
The following products are sold separately:
- PersonalFit Flex breast shield sizes S (21mm), M (24mm), L (27mm), XL (30mm)
- Breast milk bottle 150 ml, 250 ml
- Breast milk storage bags Depending on your region, check local website/shops for availability.
Warranty
Please refer to the “International Warranty” for Medela products available under www.medela.com to find out if and to what extent the warranty applies to this product.
Disposal
At the end of its operating life, separate the parts of your breast pump and dispose of according to local regulations. Breast shields, connector and accessories The parts are made of plastics that are not harmful to the environment when disposed of as household waste. Recycle or dispose of according to local regulations.
REFRENCE LINK
https://www.medela.us/breastfeeding/products/breast-pumps/harmony-breast-pump