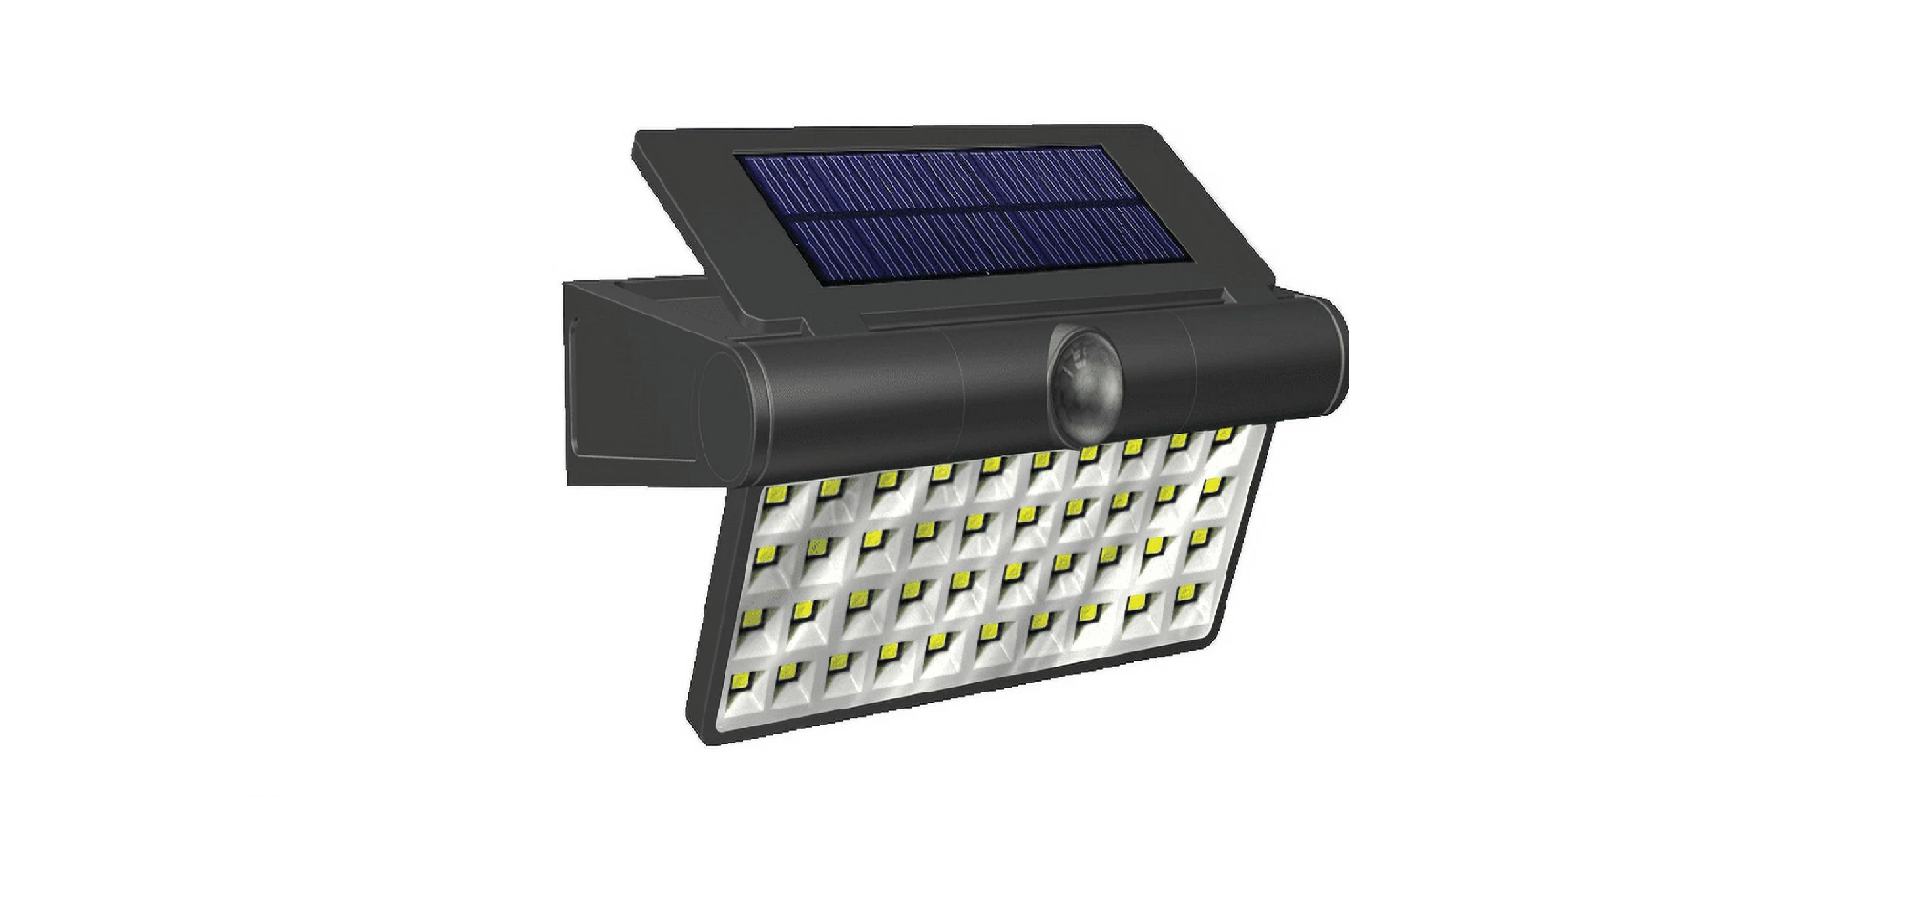
Hypertough SR71AA12H-08 Linkable Solar LED Pathway Light Guide

INSTRUCTIONS
- FOR FIRST TIME USE: SOLAR LIGHT NEEDS TO CHARGE IN FULL SUNLIGHT FOR 8 -12 HOURS WITH THE SWITCH IN THE “ON” POSITION TO FULLY CHARGE THE RECHARGEABLE BATTERY.
- IF INSTALLING MORE THAN 1 LIGHT, YOU MUST LINK YOUR LIGHTS FIRST BEFORE INSTALLATION BEGINS. YOU MAY LINK UP TO 20 LIGHTS. AFTER THE LIGHTS ARE LINKED YOU MAY BEGIN THE INSTALLATION PROCESS.
- The intelligent solar LED motion activated light measures the corresponding available battery power through the current voltage point of the battery, adjusts the energy and lumen output, and maximizes the lighting time.
INSTALLATION
Tools Required

Hardware Included

Marking the location
- Mark the location where you want to mount the light xture (Part C).
- Measure the width of two holes on the back of the solar fence light to align holes for the 2 screws (Part A) on the surface. The distance between the two holes is 5.73in. (145.5mm).
- Drill two holes.
Mounting the light
- Insert the wall anchors (Part B) so they are ush with the surface.
- Insert the screws (Part A) and leave at least 1/4in. (6.3mm) of the screws (Part A) outside of the surface for holding the solar fence light.
- Mount the light on the screws (Part A) by placing the keyholes on the back of the light over the screw heads.

TROUBLE SHOOTING
If the light does not turn on, remove the battery cover and check if the battery pack is connected to the battery connector. If the connection is ok, replace the battery with a new one.
REPLACING THE BATTERY
Slide the power switch to the “OFF” position. Use a Phillips head screwdriver to remove the 5 screws holding the battery cover in place. Gently pull battery pack away from the light fixture and disconnect the battery connector. Replace old battery pack with a new 3.7V, 2400 mAh lithium (18650) rechargeable battery pack. Connect the battery connector and insert battery pack into the light fixture. Replace the battery cover by aligning it properly and replacing the 5 screws removed earlier. Slide the power switch to the “ON” position. For optimal performance, allow light fixture to charge in direct sunlight for 8-12 hours to fully charge the battery

WARNING: Do not dispose of lithium batteries in municipal waste stream or by re as batteries may explode. Do not open, short circuit, or destroy batteries. Dispose of batteries in accordance with Local, State, and Federal regulations. Do not mix old and new batteries. Do not mix alkaline, standard (carbon-zinc), or rechargeable (nickel cadmium, nickel metal hydride or lithium ion) batteries .
LINKABLE SET-UP INSTRUCTIONS
- Make sure the LED lights are directed away from your eyes then move the power switch to the “ON” position.
- Among all the lights, select one as the parent light (PL), and the others as the children lights (CL).
- (CL): Move the link button (Part E) to the “LINK ON” position (direction of arrow) on all children lights (CL) you want to connect to the parent light (PL). Keep in the “LINK ON” position for one second, then switch the link button (Part E) back to its initial position quickly. The (CL) will start ashing every second, now they are in link mode. All (CL) after complete step 3) operation, time to place the (PL) in link mode.
- (PL): Move the link button (Part E) to the “LINK ON” position (direction of arrow). Keep in the “LINK ON” position for 5 seconds, then the parent light (PL) will flash very slowly (flashing every 4 seconds). The (PL) is now in link mode and sending signals to pair with the selected (CL).
- Once the (CL) in link mode receives and saves the paired ID code signal transmitted by the (PL), completes and exits the pairing mode. The blinking light(s) will stop flashing and resumes normal use. Make sure that all (CL) pairs are completed.
- (PL): Move the link button (Part E) for parent light (PL) back to its initial position. The blinking light(s) will stop flashing and resumes normal use. Now the (PL) is linked with the (CL), the linking process is complete. When any of the lights (PL) or (CL) are triggered by motion, all lights will activate.

Note:
- Light will stay on 30 seconds when triggered by motion. Detection range is 19.69-26.2 ft (6-8m), detection angle is 120°.
- Light use radio frequency technology to link, and should not be greater than 49.2 ft (15m) between the neighboring/adjacent lights. If you buy a new linkable solar light and want to add it into the “family” , you can re-start this LINKABLE SET-UP INSTRUCTION again for all the lights you want to link.
- If you want one of the (CL) to unpair, turn link button (Part E) to the “LINK ON” position (direction of arrow), stay for more than 5 seconds, the (CL) will flash very slowly (flashing every 4 seconds). then turn back to the original position. Then this (CL) is unpaired. Precautions:
- The luminaries that are paired with the code are not completed in the normal steps. After the power is turned off, the power is turned on again to resume normal operation.
- The code switch is mis-operated when the code is not being used. It needs to be powered off again and then powered back on to resume normal operation.
FCC WARNING
Warning: Changes or modifications to this unit not expressly approved by the party responsible for compliance could void the user authority to operate the equipment.
Notes: This equipment has been tested and found to comply with the limits for a Class B digital device, pursuant to Part 15 of the FCC Rules. These limits are designed to protection against harmful interference in a residential installation. This equipment generates, uses and can radiate radio frequency enerqy and, if not installed and used in accordance with the instructions, may cause harmful interference to radio communications. However, there is no quarantee that interference will not occur in a particular installation. If this equipment does cause harmful interference to radio or television reception, which can be determined by turning the equipment off and on, the user is encouraged to try to correct the interference by one or more of the following measures:
- Reorient or relocate the receiving antenna.
- Increase the separation between the equipment and receiver.
- Connect the equipment into an outlet on a circuit different from that to which the receiver is connected.
- Consult the dealer or an experienced radio / TV technician for help.
WARNING: Do not dispose of lithium batteries in municipal waste stream or by fire as batteries may explode. Do not open, short circuit, or destroy batteries. Dispose of batteries in accordance with Local, State, and Federal regulations. Do not mix old and new batteries. Do not mix alkaline, standard (carbon-zinc), or rechargeable (nickel cadmium, nickel metal hydride or lithium ion) batteries .
REFRENCE LINK


 Afrikaans
 Albanian
 Amharic
 Arabic
 Armenian
 Azerbaijani
 Basque
 Belarusian
 Bengali
 Bosnian
 Bulgarian
 Catalan
 Cebuano
 Chichewa
 Chinese (Simplified)
 Chinese (Traditional)
 Corsican
 Croatian
 Czech
Czech Danish
 Dutch
Dutch English
 Esperanto
 Estonian
 Filipino
 Finnish
 French
 Frisian
 Galician
 Georgian
 German
 Greek
Greek Gujarati
 Haitian Creole
 Hausa
Hausa Hawaiian
 Hebrew
 Hindi
Hindi Hmong
Hmong Hungarian
 Icelandic
 Igbo
Igbo Indonesian
 Irish
Irish Italian
 Japanese
 Javanese
 Kannada
 Kazakh
 Khmer
Khmer Korean
 Kurdish (Kurmanji)
 Kyrgyz
 Lao
Lao Latin
Latin Latvian
 Lithuanian
 Luxembourgish
 Macedonian
 Malagasy
 Malay
Malay Malayalam
 Maltese
 Maori
Maori Marathi
 Mongolian
 Myanmar (Burmese)
 Nepali
 Norwegian
 Pashto
 Persian
 Polish
 Portuguese
 Punjabi
 Romanian
 Russian
 Samoan
 Scottish Gaelic
 Serbian
 Sesotho
 Shona
Shona Sindhi
 Sinhala
 Slovak
 Slovenian
 Somali
 Spanish
 Sundanese
 Swahili
 Swedish
 Tajik
Tajik Tamil
Tamil Telugu
 Thai
Thai Turkish
 Ukrainian
 Urdu
Urdu Uzbek
Uzbek Vietnamese
 Welsh
Welsh Xhosa
Xhosa Yiddish
 Yoruba
 Zulu
Zulu