HP OfficeJet 4650 All-in-One series User Manual

Get started
- Prepare: Follow the instructions in the Start here booklet or setup flyer to begin printer setup.
- Connect: Visit 123.hp.com/oj4650 to launch and load the setup software or app, and connect the printer to your network.
Note for Windows® users: You can also use the printer software CD. If the installation program does not start, browse to Computer, double-click the CD/DVD drive icon with the HP logo, and then double-click setup.exe. - Activate: Create an account; download and install the HP printer software or the HP All-in-One Remote app to finish setup.
Learn more
Electronic Help: Install the electronic Help by selecting it from the recommended software during software installation. Learn about product features, printing, troubleshooting, and support. Find notices, environmental, and regulatory information, including the European Union Regulatory Notice and compliance statements, in the Technical Information section.
- Windows® 8.1: Click the down arrow in lower left corner of the Start screen, select the printer name, click Help, and then select Search HP Help.
- Windows® 8: On the Start screen, right-click an empty area on the screen, click All Apps on the app bar, click the icon with the printer’s name, and then click Help.
- Windows® 7, Windows Vista®, and Windows® XP: Click Start, select All Programs, select HP, and then select the printer name.
- OS X: Click Help > Help Center. In the Help Viewer window, click Help for all your apps, and then click the Help for your printer.
Scan to find out more!
Standard data rates may apply. Might not be available in all languages.

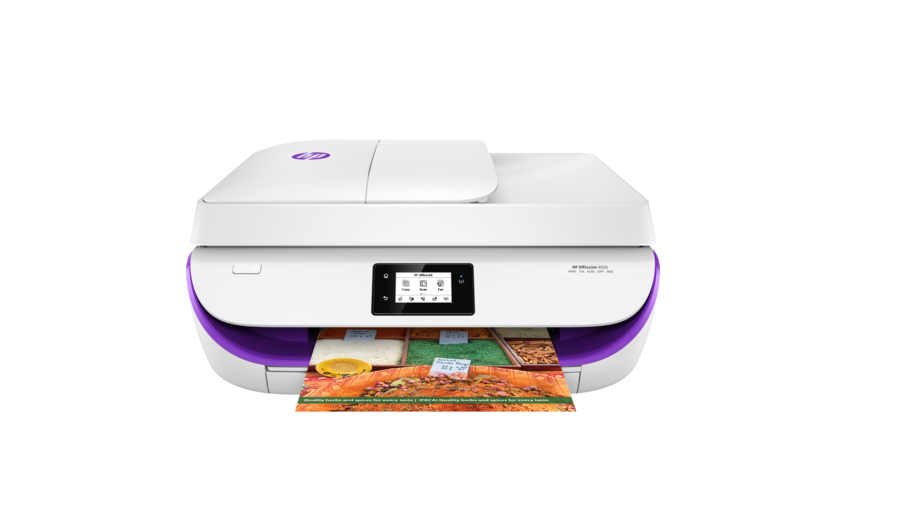
Control panel
- On button: Turns the printer on or off.
- Back button: Returns to the previous screen.
- Help button: Shows help content if it is available for the current operation.
- Home button: Returns to the Home screen, the screen that is displayed when you first turn on the printer.
- Control panel display: Touch the screen to select menu options, or scroll through the menu items.
- Wireless light: Indicates the status of the printer wireless connection.
- Solid blue light indicates that wireless connection has been established and you can print.
- Slow blinking light indicates that wireless is on, but the printer is not connected to a network. Make sure your printer is within the range of wireless signal.
- Fast blinking light indicates wireless error. Refer to the message on the printer display.
- If wireless is turned off, the wireless light is off and the display screen shows Wireless Off.
Safety information
Always follow basic safety precautions when using this printer to reduce the risk of injury from fire or electric shock.
- Read and understand all instructions in the documentation that comes with the printer.
- Observe all warnings and instructions marked on the printer.
- Unplug this printer from wall outlets before cleaning.
- Do not install or use this printer near water, or when you are wet.
- Install the printer securely on a stable surface.
- Install the printer in a protected location where no one can step on or trip over the power cord, and the power cord cannot be damaged.
- If the printer does not operate normally, see the help file (which is available on your computer after you install the software).
- There are no user-serviceable parts inside. Refer servicing to qualified service personnel.
- Use only with the power cord and power adapter (if provided) supplied by HP.
Basic troubleshooting
If you are unable to print:
- Make sure the cable connections are secure.
- Make sure the printer is powered on. The On button will be lit white.
- Check the wireless status light to make sure your printer is connected to a network.
- Visit the HP Diagnostic Tools website at www.hp.com/go/tools to download free diagnostic utilities (tools) that you can use to fix common printer problems.
Set up fax
You can set up fax using the software wizard (recommended) during the software installation or after installation using Fax Setup Wizard from the software (Windows) or Basic Fax Settings from HP Utility (OS X), or continue with the steps below.
If the phone line is only used for fax
- a. Connect one end of the phone cord to the phone wall jack.
- b. Connect the other end to the port labeled 1-LINE on the back of the printer.

- Phone wall jack
- Fax port (labeled 1-LINE)
Note: Do not insert into the port labeled 2-EXT. - DSL/ADSL filter (provided by the telephone company or service provider)
If additional devices are connected to the phone line

- Phone wall jack
- Parallel splitter
- DSL/ADSL modem
- Telephone answering machine
- Telephone
- ISDN wall jack
- Terminal adapter or ISDN router
- Broadband modem
- DSL/ADSL filter
- Analog telephone adaptor
Use fax
Send a standard fax
- Load your original print-side down on the right front corner of the scanner glass or print-side up in the document feeder.
- From the Home screen on the control panel display, touch Fax.
- Touch Send Now.
- Touch Enter Fax Number, enter the fax number by using the keypad, and then touch OK.
To add a pause in the fax number, press * repeatedly, until a dash (-) appears on the display. - Touch Black or Color.
If the printer detects an original loaded in the document feeder, it sends the document to the number you entered.
If the recipient reports problems with the quality of the fax you sent, try changing the resolution or contrast of your fax.
Solve fax problems
If you still have problems using fax after successfully completing the fax test, follow the steps below:
Cannot send but can receive faxes
- Perform a copy or scan to ensure that the printer is working properly.
- Check the physical fax connections.
- Check if other fax devices can send to the same phone number. The receiving fax device might have blocked your phone number, or it might be having technical problems.
- If the problem persists, print the fax test report and fax log (and if available, the Caller ID report and Junk Fax report), and then contact HP for further help.
HP printer limited warranty statement
| HP Product | Limited Warranty Period |
| Software Media | 90 days |
| Printer | 1 year hardware warranty |
| Print or Ink cartridges | Until the HP ink is depleted or the “end of warranty” date printed on the cartridge has been reached, whichever occurs first. This warranty does not cover HP ink products that have been refilled, remanufactured, refurbished, misused, or tampered with. |
Extent of limited warranty
- This HP Limited Warranty applies only to HP branded products sold or leased a) from HP Inc., its subsidiaries, affiliates, authorized resellers, authorized distributors, or country distributors; b) with this HP Limited Warranty.
- HP Inc. (HP) warrants to the enduser customer that the HP products specified above will be free from defects in materials and workmanship for the duration specified above (the “Limited Warranty Period”), which Limited Warranty Period begins on the date when the HP Hardware Product is first detected during its initial boot, which date is known as the “first start date.” Alternatively, if the HP Hardware Product is not detected at that time, the Limited Warranty Period shall start on the latter of the date of purchase or lease from HP or from the HP or, if applicable, the HP authorized service provider completes installation.
REFRENCESS LINK
http://h10032.www1.hp.com/ctg/Manual/c04783165.pdf