Table of contents
show
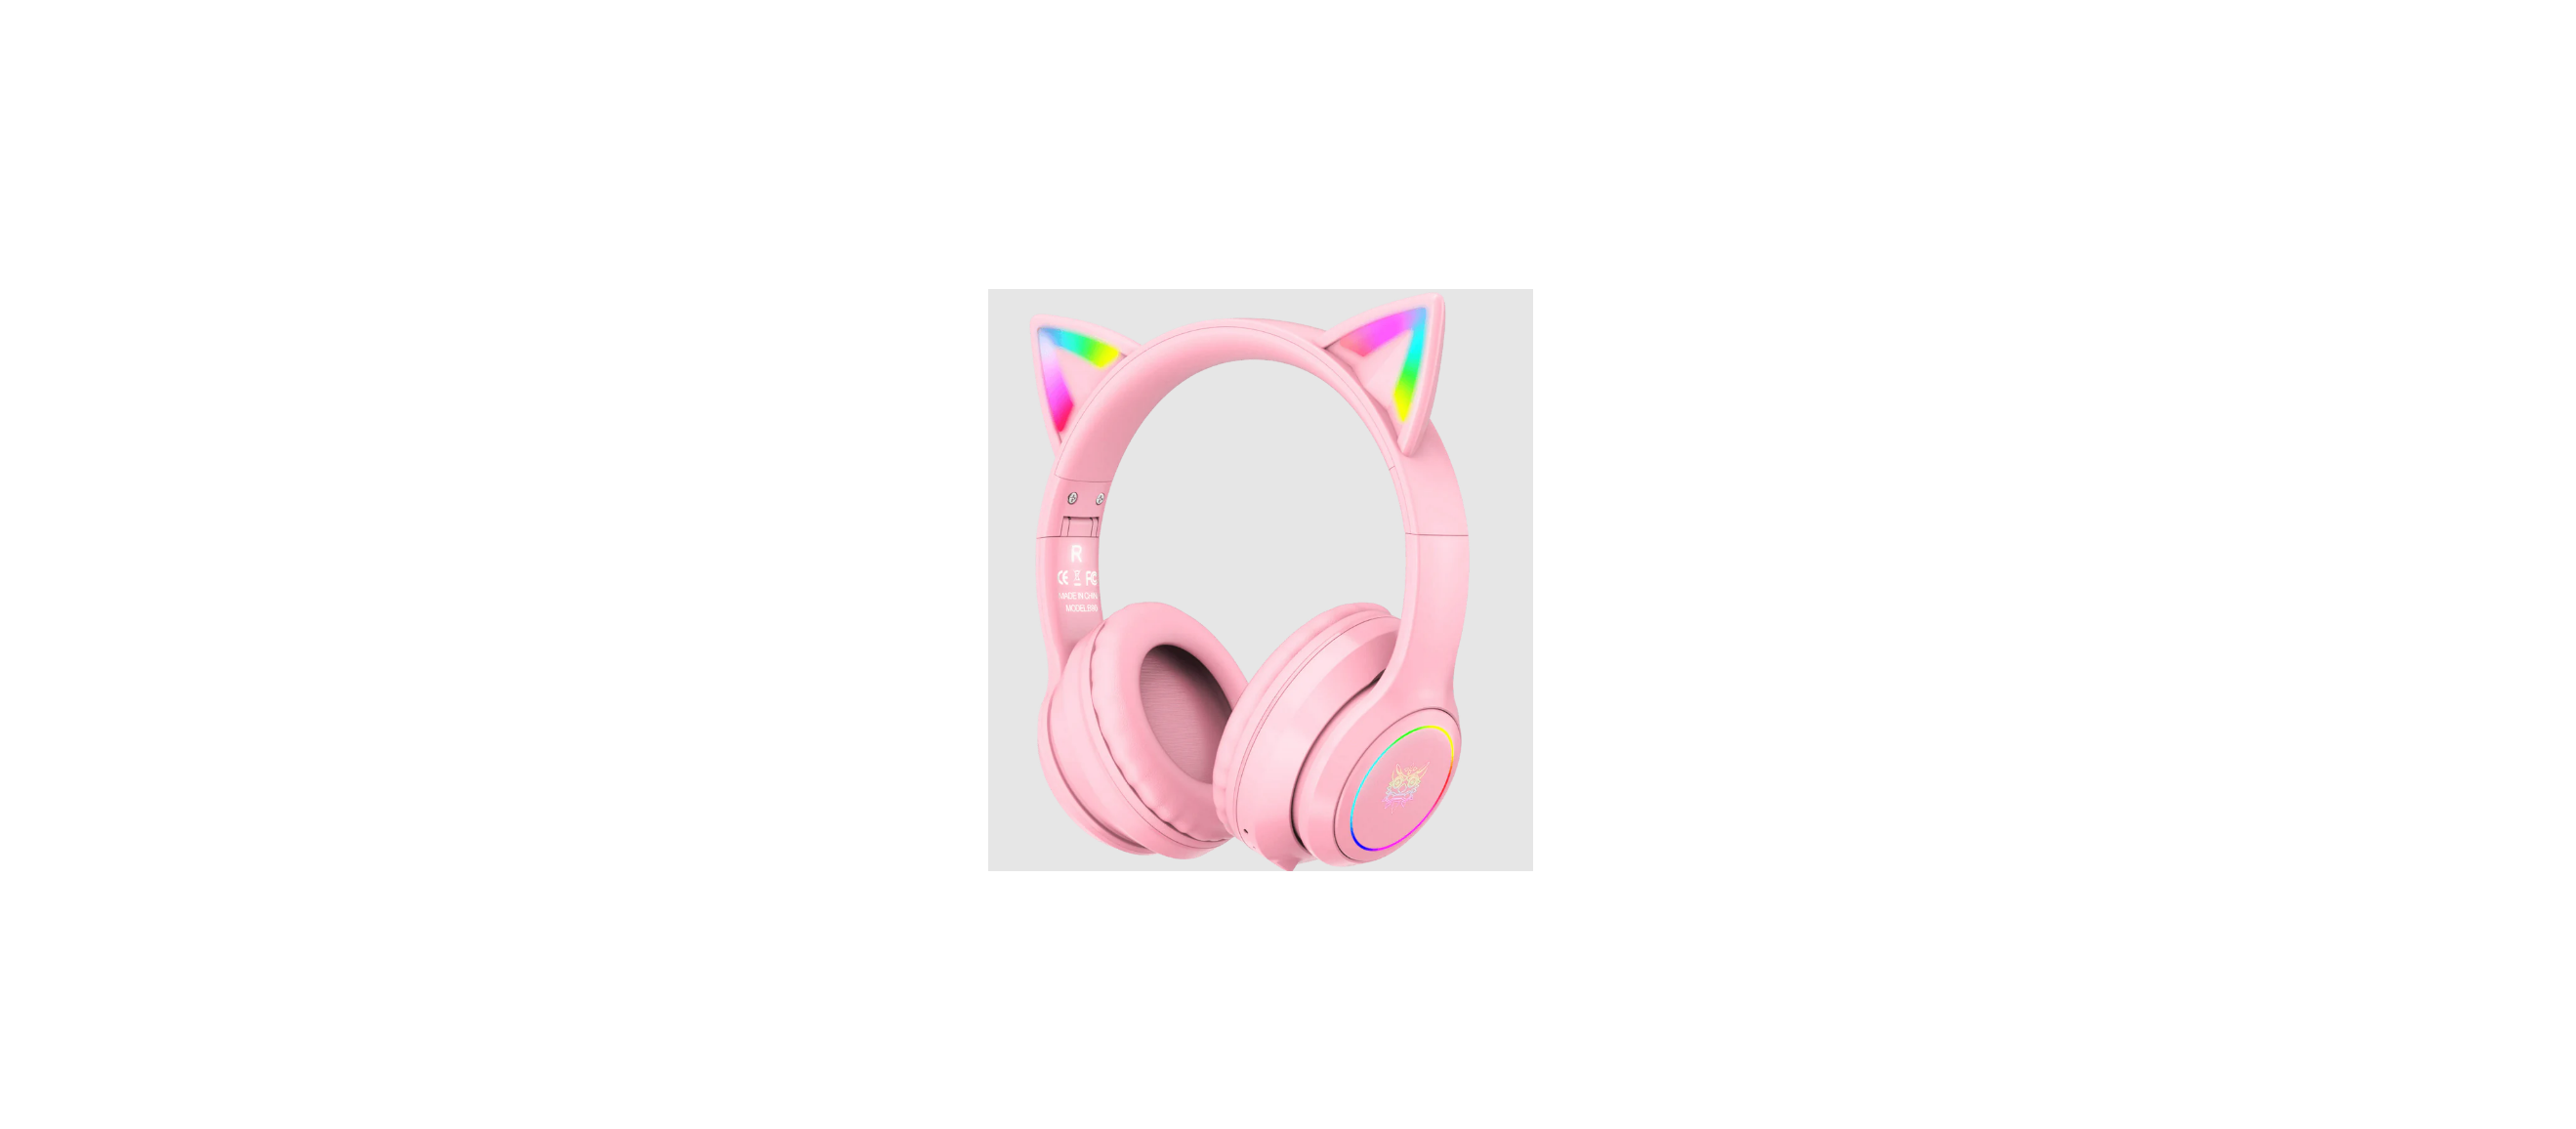
ONIKUMA B90 Professional Gaming Headset User Manual

Overview


- Excellent high/medium/bass tone quality.
- The soft materials of the ear pads are perfect for wearing the headset for a long time, as well as improving sound and water isolation
- The earphones are designed with light materials and thanks to the adjustable headband are truly focused on a comfortable gaming experience.
- The highly sensitive microphone provides more accurate, clearer, and smoother sounds.
- Headphone Volume+
- 6. MFB Button
- Headphone Volume-
- Power Switch Key Button
- Micro USB
- 3.5 Audio Interface

- Rotate the headset and find a suitable position
- Extent the headset arms and find the right height
- Make sure ear pads provide a tight seal around the ears
- Make sure the headrest fits closely with the top of the head. We recommend not pulling the headphone cups as far apart as possible, gently pull them so that they fit on your head, then adjust the height.
Product Specifications

Function Control

How to use
Connecting to Bluetooth
- When the headset is powered, please turn the power switch to the “ON” direction and a “power on” prompt will sound. Then the blue light of the power indicator will be on for 2 seconds before turning to red and blue lights alternately flashing, The headset enters the Bluetooth search pairing state at this time.
- In order to pair, search for the headset name “B90” in your Bluetooth device list. Upon successful pairing, you should hear the “connected” prompt.
- The headset will remember previously paired devices. When a new connection is made, you only need to turn on the Bluetooth of the device you do not want to connect to. Similarly, the headset will automatically connect to the most recently connected device. Please note that if there is no return connection, you should find the headset in the Bluetooth list and select “B90” to connect again.
- If the headset is stuck during use or other functions cannot be used normally, pull the power switch to the OFF side, and charge the headset correctly. After 2 seconds, restart the headset to restore the headset function.

Using the cable to connect
The headset can be connected to your preferred device by directly plugging in via the cable. If the headset is in Bluetooth state, the headset will automatically power off and enter line-in mode.

Charging the headset
- The earphone has a built-in battery, so it should be charged at least once every 2 months if it is not used for a long time.
- The package is equipped with a micro us head charging cable, which can be charged by plugging in the power supply (adapted charger 5V1A).
- The red light is always on to indicate the start of charging.

REFERENCE LINK
DOWNLOAD PDF LINK


 Afrikaans
 Albanian
 Amharic
 Arabic
 Armenian
 Azerbaijani
 Basque
 Belarusian
 Bengali
 Bosnian
 Bulgarian
 Catalan
 Cebuano
 Chichewa
 Chinese (Simplified)
 Chinese (Traditional)
 Corsican
 Croatian
 Czech
Czech Danish
 Dutch
Dutch English
 Esperanto
 Estonian
 Filipino
 Finnish
 French
 Frisian
 Galician
 Georgian
 German
 Greek
Greek Gujarati
 Haitian Creole
 Hausa
Hausa Hawaiian
 Hebrew
 Hindi
Hindi Hmong
Hmong Hungarian
 Icelandic
 Igbo
Igbo Indonesian
 Irish
Irish Italian
 Japanese
 Javanese
 Kannada
 Kazakh
 Khmer
Khmer Korean
 Kurdish (Kurmanji)
 Kyrgyz
 Lao
Lao Latin
Latin Latvian
 Lithuanian
 Luxembourgish
 Macedonian
 Malagasy
 Malay
Malay Malayalam
 Maltese
 Maori
Maori Marathi
 Mongolian
 Myanmar (Burmese)
 Nepali
 Norwegian
 Pashto
 Persian
 Polish
 Portuguese
 Punjabi
 Romanian
 Russian
 Samoan
 Scottish Gaelic
 Serbian
 Sesotho
 Shona
Shona Sindhi
 Sinhala
 Slovak
 Slovenian
 Somali
 Spanish
 Sundanese
 Swahili
 Swedish
 Tajik
Tajik Tamil
Tamil Telugu
 Thai
Thai Turkish
 Ukrainian
 Urdu
Urdu Uzbek
Uzbek Vietnamese
 Welsh
Welsh Xhosa
Xhosa Yiddish
 Yoruba
 Zulu
Zulu