Radenso Pro M Radar Detector User Manual

foreward.
Congratulations on your new investment. You chose one of the best high-tech, GPS enabled, mobile radar and laser detectors available on the market today. The Radenso Pro M is the evolution of the Radenso equipped with an additional circuit designed to detect the newest MultaRadar and Gatso RT 3 delivering astonishing detection range on all radar bands. Coupled with multiple lters against annoying false alerts your Radenso Pro M will alert only when it counts.
Features
- Extremely sensitive, high performance windshield mounted radar detector
- Longest detection range on all bands
- MultaRadar and Gatso RT3 capable
- Selectable X, K, Ka narrow, MRCD, MRCT and Gatso radar bands tuned to the exact radar frequencies used in North America for increased range and reduced false alarms
- Selectable Ka POP radar band (ON/OFF).
- Selectable 2-level Traffic Sensor Rejection
- Filter (TSR Low and TSR High)
- Selectable 2-level filter for MRCD bands.
- Selectable Ka band filter
- Highway, City and AutoCity Mode
- Revolutionary Auto City Mode with selectable band filtering based on speed settings
- MUTE Mode mutes all K and X band alerts as long as it is activated. Ka and Laser alerts are not muted
- Bright, Dim and Dark Display modes
- Smart Dark Display Mode (turns on display only for alerts)
- Bright OLED display. AutoMute reduces volume of alerts after 8 seconds
- Preloaded GPS Speed and Red Light Camera database
- Unlimited free lifetime updates for redlight/speed cameras and firmware
- 7 selectable display modes
- Displays radar frequency during visual alert
- Voice Alerts with frequency announcement during alert.
- Mark your own POI locations for future alerts (potholes, hidden driveways, etc).
- GPS lockout of false alert areas.
- User-friendly, easy intuitive voice-guided feature section.
- Large suction cups for firm, secure installation on windshield
- Power Cord with Power ON/OFF button.
- 1 year manufacturer warranty
Main Functions
The Radenso Pro M is one of the most powerful radar detectors in the industry. It is designed to protect the driver from speeding tickets and fines. The Radenso Pro M communicates with the driver in English and its main functions are the detection of radar (X, K, Ka, MultaRadar), laser guns, red light cameras, and fixed speed cameras.
Notifications:
When a radar signal is detected, the driver will be alerted by a visual text warning and a voice/tone alert. The display and voice alert will indicate the detected radar band, frequency, and signal strength. A beeping warning tone will increase its intensity with increasing signal strength. The signal strength has ten levels. GPS alerts are reported by voice; for example, “Speed camera.”
what’s inside

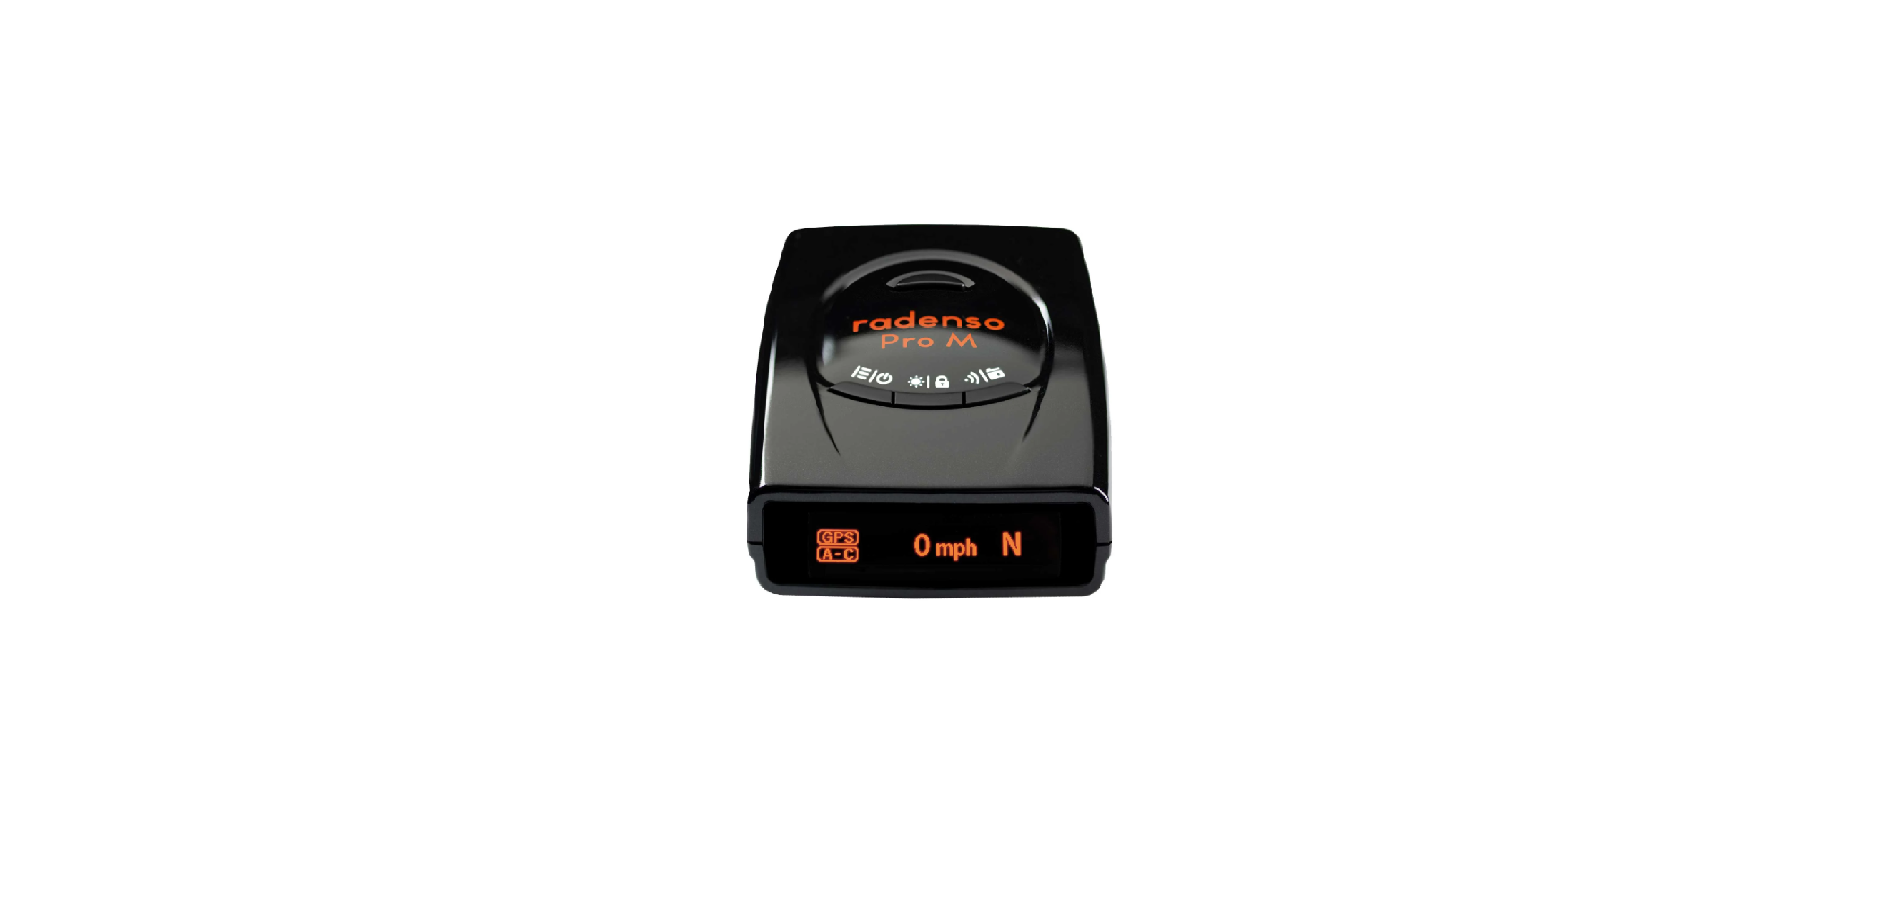
- A. Radenso Pro M
- Small, easily mountable radar detector
- Intuitive OLED display
- B. Power Cable
- Provides power to the Pro M with its own on/ off switch
- C. Windshield Mount
- Attaches easily to the Pro M
- Strong suction cups attaches securely to the windshield
- D. Travel Case
- The travel case fits your detector and cords for compact travel
- E. USB Cord
- Mini USB cord connects your Pro M and computer to allows firmware updates.
additional accessories.
Direct Wire Kit (optional)

- Allows you to hardwire your unit directly to your vehicle
- Frees up your car’s power adapter
- Compatible with the Radenso Pro / Pro SE / Pro M
Visor Mount (optional)

- The visor mount allows you to clamp your Pro M to your visor rather than your windshield
- Compatible with the Radenso Pro / Pro SE / Pro M
installation guide
Quick Start Up Guide
To start using your Radenso Pro M radar detector, follow these easy steps:
- Slide the windshield mounting bracket into the QuickMount slot at the front of the radar detector.
- Plug the small end of the power cable into the power jack on the Radenso Pro M left side and connect the large plug with the 12V power socket in your car.
- Press the red button at the large end of the power cable (at the 12V socket) to turn the power cable on. The button will light up to indicate that the power is on.
- After a few seconds, the Radenso Pro M will notify you that the GPS is connected with a solid “GPS” on the display.
- Adjust the volume level by pressing the volume buttons located on the right side of the unit.
Your Radenso Pro M is now ready to go. If you want to change any of the default settings of your unit, please refer to pages 6-8.
Installation
The Radenso Pro M windshield mount allows a firm and secure installation of the radar detector at the windshield. Locate an area on the windshield that enables an unobtrusive installation, with a clear view to the road ahead. For best results, adhere the detector as high as you can.
- Place the small side of the suction cups into the large hole of the bracket. Slide the suction cup into the small hole to secure them. Push the rubber damper in the small hole in the middle of the bracket.
- Attach the windshield mount to the desired area of the windshield. Make sure it is in a level position, parallel to the road ahead. To adjust the angle if necessary, gently push or pull the bracket to bend it. Do not use the detector to bend the bracket.
- Insert the windshield mount into the slot at the front of the detector until it is locked in position. For a firm and secure adhesion to the windshield, clean the windshield and suction cups before installing.
- Plug the small end of the power cable into the detector on the left side and the large end into your vehicle’s 12V ACC socket.
- To remove your Radenso Pro M from the windshield, press the release button on the top of the unit and slide the unit off the mount.
Pro M user interface.

The Radenso Pro M has an easy to use interface. The unit has four buttons on top and two on the side to make changing settings simple and quick.
- A. Power Button
Short Press: (When no radar signal is
received): Enter settings menu. (When radar signal is presently being received): Mutes the volume of the current alert. The next alert will be at default volume.
Long Press: Power on/off - B. Display/Alert Lockout Button
Short Press: Select display brightness (bright, dim, smart dark, dark)
Long Press: GPS Lockout - C. Driving Mode Button
Short Press: Changes current driving mode (Highway, City, or AutoCity)
Long Press: Stores user GPS point of interest - D. Release Button
Press the button and slide the windshield mount until it is locked. Press the button to unlock the mount for removal. - E. Volume Buttons (+/-)
Short Press: Changes the volume of alerts or changes program options when in menu
Long Press: N/A - F. USB Port
Connect USB data cable to update database or firmware through radenso.com/pages/ firmware. - Three Button Mute
While a radar or laser signal is being detected, buttons A, B, or C may be used to mute the alert.
Driving Mode
Recommended setting: Auto City
Options: Highway, City, Auto City
Description: Default driving mode when the Pro M is powered up
Auto city speed limit
Recommended setting: 30 mph / 60 mph
Options: Increments of 5mph
Description: Low speed threshold beneath which K and X band signals will automatically mute / High speed threshold past which detector is automatically set to maximum sensitivity
City level
Recommended setting: X 4, K 2, Ka 0
Options: 0-9 for each band
Description: This setting allows the user to individually control sensitivity to each radar band while the detector is in City or Auto City mode. The numbers represent the amount of signal attenuation; 0 is no attenuation, 9 is maximum attenuation
Display Mode
Recommended setting: user preference
Options: speed/time, speed, speed/ compass, speed/voltage, voltage, time
Description: Controls what information is shown on the display during regular driving
Units
Recommended setting: user preference
Options: English, metric
Description: Controls what units the Pro M displays in. English will display miles per hour (mph) or feet, and metric will display kilometers per hour (kph) or meters
Alerts
Recommended setting: bar
Options: bar, frequency
Description: Controls whether alerts are displayed with a frequency readout or a bar graphic
Voice
Recommended setting: on
Options: off, on
Description: Enables or disables voice alerts
Auto mute
Recommended setting: on
Options: off, on
Description: After eight seconds of alerting the volume is automatically reduced
X Tone
Recommended setting: User preference
Options: 1-15
Description: Choose the specific tone you hear during an X band alert.
K Tone
Recommended setting: User preference
Options: 1-15
Description: Choose the specific tone you hear during a K band alert.
Ka Tone
Recommended setting: User preference
Options: 1-15
Description: Choose the specific tone you hear during a Ka band alert.
MD Tone
Recommended setting: User preference
Options: 1-15
Description: Choose the specific tone you hear during an MRCD alert.
MT Tone
Recommended setting: User preference
Options: 1-15
Description: Choose the specific tone you hear during an MRCT alert.
Gatso Tone
Recommended setting: User preference
Options: 1-15
Description: Choose the specific tone you hear during a Gatso alert.
Laser Tone
Recommended setting: User preference
Options: 1-15
Description: Choose the specific tone you hear during a laser alert.
1-beep
Recommended setting: user preference
Options: off, on
Description: Determines whether or not the detector alerts the user when entering into a previously locked out area. If enabled, the detector will emit a single, notifying beep
Speed (Low Speed Mute)
Recommended setting: 15 mph
Options: off, 0-135mph in increments of 5 mph
Description: Mutes all radar below the set speed
X (X Band)
Recommended setting: on
Options: off, on
Description: X band radar detection enabled or disabled
K (K Band)
Recommended setting: narrow
Options: off, wide, narrow, snarrow
Description: K band radar scanning width
K TS Rej (K Traffic Sensor Rejection Filter)
Recommended setting: high
Options: low, high, off
Description: Filter that reduces K band false alerts from traffic sensors
Ka (Ka Band)
Recommended setting: narrow
Options: off, wide, narrow
Description: Ka band radar scanning width.
To enable Ka band segmentation, set option to narrow
Ka 33.8 (Ka Band 33.8 GHz)
Recommended setting: on
Options: off, on
Description: Detection for Ka band frequency 33.8 GHz
Ka 34.3 (Ka Band 34.3 GHz)
Recommended setting: off
Options: off, on
Description: Detection for Ka band frequency 34.3 GHz
Ka 34.7 (Ka Band 34.7 GHz)
Recommended setting: on
Options: off, on
Description: Detection for Ka band frequency 34.7 GHz
Ka 35.5 (Ka Band 35.5 GHz)
Recommended setting: on
Options: off, on
Description: Detection for Ka band frequency 35.5 GHz
Ka Filter (Ka Band Filter)
Recommended setting: on
Options: off, on
Description: Ka band false alert filter level
settings.
Setting AutoCity Speed
The AutoCity driving mode allows the setting of minimum alert detection speed for signal suppression and signal filtering resulting in significantly reduced false alerts. Select AutoCity in setting mode. Setting AutoCity speed (this feature is only selectable if the Pro M is in AutoCity mode): tapping the middle button lets you select the speed for editing. The left speed setting indicates the speed below which the detector will detect alerts in City mode with reduced radar sensitivity to reduce noise and false alerts. The recommended setting is 30 mph. The right speed setting indicates the speed above which the detector will detect alerts in Highway mode with maximum radar sensitivity. The recommended setting is 60 mph. The + / – buttons on the right side of the detector will change the specific setting. Setting the City and AutoCity sensitivity (this feature is only selectable if the Pro M is in City or AutoCity mode): by means of the middle button you can select the radar band for editing. To change the sensitivity of signal reception use the +/- button on the right side of the unit. The level of signal suppression can be selected between 0-9. The display numbers indicate the sensitivity reduction in the different radar bands.
GPS Lockouts
- The detector lets you mark known false alert areas so that you will not receive audio alerts in the future at the marked location.
- The detector stores the GPS coordinates and radar band, frequency, and signal strength and compares it each time the signal is received. If the received signal at the lockout location differs from the saved signal in terms of frequency or signal strength, the detector automatically unmutes and you will be alerted by audio again.
- The display will show the band and signal strength and a small “L” icon in front of the radar band letter indicates that the area is locked out. You can either ignore the alert or delete the saved lockout.
- To set a GPS lockout press the middle button during an alert for two seconds. The detector will state “lockout started” and will complete the process by stating “false alert area added.”
- To manually remove lockout from the detector, press the middle button for 2 seconds in a locked out area. You can also delete all lockouts in the menu.
troubleshooting.
- The dectector will not turn on.
- Ensure that the power cable has been the red light at the power plug is lit.
- Turn on ignition. deactivated. Check in the menu if all radar bands are turned on.
- The display will not turn on. Radenso Pro M never alerts to radar
- Check if the power cable is connected and or alarm turns on after passing the turned on. radar source.
- Check if the display is set to “dark” mode. • Your vehicle may be equipped with a metal coated windshield that prevents
- The detector alerts visually but there the reception of radio waves. Check with are no voice or audio alerts. your local dealer.
- The speed limit setting in the menu has
- The alert volume is turned down. Increase been set above normal traveling speed. Set the volume. a lower speed or turn off speed limit setting.
- The windshield mount does not adhere to the windshield.
- The unit did not alert to a red light or speed camera.
- Clean the suction cups and the windshield. GPS detection has been turned off in the menu. Turn GPS detection on.
- The detector alerts to a signal but no
- The location is not yet stored in the police radar trap can be located. database. Check if a database update is
- The detector could have received a false available. alert signal from a motion sensor. Lockout the known false alert locations by pressing The detector alerts to a speed camera the middle button during the alert. be red light camera but no camera can
The sity shild elving on the interstate - The location used to have a speed or red light camera but it was disassembled. although there is no police in sight.
- The camera is located on the other side of
- Speed info traffic sensors are in place the road in the opposite travel direction. along your road. Turn on the Traffic Sensor
- The camera is not a speed or red light Rejection filter (TSR) in the menu. camera.
- The detector starts alerting with low intensity following another vehicle.
- The vehicle in front of you is equipped with Blind Spot Mirror or Lane Assist feature. Turn on the K band filter.
warranty
One (1) Year Limited Warranty
RADENSO warrants, for one year, to the original retail owner, this RADENSO product to be free from defects in materials and craftsmanship with only the limitations or exclusions set out below. From the date of original consumer purchase and for the respective periods specified above, RADENSO agrees to repair or replace, at its sole expense, all RADENSO brand products purchased directly from RADENSO or from an Authorized RADENSO Dealer, which are defective in material and/ or workmanship during ordinary consumer use.
REFRENCE LINK

