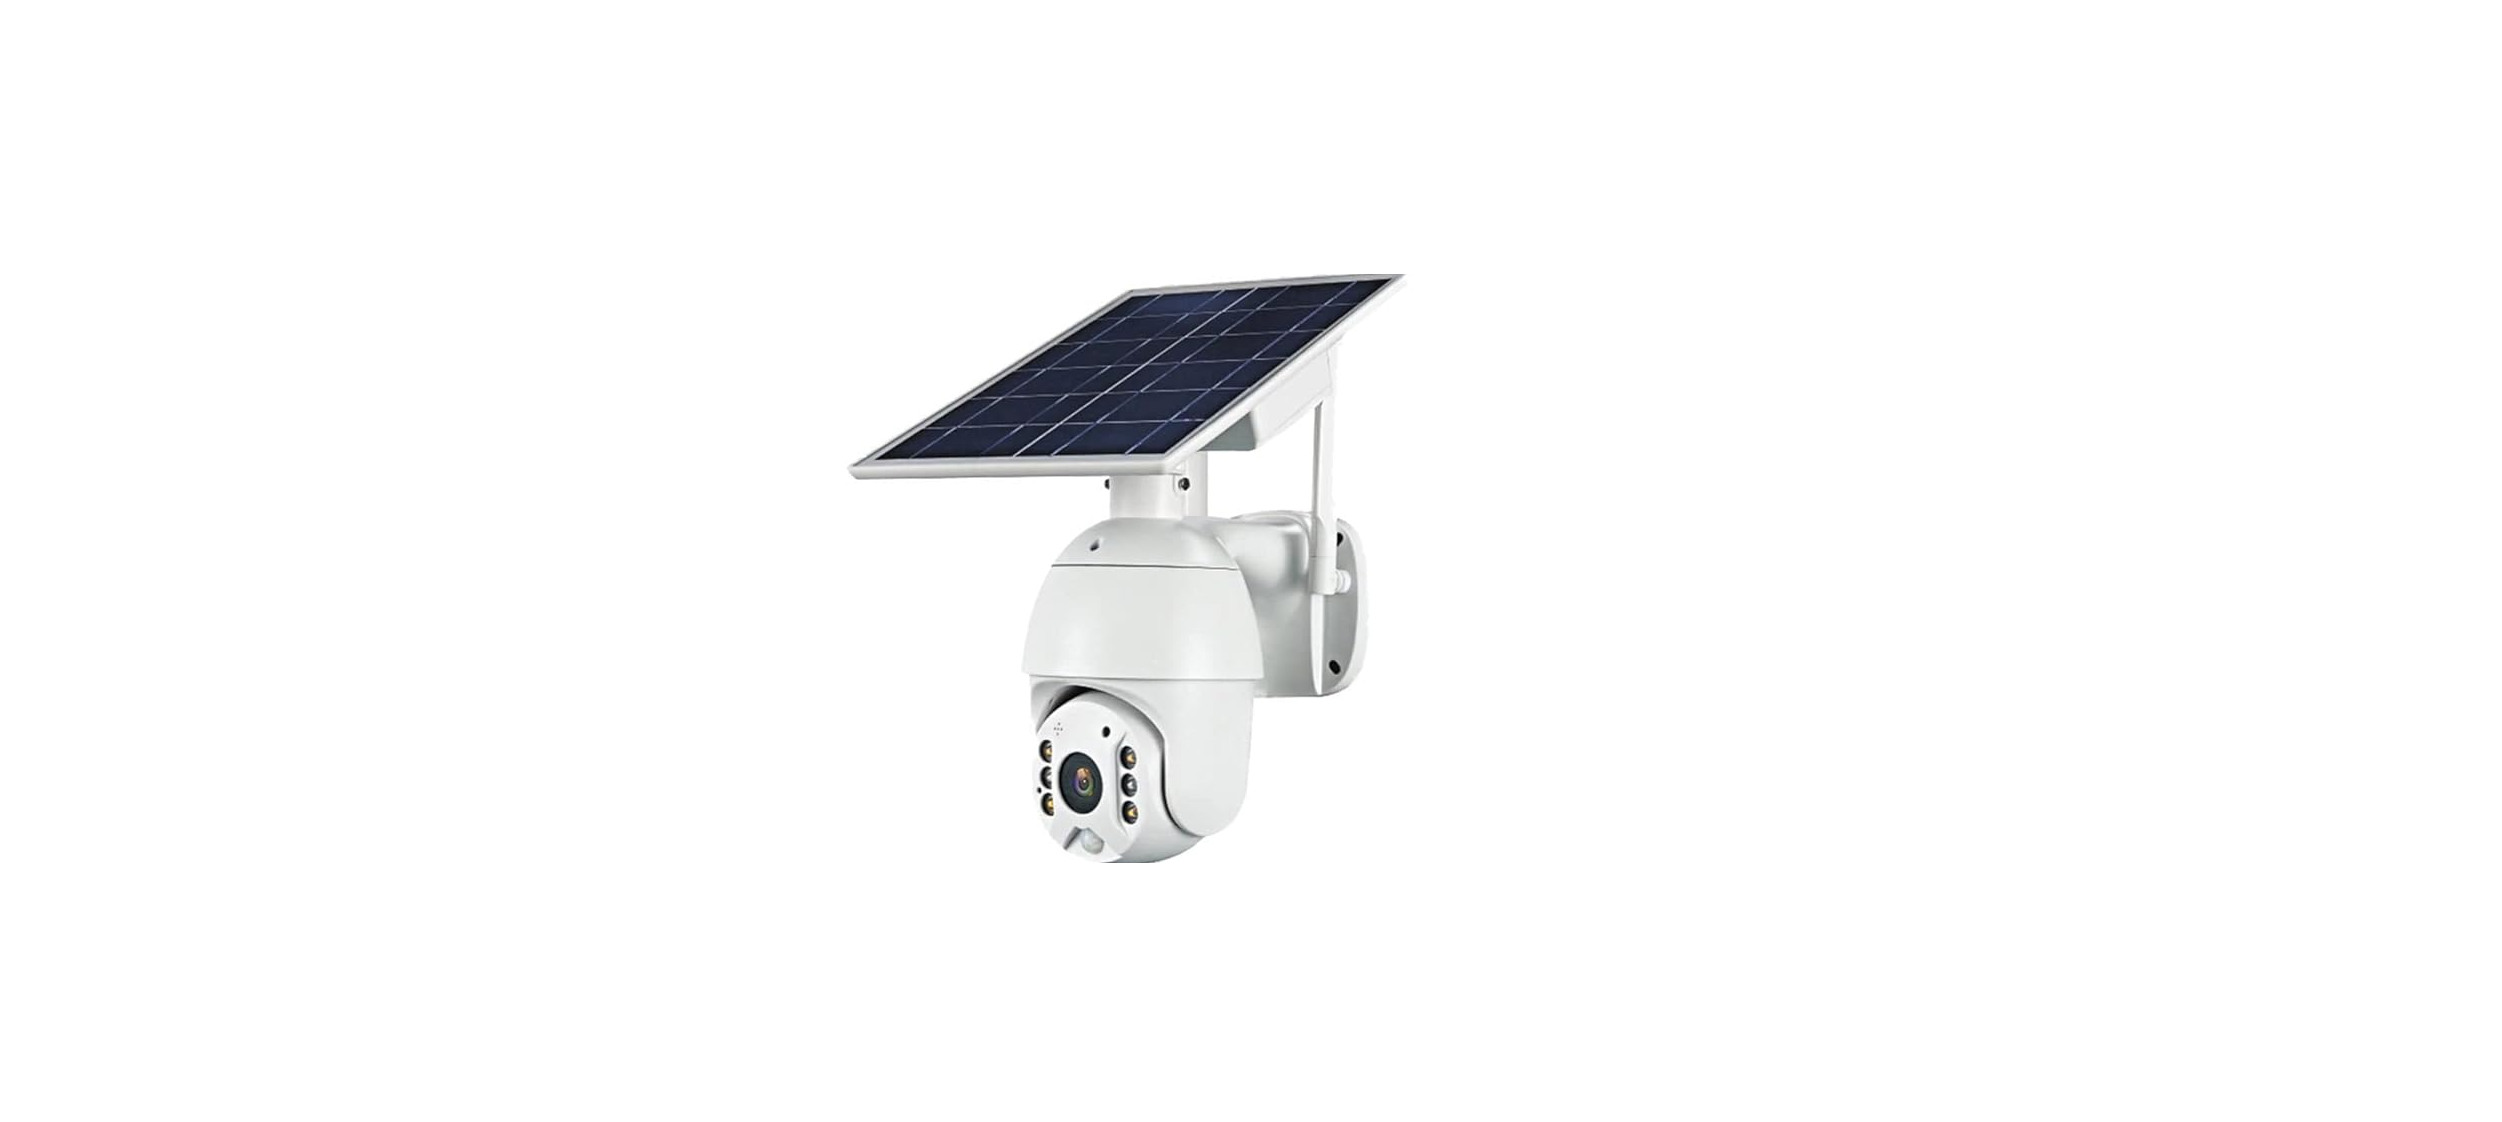
Crony S10 Solar CCTV Camera User Manual

APP INSTALLATION
Scan the following QR codes or seach for”i-Cam+” from the AppStore(for iOS devices) or Google Play Store (for Android smartphones) to download and install the app.

- Open the app then input y。ur E mail address then press ’ Register’. Check and select to agree the agreement then your E mail b。X will get an verification mail. ( For better user’s experience, please allow to open all permissions to avoid missing any notifications from the app.) 5.Control Rotation
- Set the login password and confnm the login passw。rd. Then press ‘Register’ to next step. (For your password safety, the passw。rd requires more than 8 characters plus E。mbinati。n of letters)
- We send a verify mail to you, go to your mail box click the link to complete the verification.
- Enter your E mail address, and password , click login . (APP will auto fill the account infomaion)
WI-Fl CONNECTION
- Press ’Add Family’ then set the room or position as per reminders.
- Enter your family name and then press ‘Next’

- Input the necessary information just like Country, Province, then press ’Done’
- Press ’Add a device ’ to add a smart deviceC。nnect the device with power supply, and make sure your mobile phone is

- After the power on the device, wait for the device bule LED are blinking c。nnected to an available Wi-Fi Which means your device in pairing mode Then press ‘Setup device’.
- Set the device name and select the please press the power/Call key to wake up device loaction befroe setup , the device first, then hold and press the RESET button until the blue indicator to light up and then时ease. The device will reboot and enter the pairing state.
- If the device blue are not blinking, device loaction befroe setup ,
- The app will input the W卜F, name automatically, please input the correct W卜Fi Password. Then you can ch。ose the ‘QR code c。nfiguration ' 。r’Sound wave c。nfigurat,on
- QR c。de configuration: Select the QR code c。nfiguration then the mobile phone display a QR code. Use the device to scan to the QR code 10cm away from the mobile phone
- The device will enter to the device list automatically. Setup success! The device is ready to use
- Notes about PIR detection ·usercan change the PIR detection sensit 川tyin devoce setings.we rec。mmend to setsensiti,ity at ”Disabled ” or”L。w” to redoce !lase alret and sa,ethe batte「y power in n。,syenvirooments “Disabled: disabled问Rdetection. “Low deleay 1 seconds PIR detects a moving “Medium: deleay 5 sec。nds PIRdetects a m。,iog ’High:deleaylsec。nd PIRdete仨ts a moving


AP mode (connection without Internet) This feature is only used fo「the following devices:
- Download APP: i-Cam+ (lf you already downloaded it , please ignore this step)
- Operation steps of switching AP mode: install the ba吐ery on the device and power on, make sure that the indicator light on the front of the device is on, and use the the matching looped needle inside the accessory package ”press and hold” the AP I WiFi button of the device until the sound is heard
- Turn on the mobile phone to search for a WiFi. The beginning of” i-Cam+ _ ****" ’ the connection password is 12345678 (Note: keep connected to this WiFi)
- Open the app: i-cam +, the connection is completed, and the screen can be viewed, and the video record can also be selected for playback Connecting WiFi signals at the beginning of i-Cam+

Control Rotation
This feature is only used for the following devices:

- Open the app, and after entering the screen, as shown in Figure 1, press and hold the screen with your finger and slide to the left to switch to the control Button for camera rotation, as shown in Figure 2;
- ”Click” the direction key to control the rotation of the equipment Due to the network, there is a slight delay in controlling the rotation camera, it’s normal phenomenon.
USING THE APP
Smart device basic settings Could set。rage management, Flip screen, Environmental m。del,PIR detection, Sleep time, Power frequency, LED indicator, Device name 。uld check the informati。n of Device name, Device ID, Model, FW version, Manufacurter, Check for the FW updates ..。ice-Change Button(Change your voice to male/female) Turn on/。ff the speaker Lscr凹1shot Playback switch ‘Micro SD memory’ and ‘Cloud storage’ Take a video for the live view Micr。phone Speak to the smart device side (Turn 。n Voice Change Button)
SPECIAL NOTES!
The device is equipped with a rechargeable lithium battery. The battery life will be affected by the device wake up time and the number of wake ups. Therefore, the PIR sensor alarm detection function is used in an environment with a lot of pe。pie It is rec。mmended to turn off 。r set the device to low sensitiv比y to reduce device wake-up and call times extend batte叩life. When the batte叩is low, please charge the battery immediately (2.)
Keep the device in range of yourrouter. Make sure the device is placed close to the Wi-Fi router. If there has t。 be thick or insulated objects between the device and the W卜Firouter, which may lead to weak W卜Fi signal, please make sure the Wi-Fi signal is in good level before you start using the device. (3.) It is a delicated device with low power consumption design Eve叩time the device is awakened and will w。rk for few seconds. After that, the device will enter standy mode to save power. You can set the work time in the app settings. (4.)
Because the mainland China d。es not receive G。。gle ’ s system push messages, you need to open the app’s self starting function in your phone to receive push messages. (5.) This device provides one m。nth of free cloud storage. If y。u need to continue using value-added se阿ices after the trial peri。d expires, y。u need to purchase them in the app. (6). In the mobile phone settings,. all permissions 。f app should be turned on, including location permission, notification perm1ss1on, APP keeping background running and starting, etc
FCC WARNING
This device complies with part 15 of the FCC Rules. Operation is subject to the following two conditions: (1) this device may not cause harmful interference, and (2) this device must accept any interference received, including interference that may cause undesired operation. Any changes or modifications not expressly approved by the party responsible for compliance could void the user’s authority to operate the equipment.
NOTE:
This equipment has been tested and found to comply with the limits for a Class B digital device, pursuant to Part 15 of the FCC Rules. These limits are designed to provide reasonable protection against harmful interference in a residential installation. This equipment generates, uses and can radiate radio frequency energy and, if not installed and used in accordance with the instructions, may cause harmful interference to radio communications.
However, there is no guarantee that interference will not occur in a particular installation. If this equipment does cause harmful interference to radio or television reception, which can be determined by turning the equipment off and on, the user is encouraged to try to correct the interference by one or more of the following measures:
- Reorient or relocate the receiving antenna.
- Increase the separation between the equipment and receiver.
- Connect the equipment into an outlet on a circuit different from that to which the receiver is connected.
- Consult the dealer or an experienced radio/TV technician for help.
To maintain compliance with FCC’s RF Exposure guidelines, This equipment should be installed and operated with minimum distance between 20cm the radiator your body: Use only the supplied antenna.