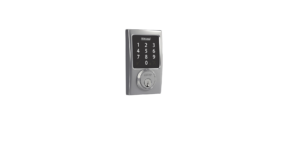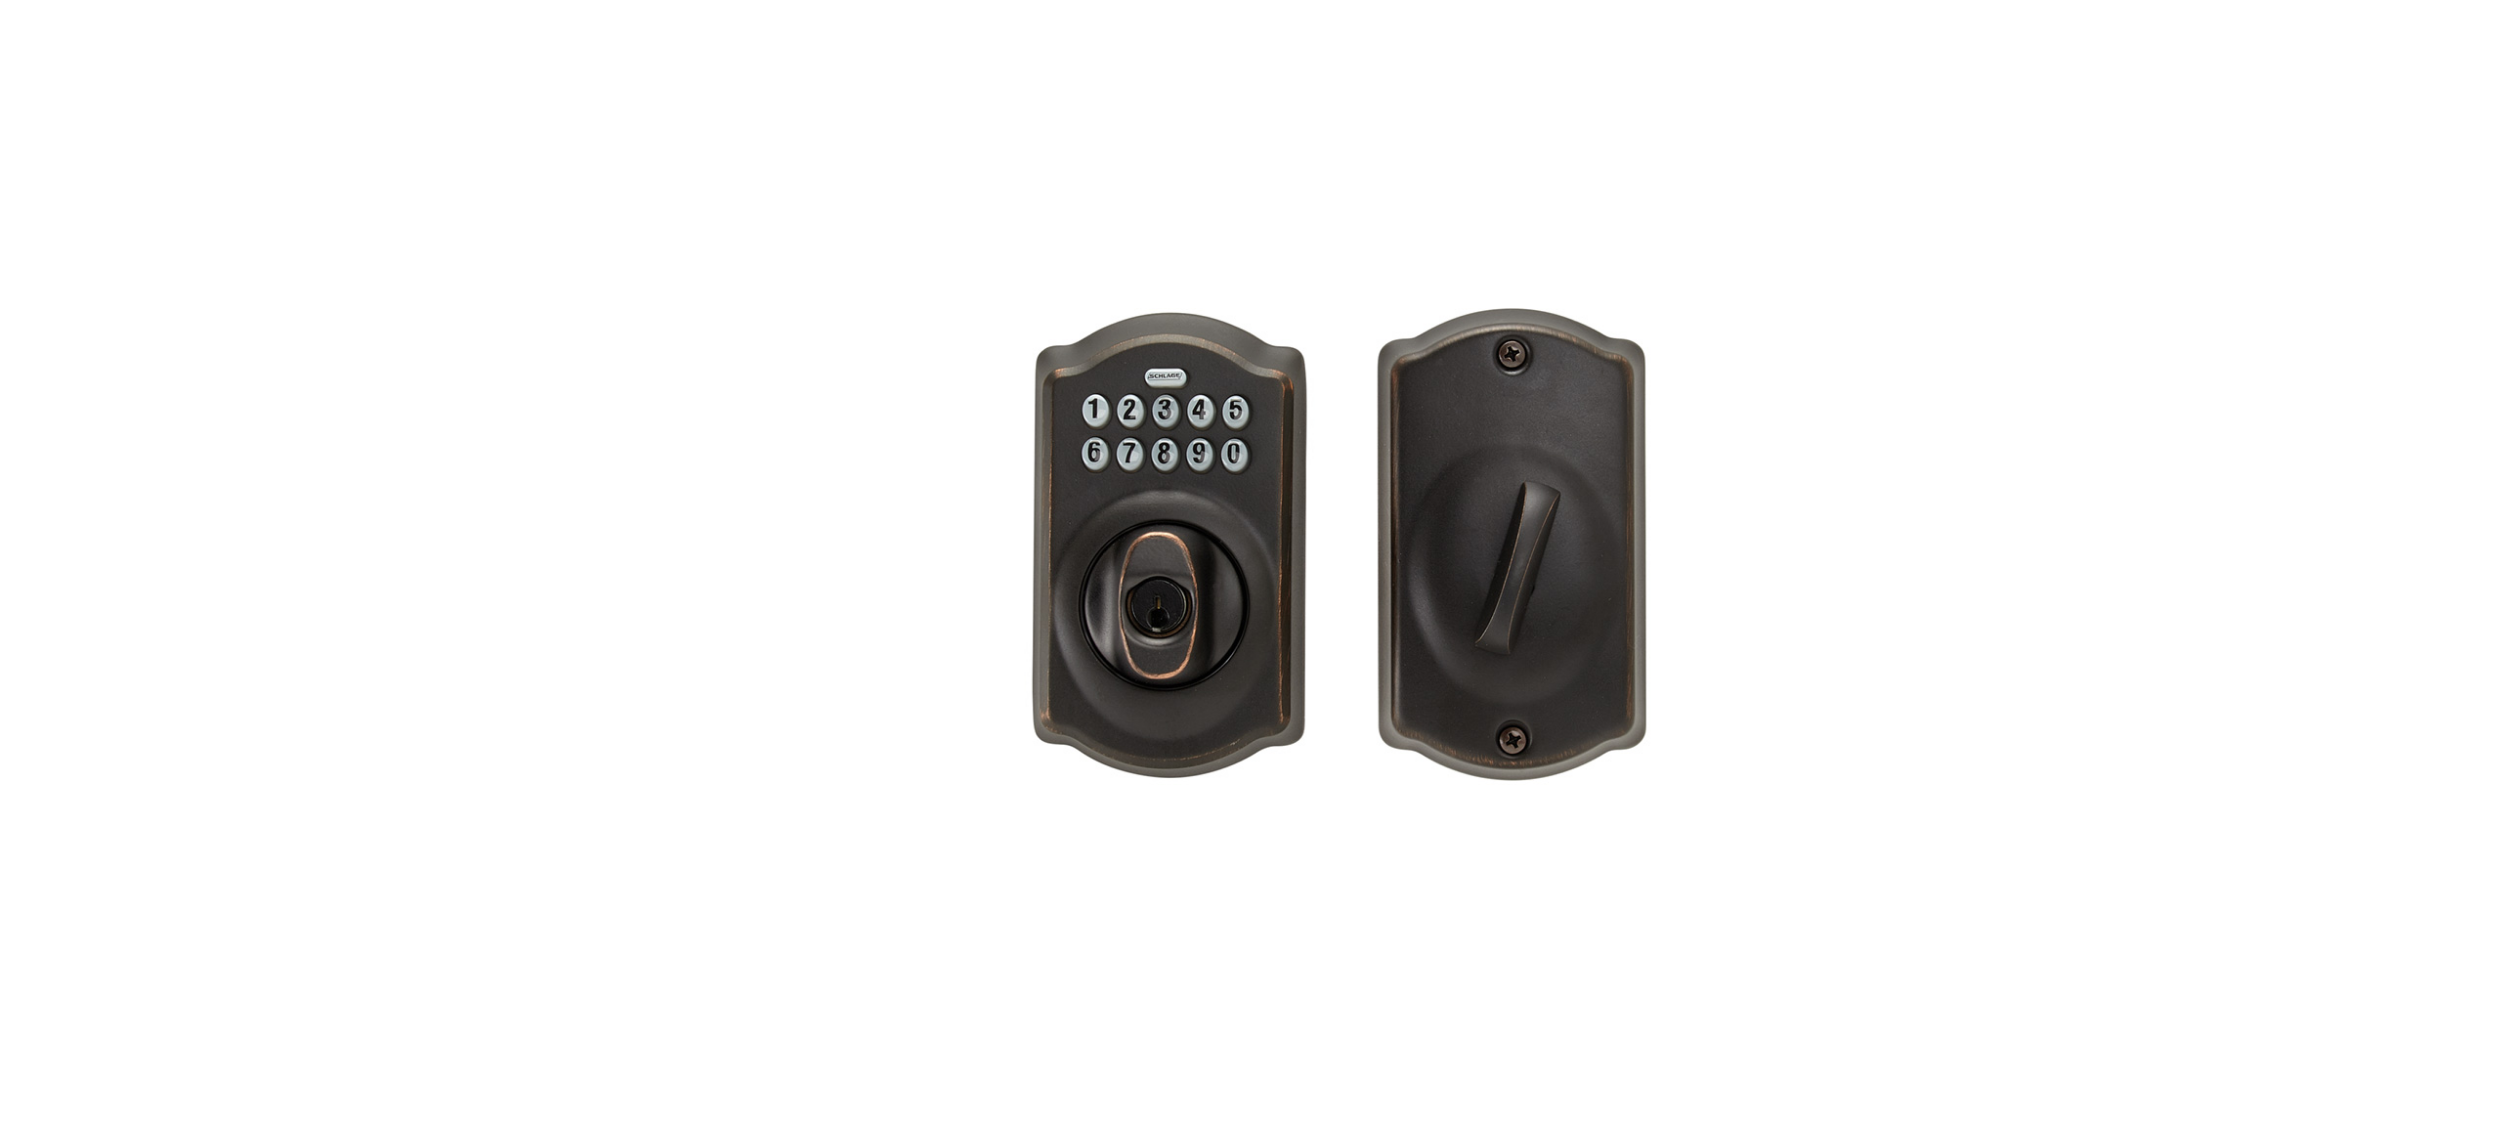
Schlage BE365 Camelot Trim Keypad Deadbolt User Manual

Default Codes


IMPORTANT NOTES
- For BE365F and BE365F20, see Additional UL steps (Not common) before beginning. (Not common)
- DO NOT use a power drill for installation!
- Use a screwdriver to remove a product from the packaging.
- Install and test the lock with the door open to avoid being locked out.
- Pay special attention to step 3. If the lock is installed with the cam in the wrong position, the lock will not function properly!
Check door preparation.

Install the bolt.
Adjust the bolt as necessary.


No mortise? See Change faceplate
CAUTION
The bolt must remain retracted throughout installation!

Rotate the baseplate cam to the correct position.

Install keypad.

Route wire through the hole in the baseplate.

Install baseplate.

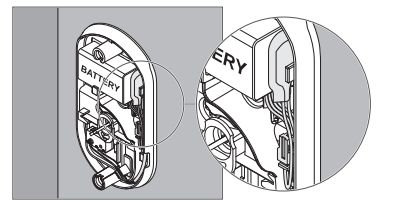
Connect wire and 9V battery.
The lock will beep when the battery is connected.

Place battery in holder and tuck wires.
Any wire routing is acceptable as long as wires will not be pinched by cover.
Install cover.

Install the strike.
The hole must be at least 1 1/4” (32 mm) deep.

Change faceplate

- Remove faceplate.
- Remove backplate.
- Install drive-in faceplate.
Additional UL steps (Not common)
BE365F ONLY: Prepare the additional hole

BE365F AND BE365F20: Install UL cup

BE365F ONLY: Install UL plate

Test lock
Lock (extend bolt).

Did the bolt extend?

Yes. The lock is installed correctly

No. A lock is not installed correctly. Remove the lock and reinstall. Pay close attention to the cam position in 3.
For troubleshooting information, go to schlage.com/faqs-keypad.
Unlock (retract bolt).

Did the bolt extend?
Yes. The lock is installed correctly
No. A lock is not installed correctly. Remove the lock and reinstall. Pay close attention to the cam position in 3.
Quick Programming Reference
Adding User Codes*

These four numbers must be different from the first four numbers of the programming code.
Deleting User Codes

Changing the Programming Code*

The first four numbers must be different from all of the User Codes currently in the lock.