Rugged Radios Toyota Radio Kit with Antenna User Manual

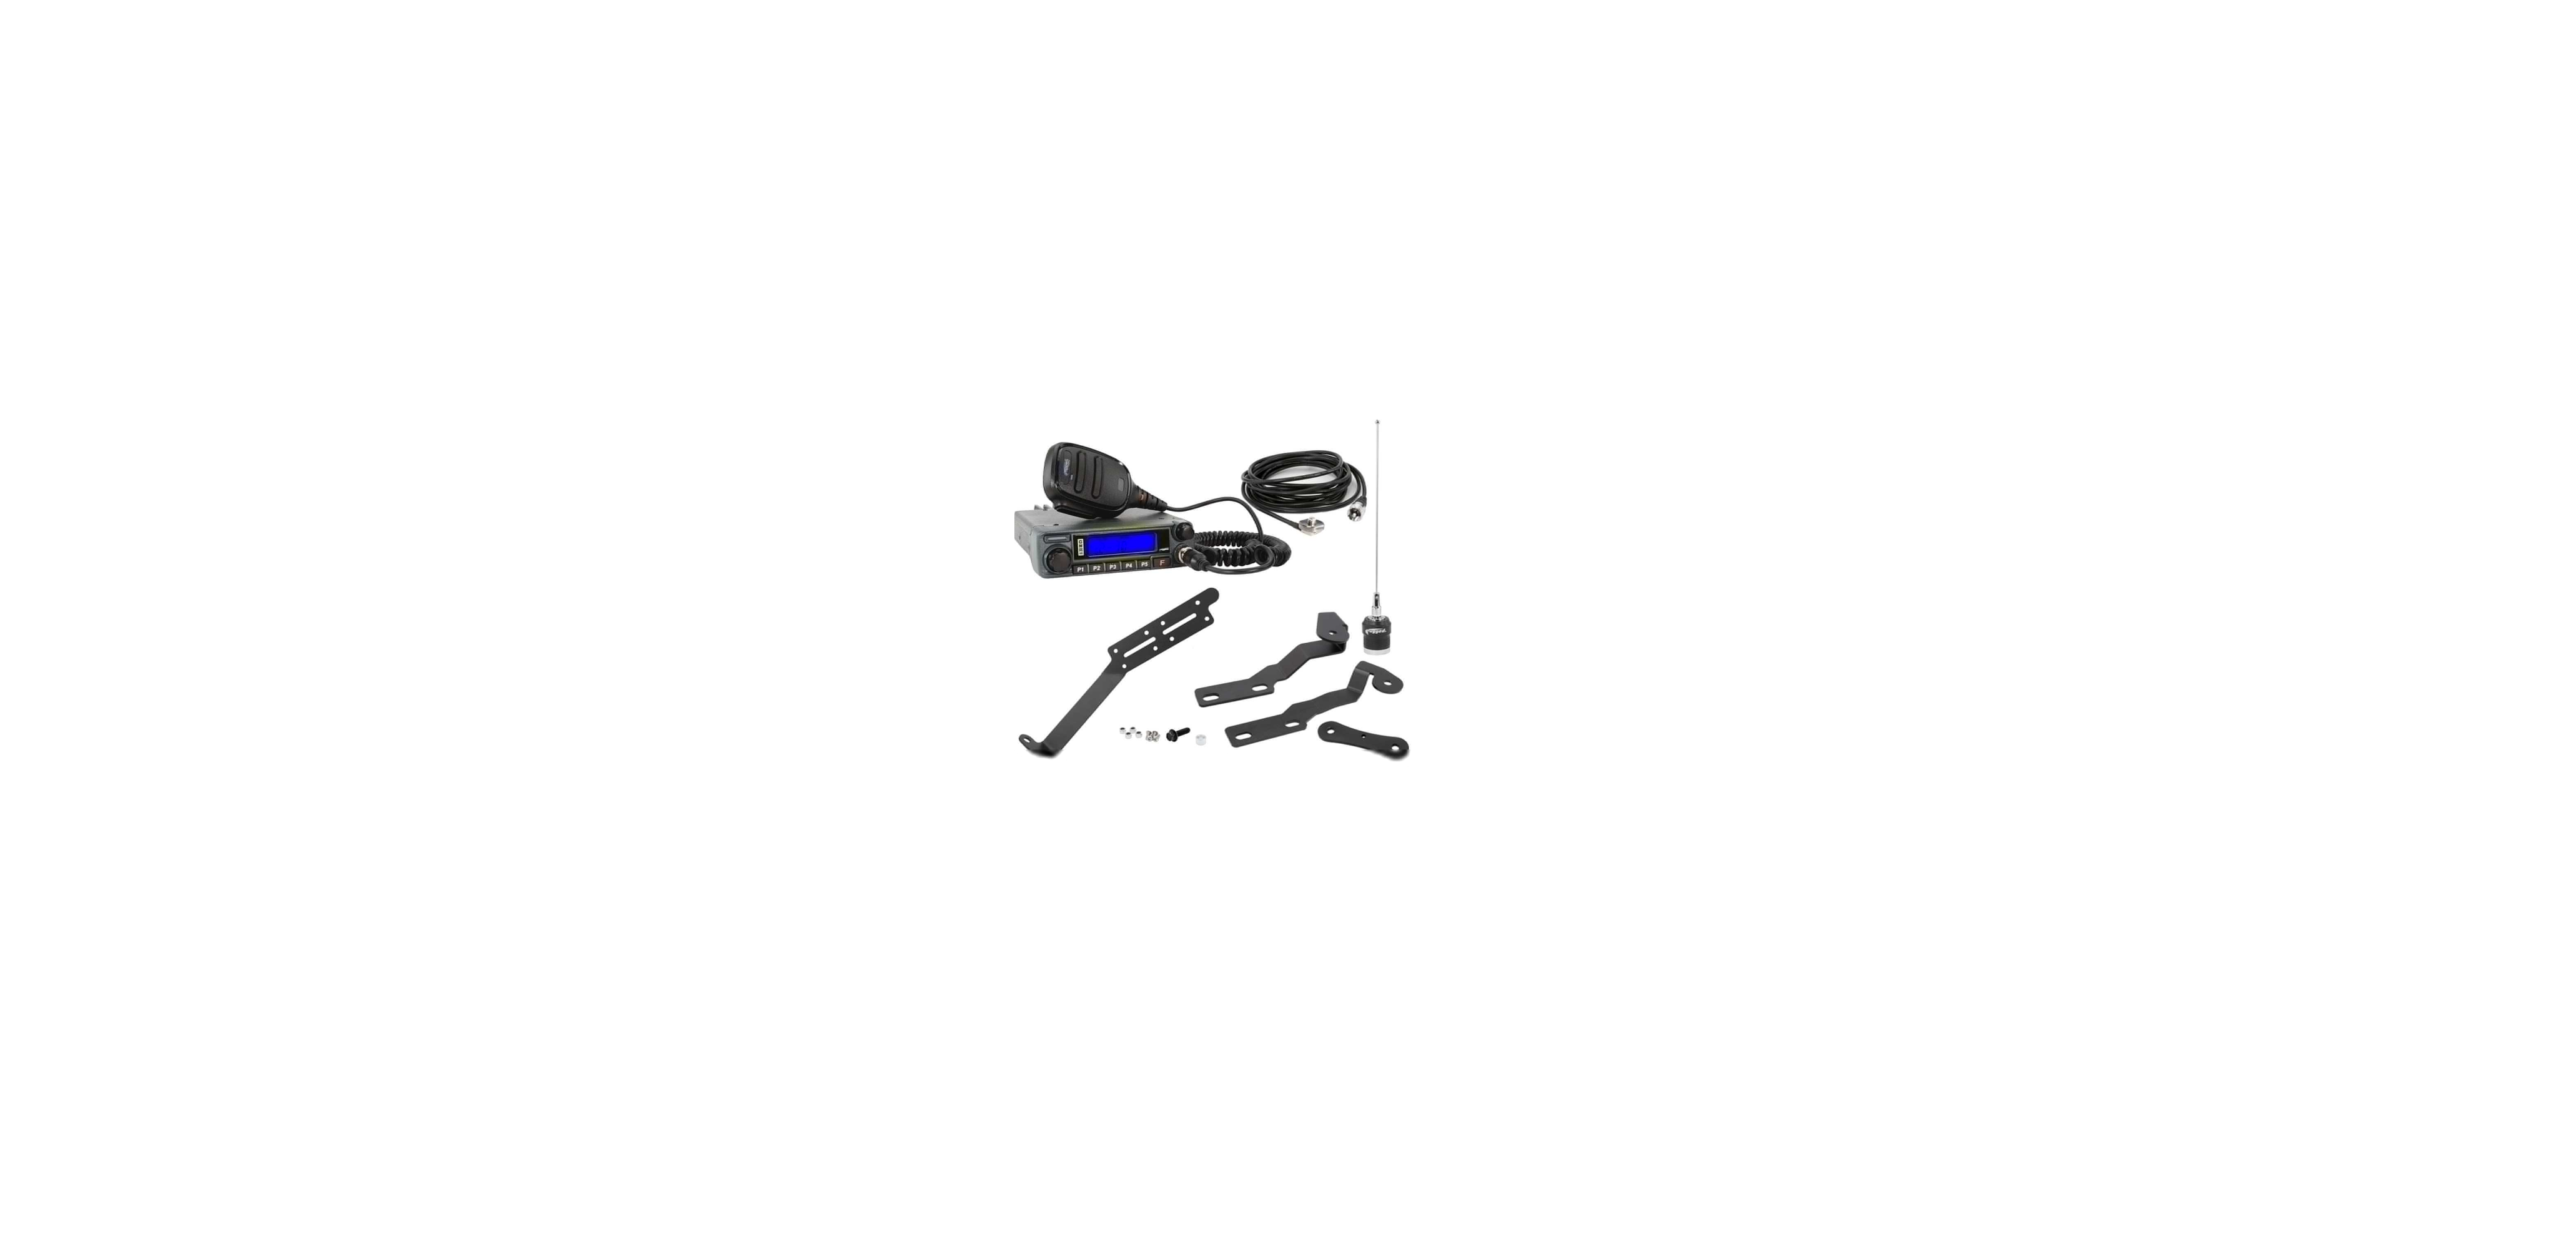
What’s included?
MOBILE RADIO

RADIO MOUNT
(P.N. MT-RM-TOY)
- (1) Radio Mount
- (4) Mounting Bolts
- (4) Nuts
- (1) Seat Mount Replacement Bolt
- (Only needed for Tundra)
- (1) Spacer
- (Only needed for Tundra)

COMPATIBILITY:
TACOMA
- 2ND GEN (2005-2015)
- 3RD GEN (2016-CURRENT)
- 4RUNNER
- 4TH GEN (2003-2009)
- 5TH GEN (2010-CURRENT)
- LEXUS
- 6X470 (2003-2009)
ANTENNA MOUNT OPTION 1 (P.N. MT-ANT-TOY-3)

COMPATIBILITY:
TACOMA
- 3RD GEN (2015-CURRENT)
ANTENNA MOUNT OPTION 2 (P.N. MT-ANT-TOY-5A)

COMPATIBILITY:
TACOMA
- 2ND GEN (2005-2015)
- 4RUNNER
- 4TH GEN (2003-2009)
- 5TH GEN (2010-CURRENT
- LEXUS
- GX470 (2003-2009)
ANTENNA ADAPTER FOR A-PILLAR/DITCH LIGHT (P.N. MT-ANT-ADPT)

COMPATIBILITY: Most a-pillar mounted “ditch” lights and mounts
ANTENNA COAX CABLE (P.N. NMO-MT-13)

Installation
- 7mm Socket Wrench or Phillips Screwdriver
- 10mm Socket Wrench or Open End Wrench
- 12mm Socket Wrench
- 14mm Socket Wrench
- 1/8″ Allen Wrench
- 3/8″ Socket Wrench or Open End Wrench
STEP 1: INSTALL RADIO MOUNT AND RADIO

Radio Mount: Locate the U-bracket packaged with your radio and attach it to the radio mount using the included mounting bolts and nuts. Use a 1/8″ Allen Wrench and 3/8″ Socket Wrench or Open End Wrench. Remove the factory front left seat bolt from the passenger side seat using a 14mm Socket Wrench; this will be the closest bolt to the center console. SEE FIGURE A. Line up the bottom hole of the radio mount to the hole on the seat mount.
Reinstall the factory seat bolt back into its original location, securing both the seat and radio mount. IMPORTANT: Ensure the radio mount is rotated so the rubber bumper makes contact with the center console before tightening down the seat bolt. Radio: Position the radio, then insert and tighten the supplied hex/Phillips screws into the side of the radio using a 7mm Socket Wrench or Phillips Screwdriver.
STEP 2: INSTALL ANTENNA MOUNT

Antenna Mount: Open the hood and secure it in the open position. Using a 12mm Socket Wrench remove only the front bolt from the driver-side hood hinge. SEE FIGURE C. Align the front hole on the mount with the hole on the hinge and reinstall the bolt. Do not torque the bolt yet, just make it snug so the hood doesn’t move when you remove the rear bolt from the hinge. Remove the rear bolt from the hinge and rotate the antenna mount so it aligns with the hole on the back of the hood hinge. Reinstall the bolt and torque both down.

If you already have A-pillar or ditch lights mounted to the hood hinge use the included Antenna Adapter for A-pillar/ditch light mount. Antenna Adapter for A-pillar/Ditch Light Mount: Remove the light mounted on the side you wish to mount the antenna. Line up one hole on the Antenna Adapter to the light mount hole and reinstall the light, threading the light mounting bolt through the adapter and light mount. SEE FIGURE D.
STEP 3: RUN CABLING

Antenna Coax Cable & Radio Power Cable: Pull the drain hose for the HVAC system that goes through the firewall inside the cab on the passenger side. Once this is removed you can then run the UHF connector on the Coax (antenna cable) from under the hood through this hole. SEE FIGURE E. Run the connector from the power cable into the cab via the same hole. Once cables are pulled into the cab you can reinstall the drain hose for the HVAC system back through the firewall.
If cabling is too long, route it so the excess length is used, or have it shortened by a qualified technician. IMPORTANT: Never coil or bundle excess coax (antenna) cabling. NOTE: You can pull the firewall grommet into the cab in order to manipulate the antenna coax cable and radio power cable through the grommet and then the firewall. Be sure to reinstall the grommet back into the firewall and the HVAC hose back through the firewall.
STEP 4: INSTALL ANTENNA

Antenna: Unscrew the NMO nut off of the stud. Then insert the stud for the antenna NMO through the hole in the mount and reinstall the nut using a Small Crescent Wrench. This nut requires very little torque. Do not over-tighten! Thread the antenna onto to antenna mount. SEE FIGURE E. IMPORTANT: Never transmit without an antenna as this can severely damage the radio!

STEP 5: ATTACH POWER CABLE TO BATTERY
Using a 10mm Socket Wrench or Open End Wrench attach power and ground directly to the battery. Do NOT ground to chassis. IMPORTANT: Using a fuse box or bus bar may cause unwanted interference and decrease performance.
STEP 6: TEST 2-WAY RADIO architect name mic to the radio.
- Connect hand mic to radio.
- Power on the radio.
- Set the volume level to low.
- Select a channel to test on.
- Set another radio to the same channel.
- Press and hold the PTT on the Hand Mic. Wait one second, then begin speaking.
- When finished speaking, release the PTT. A receiving radio should have heard your call.
Radio Receive Test
- Have someone transmit to your radio from another radio.
- You can use this incoming radio call to adjust the radio volume.
This completes your installation. If you have any questions, please contact us at (888) 541-7223. Thank you!


