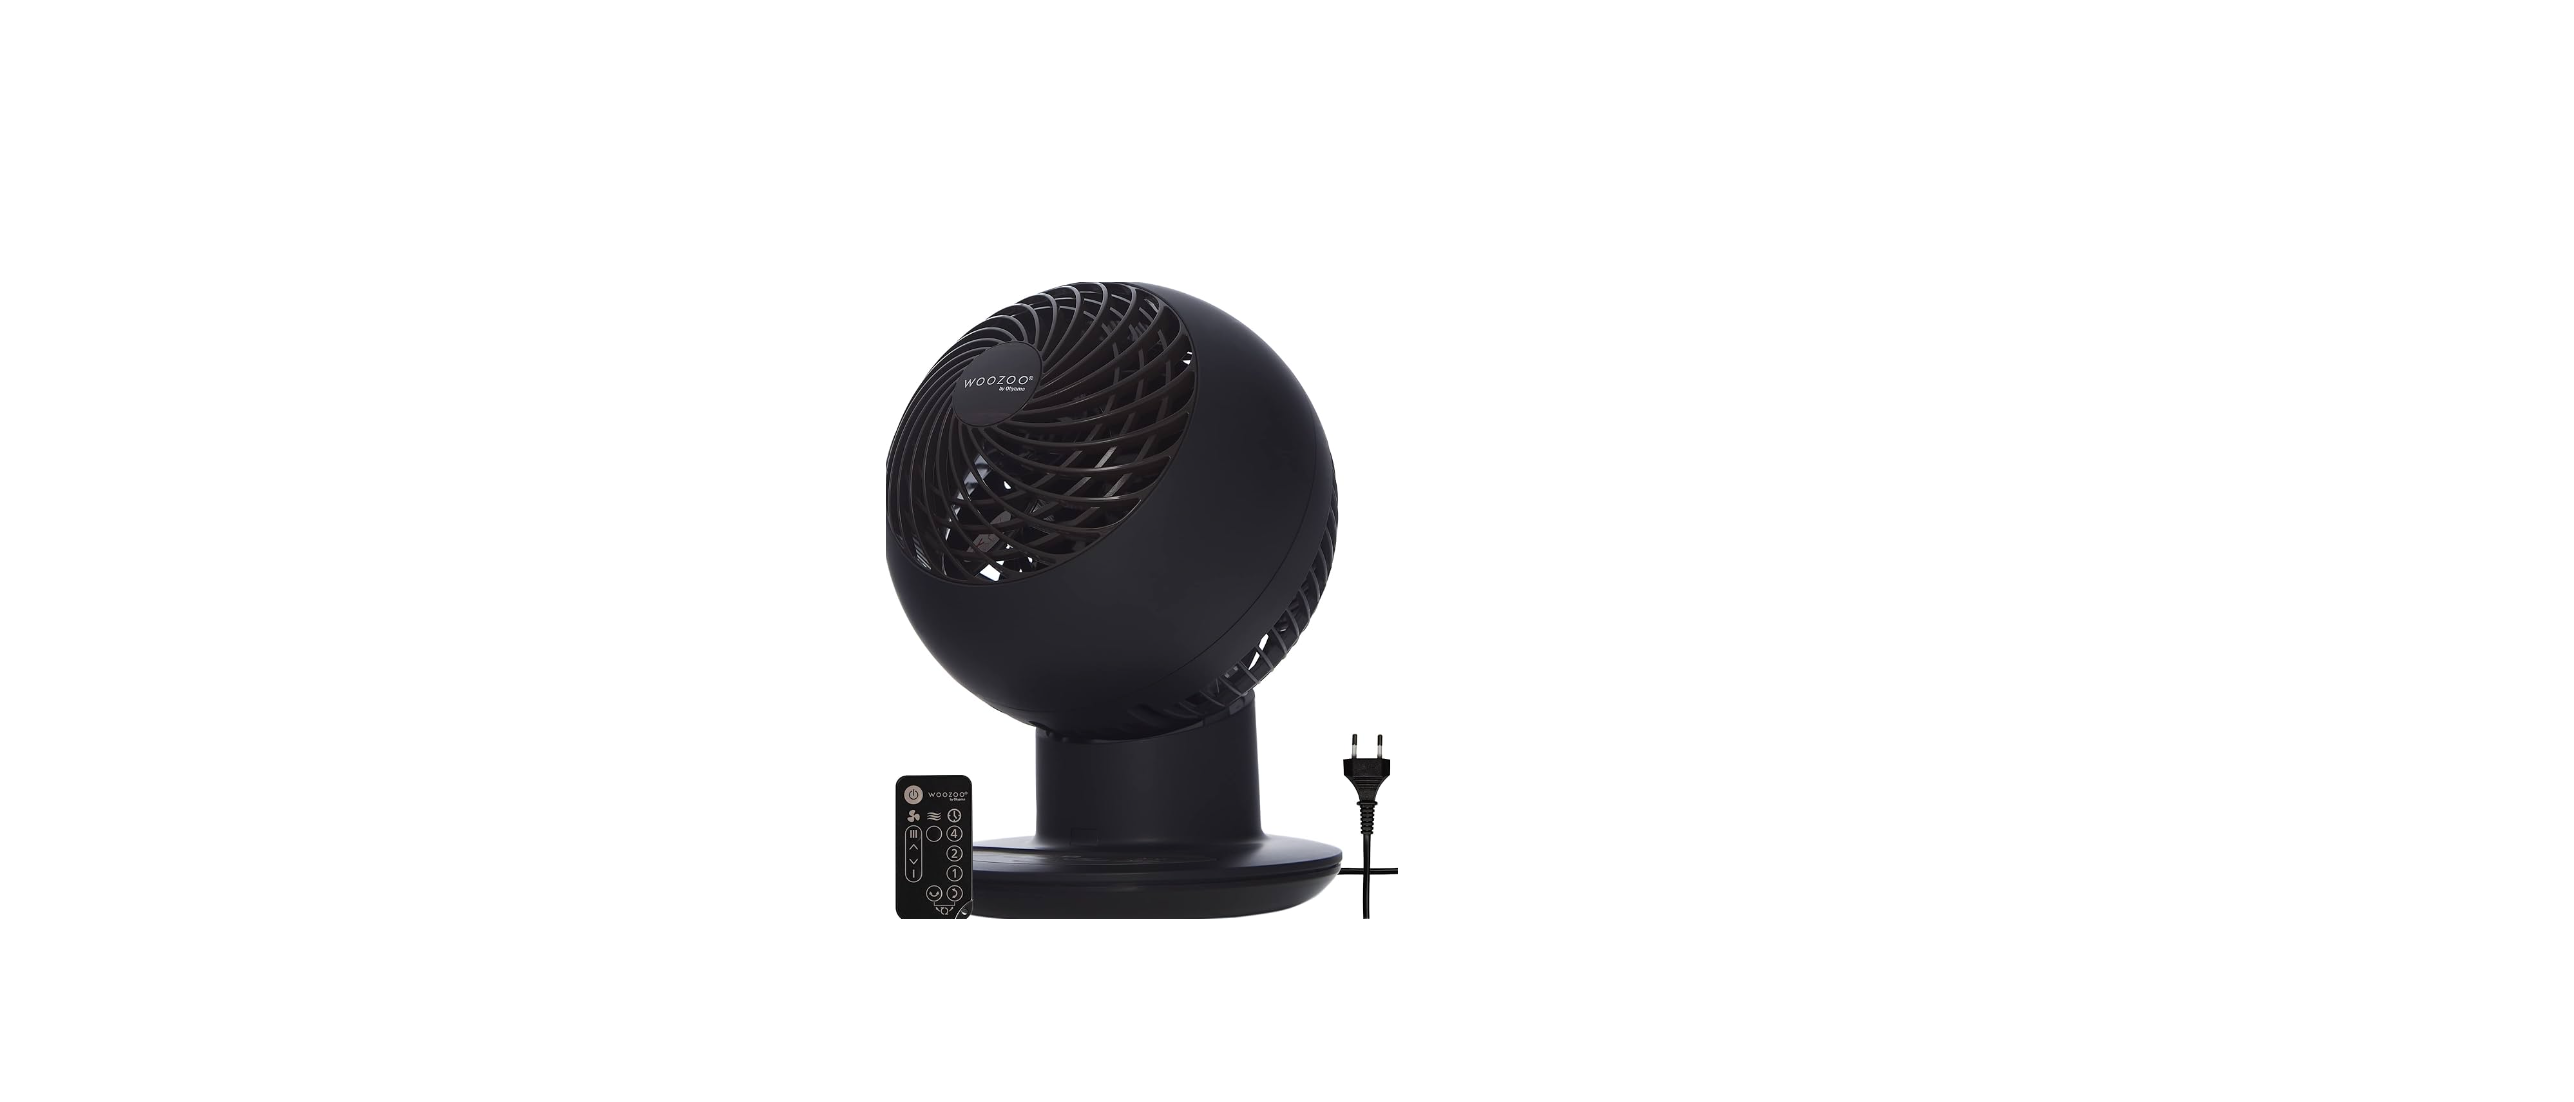
WOOZOO PCF-SC15T Globe Air Circulator Fan User Manual

Placing
Please place the product on level ground or a table with no barrier.

Precautions for placing
- Please do not install the product in a place near direct sunshine, an air conditioner, or a warm current of a home heater. Or it may lead to deformation or discoloration of the product, which may result in malfunction.
- Do not operate the product around a radio or a television. Electromagnetic interference may affect normal operation.
Parts
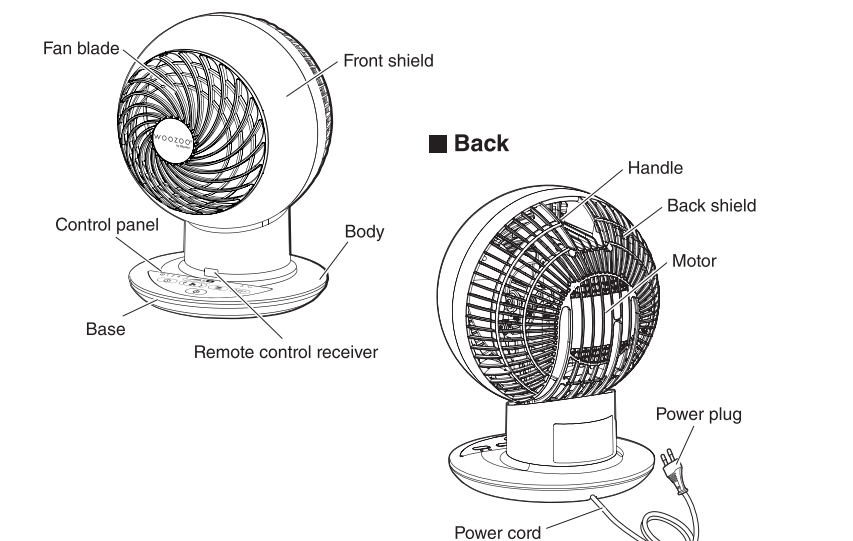
Front

Control panel

Remote controller
- Please remove the battery protective film before use.
- Please align the infrared emission part of the remote controller with the signal receiver of the body.

How to replace the battery
When the operation range of the remote controller becomes smaller and the body does not respond, please replace it with a new battery (CR2025 button battery).
- Withdraw the battery case
- Hold down the claws in the direction of the arrow and pull the battery case out.

- Hold down the claws in the direction of the arrow and pull the battery case out.
- Install new battery
- Insert the new battery into the battery case with the correct electrode and insert it into the body of the remote controller.

- Do not install the wrong battery.
- Please dispose of used batteries properly.
- Insert the new battery into the battery case with the correct electrode and insert it into the body of the remote controller.
How to use
Plug the power plug into the socket

Press the power ON/OFF button
- Run the mode set before the previous shutdown.
- Please press the power button of the remote controller to operate.

Select the desired operating mode
- Select the wind button to switch wind. Each time the button is pressed, the body will make a “click” sound.

Stop running
- Press the power button.
- If the body makes a “click” sound, please stop operating, and cut off the power.

Stop running
- Press the power button.
- If the body makes a “click” sound, please stop operating, and cut off the power.

- Press the rhythm button again, the natural light indicator will turn off and switch to normal mode. (The fan will restore the gear before the rhythm)
Swing
- When the swing button is pressed down, the body will make a “click” sound, and the indicator will light as follows. This product can swing up/down or left/right.
- If both up/down and left/right lights are on, the wind will be supplied in all directions.

Attention
- Do not manually adjust the swing angle of the up/down or left/right. Be sure to use the swing button to control the operation of the body and change the wind direction.
Timing settings
- Every time the timing button is pressed, the body will make a “click” sound, and the indicator light will light up in the order of 1 hour – 2 hours → 4 hours. When the button is pressed again, the setting will be released and the indicator light will light off.

Cleaning and maintenance
It may lead to a breakdown in the condition of use with accumulated dust. Please maintain at regular intervals as per the dust accumulation degrees.
- Please do not use thinner, alcohol, volatile oil, alkaline detergent, bleacher, etc. Or it may lead to discoloration, transformation, deterioration, surface damage, or breakdown.
Cleaning
Wipe with a soft cloth. Clean the dust with a dust collector. When it is not easy to clean, wipe the rag with diluted neutral detergent thoroughly and wring it thoroughly.

Storage method
In condition of no use for the long term, cover the main body of the product with a plastic bag, and then store it in a dry and cool place with no direct sunshine.
Troubleshooting
Please you ent ping problems after reading the operation manual carefully

If you still cannot solve the problem Please contact the store where you bought it or Iris Ohyama Europe B.V. Customer Service Center.
Specifications

*The specifications may be changed with no additional notification.
Warranty and after-sales services
Please make sure to carefully read the following contents.
Purchase Receipt
Be sure to request the Purchase Receipt from the sales shop when you purchase the product. The repair fee needs to be paid if you cannot present the Purchase Receipt. Therefore, please keep the Purchase Receipt safe.
Within the warranty period
Warranty period: Time limit specified b! warranty card (back cover). The company will provide free repair as per the “Warranty Provisions” in the condition of the fault within the warranty period.
Over the warranty period
Please consult the retail shop or the customer service center of Iris, and you need to pay for related repair expenses. It is available to maintain the functions of the product after repair, and certain repair charge is collected as per the requirements of the customers.
About the remaining period of spare parts
The remaining period of the important parts of the company is 2 years after the stop production of the product. Performance spare parts mean the spare parts needed to maintain the functions of the product.


