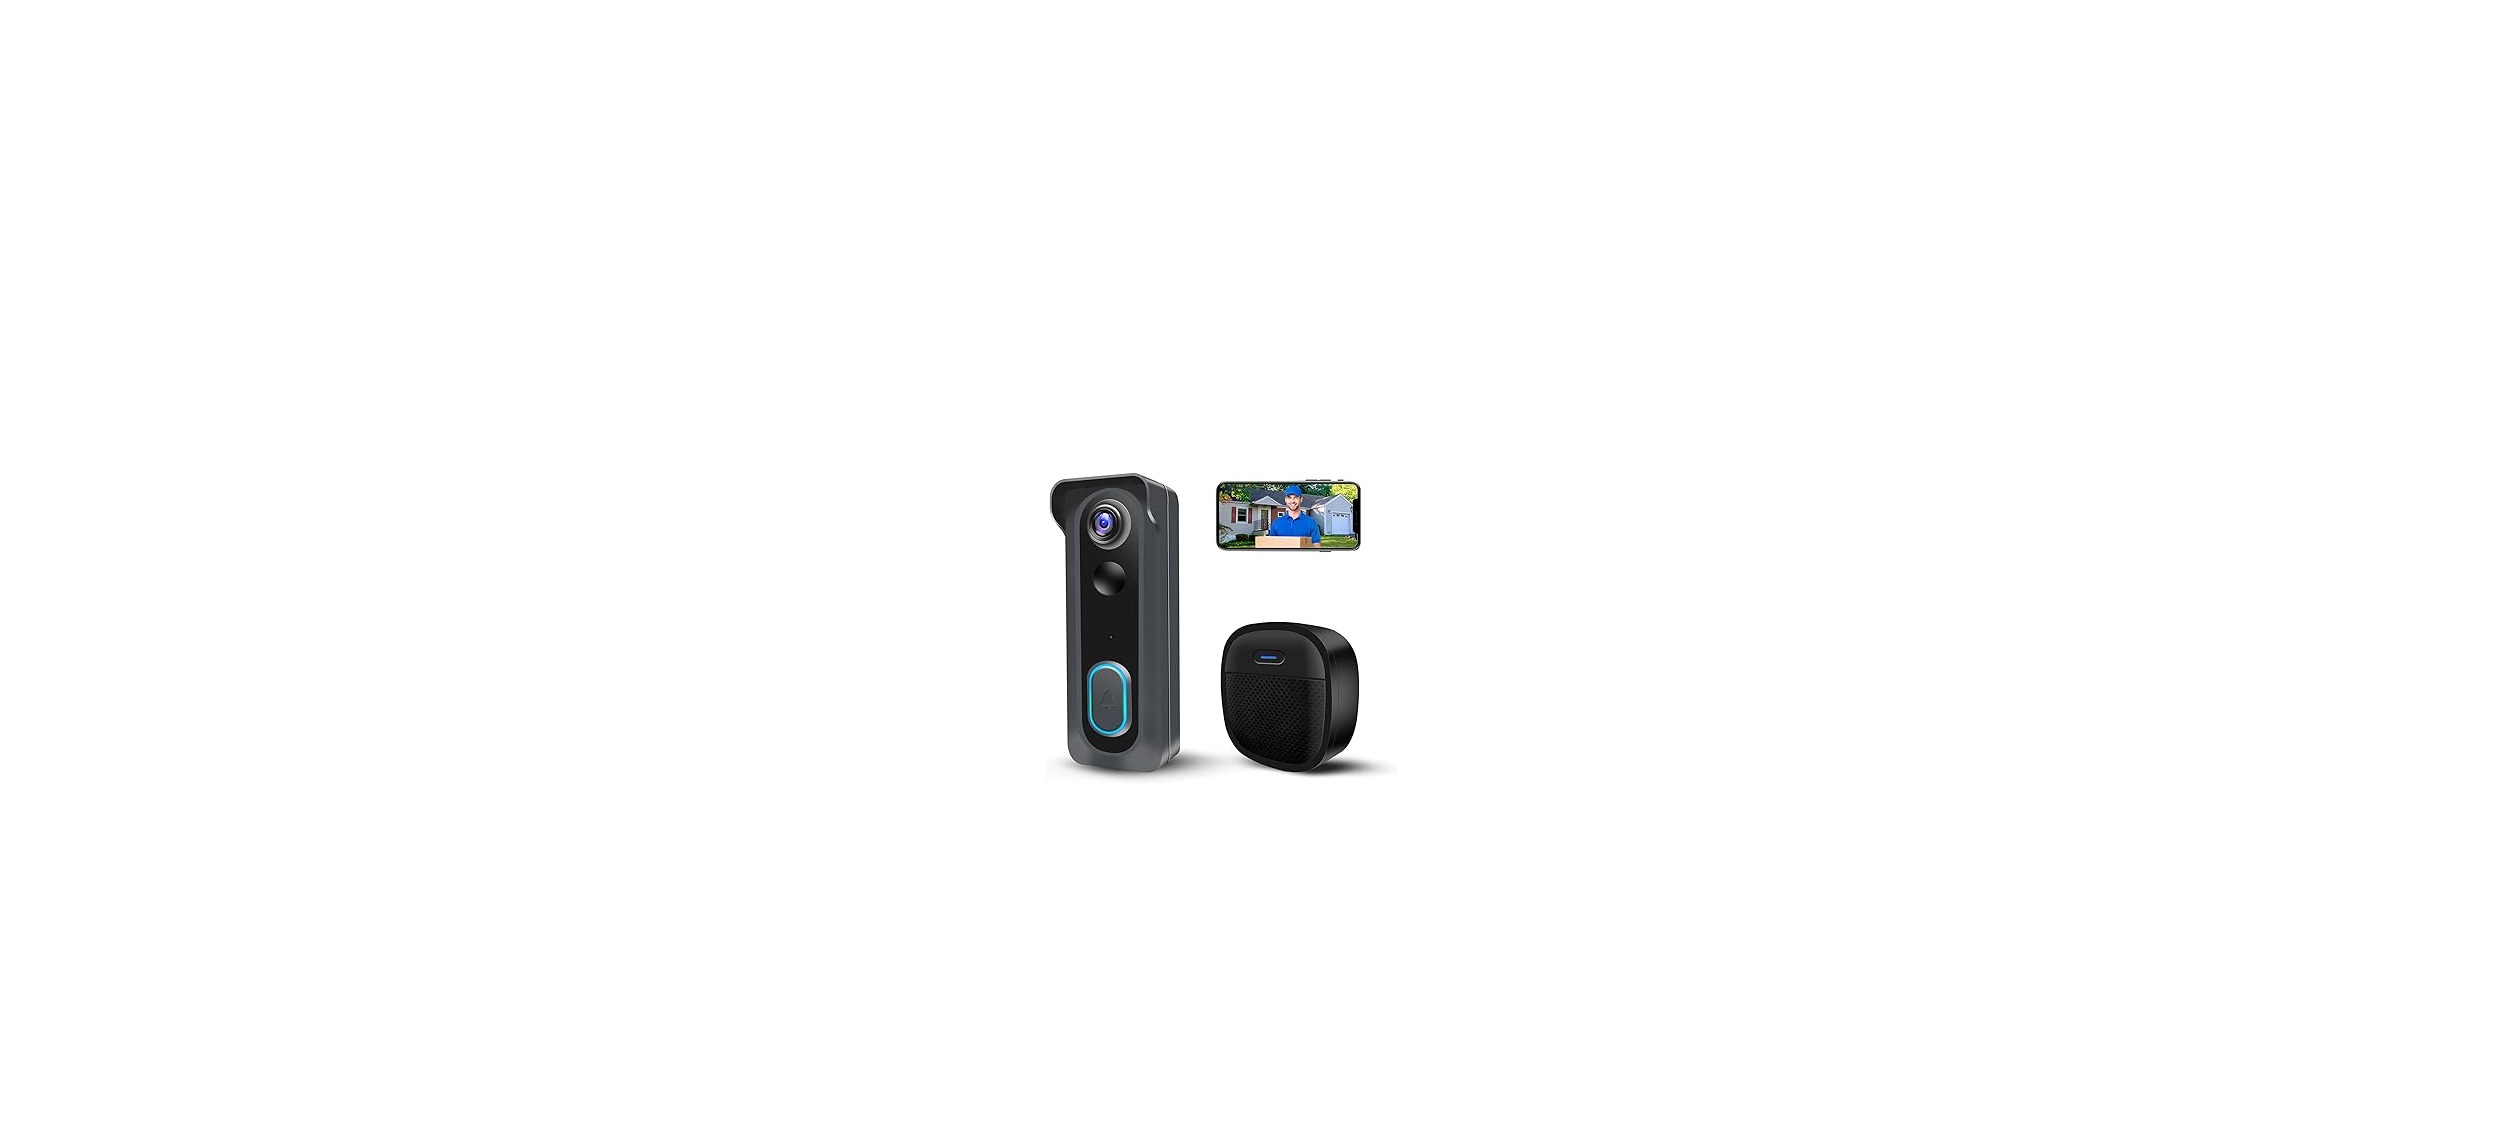
XTU EUKI-J1 WiFi Video Doorbell Camera User Manual

CloudEdge APP Instructions
Download the app

Download and install the ‘CloudEdge’ App from Google PlayTM or the App StoreTM. The App is also available by scanning the QR codes on the right, using your QR code scanner on your smartphone. NOTE: Google PlayTM is a trademark of Google Inc. App StoreTM is a service mark of Apple Inc.
Wi-fi set up
Before you start the Wi-Fi configuration, please note below:
- The doorbell works with 2.4 GHz Wi-Fi, but not with 5 GHz Wi-Fi.
- Avoid using special characters or symbols like )(@~!#$%^&*…, either in your Wi-Fi name or password.
- Perform the configuration near your Wi-Fi router.
Launch the ‘CloudEdge’ App and register an account with your mobile phone number or email ID. Start the Wi-Fi configuration, by following the in-app instructions or referring to the following guiding steps.
Guiding steps:

Run a test
After setup, tap on the live view window in the App for a test. Then take your doorbell outside to the installation spot and run a test there. Make sure the installation spot is covered by a strong 2.4 GHz Wi-Fi signal. Note: If the video quality from the doorbell outside is not as good as it was indoors, you may need to move your router closer to your installation spot, or invest in a Wi-Fi extender.
Live viewing

- Quit live viewing
- Setting menu
- Volume on/off
- HD/SD switch
- Full-screen display
- Stream bit rate
- Wi-Fi signal status
- Battery status
- Screenshot button
- Speak to the visitor
- Record on the phone
- Motion detection on/off
- Photo Album
- Video Playback
- Cloud storage service
Note:
Live viewing will not trigger video recording.
Playback
If the Micro-SD card is properly installed, you can playback the video clips taken after detected motions or visitor calls. (Live viewing will not trigger device recording). You can also back up video clips to the cloud, only if you have activated the cloud storage service (7-Day-Free Trial available).

leave Voice messages
Maximum 3 voice messages (Max. 10 seconds each) can be pre-recorded into the doorbell, which enables you to quickly respond to your visitors when you are not convenient to answer the doorbell call.

Sharing my account searching
Steps: Settings>>Device Share>>Tap on “Add ”>>Tap on “Account”>>Type in account ID>>Confirm Sharing.

Sharing by QR code scanning

NOTE:
- Guide your family members to download and install the CloudEdge App, and register an account before device-sharing.
- There is no limitation on the number of users sharing one device.
- Only the administrator got access to the settings menu. Other users can only live view & playback.
- All users will receive doorbell calls and alarm notifications.
- Many users can access the doorbell simultaneously, to live view or playback.
Connect the chime
You can enter the chime setting page below the setting steps, to mute the Chime Reminder, select ringtones, adjust the chime volume, or unbind the connection with the doorbell.

NOTE:
- Your doorbell communicates with the chime via Radio Frequency, but not WiFi. You can even do the pairing before the doorbell configuration.
- You can add many chimes to one doorbell, and vice versa.
- Press and hold the RESET button on the chime for 5 seconds till the indicator flashes blue 3 times, and you can also release the connection between the chime and its connected doorbell.


