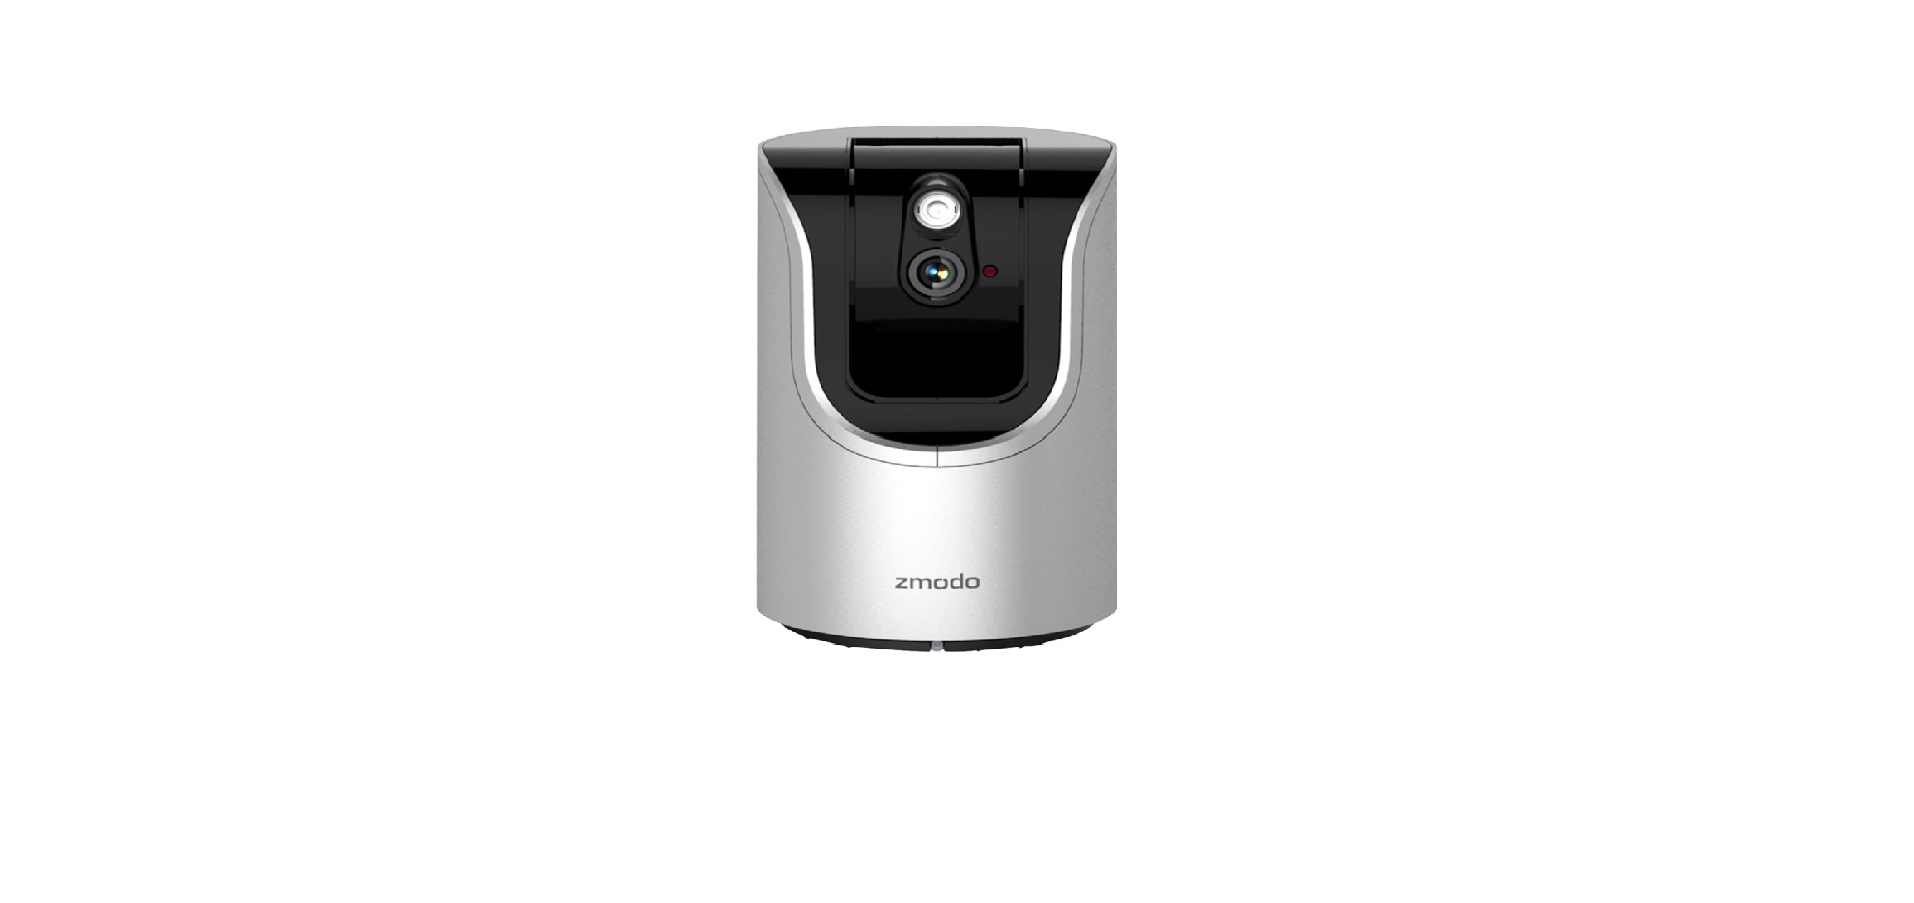
Zomodo ZH-IZV15-WAC Smart Pan Tilt Camera User Manual

Mobile Setup
This quick guide will help you configure your PT camera for initial use. For detailed instructions and troubleshooting. please visit: www.zmodo.com/support
Before you begin:
- Place your PT camera within range of your wireless router. Make sure that you have a strong WiFi connection.
- Power on your PT camera with the supplied power adapter.
- Connect your Android™ or iOS) smartphone to the 2.4GHz WPA/WPA2 WiFi network that you want your PT camera to connect to.
- Download and install the Zmodo app from Google Play™ or the App Store™. Launch the app and sign up for a free Zmodo account.
We are constantly working to improve our product and app. Please visit www.Zmodo.com/support for updated instructions, manuals, and more.
- Log in and select the Add Device © option under the menu in the upper left corner.
- Select the wireless device option.

- Power on your PT camera, and tap o once the status light is blinking green.
- Tap e to proceed (if you’re setting up multiple devices at once, tap to add additional units).

- Enter the password for your 2.4GHz WPA/WPA2 WiFi network (this is the network your PT camera will connect to). Tap o to continue.
- SmartLink will automatically search for your PT camera and connect it to the WiFi network. This may take a few minutes.

- Name your PT camera and set a password for it.
Note: The password provides an additional layer of security for your PT camera. You will not need to use this password to access your PT camera from the Zmodo app.
- Your PT camera is successfully configured! Now you can view or share your device with friends and family so that they can view it too.

Mounting your camera (optional)
Once you have successfully configured your PT camera, you can mount it to a wall. Follow the instructions below once you have found an optimal location with a strong WiFi signal.
- Line the included mounting bracket against the wall and mark the appropriate holes. Drill two holes slightly smaller than the wall anchor and use a hammer to gently insert the anchors into the wall. Insert the screws into the anchors.
- Take the PT camera and line it up to the bracket as shown, using the provided screws to fasten the camera to the mounting bracket. (Bracket) Screw)
- After you’ve attached the bracket to the camera, slide the bracket onto the two screws that you inserted into the wall in Step 1. Bracket)

Status Light Definitions
- Solid green
PT camera is powering on. - Blinking green
PT camera is ready for SmartLink setup. - Blinking blue
PT camera is connecting to the WiFi network. Please do NOT turn off or unplug the PT camera. - Solid blue
PT camera has successfully connected to the WiFi network.
For more instructions, troubleshooting, support, andother resources, please visit: www.zmodo.com/support If you were unable to add your PT camera successfully:
- Please make sure that you have the correct password for your WiFi network, and try entering your password again.
- Make sure that you are connecting to a 2.4GHz WPA/WPA2 WiFi network.
- You may need to improve your Wifi strength. Visit www.zmodo.com/support for suggestions. Try resetting your PT camera by using a pin to press and hold the reset button until the camera resets. Try the setup process when the LED is blinking green.
- If you still cannot connected to the WiFi, you may have to change your Wireless Network Mode to 802.11b/g. 802.11 b only, or 802.11 g only. You can change your router back to the original settings after setup is complete.
REFRENCE LINK


