Acuity-Brands WF6C Smart Flat Wafer Downlight Guide

WARNING:
For your safety, read and understand the instructions completely before starting installation. Before wiring to the power supply, turn off electricity at the fuse or circuit breaker box.
NOTE:
Juno products are designed to meet the latest NEC requirements and are classified in compliance with applicable UL standards. Before attempting the installation of any recessed lighting product, check your local electrical building code. This code sets the wiring standards and installation requirements for your locality and should be understood before starting work.
SAVE THESE INSTRUCTIONS
Product Information
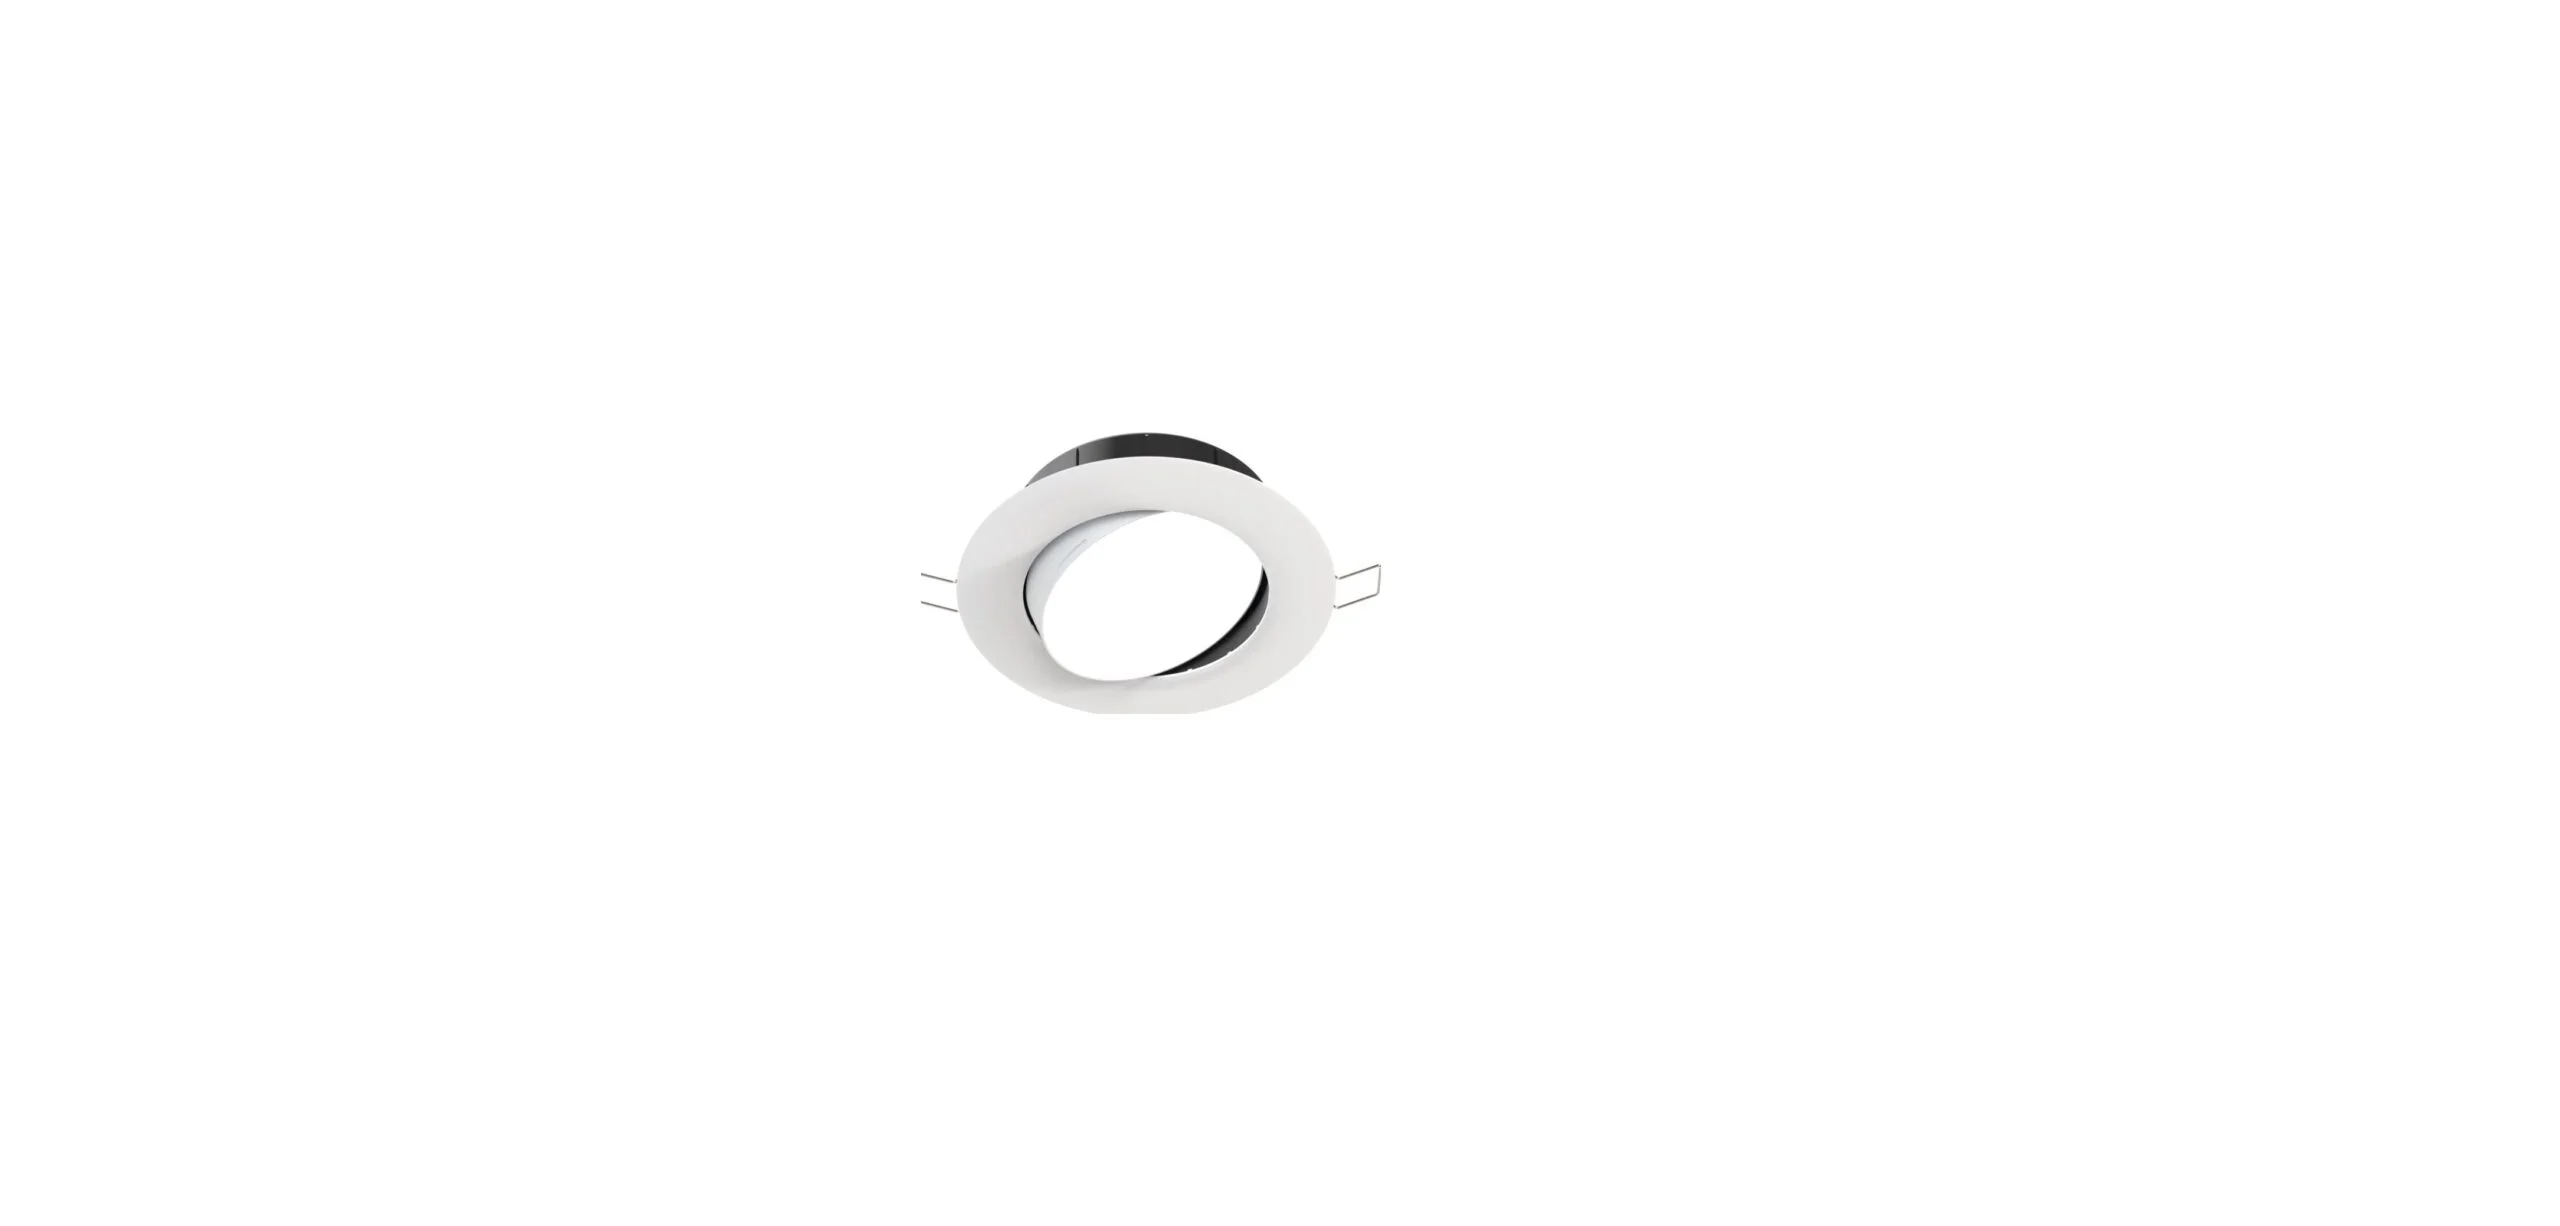
The round 4″ and 6″ Juno Smart WaferTM downlight provides high-quality light output and efficiency while eliminating the need for recessed housings. The innovative, slim design allows for easy retrofit, remodeling, or new construction installation from below the ceiling. Connects from any Apple or Android phone to the Juno Smart WaferTM directly using Bluetooth® and free download of the SmartThings® App.
The Juno Smart WaferTM downlight consists of the following: LED module, remote driver box, and installation instructions. Check for all contents before installation. Optional Items: New Construction Plate, Joist Bar Kit, and Extension Cable (6ft, 10ft, and 20ft) see www.acuitybrands.com for more details. Do not make or alter any open holes in an enclosure of wiring or electrical components. during kit installation.
WARNING
Risk of fire or electric shock.
- Do not alter, relocate, or remove the wiring, lamp holders, power supply, or any other electrical component.
- Installation of this retrofit assembly requires a person familiar with the construction and operation of the luminaire’s electrical system and the hazards involved. If not qualified, do not attempt installation. Contact a qualified electrician.
- Install this kit only in luminaires that have the construction features and dimensions described in these instructions, and where the input rating of the retrofit kit does not exceed the input rating of the luminaire.
FCC Supplier’s Declaration of Conformity
Juno WF4C RD/REG/ADJ TUWH MW and WF6C RD/REG/ADJ TUWH MW. This device complies with part 15 of the FCC Rules. Operation is subject to the following two conditions: (1) This device may not cause harmful interference, and (2) this device must accept any interference received, including interference that may cause undesired operation.
- Supplier Name: Acuity Brands Lighting, Inc.
- Supplier Address (USA): One Lithonia Way | Conyers, GA 30010
- Supplier phone number: 800.323.5068
Caution:
The user is cautioned that changes or modifications not expressly approved by the party responsible for compliance could void the user’s authority to operate the device.
Note:
This device has been tested and found to comply with the limits for a Class B digital device, under part 15 of the FCC Rules. These limits are designed to provide reasonable protection against harmful interference in a residential installation. This device generates uses and can radiate radio frequency energy and, if not installed and used by the instructions, may cause harmful interference to radio communications.
However, there is no guarantee that interference will not occur in a particular installation. If this device does cause harmful interference to radio or television reception, which can be determined by turning the device off and on, the user is encouraged to try to correct the interference by one or more of the following measures:
- Reorient or relocate the receiving antenna.
- Increase the separation between the equipment and the receiver.
- Connect the device to an outlet on a circuit different from that to which the receiver is connected.
- Consult the dealer or an experienced radio/TV technician for help.
This device complies with FCC radiation exposure limits set forth for an uncontrolled environment. This device should be installed and operated with a minimum distance of 20cm between the radiator and any part of your body. This device contains license-exempt transmitter(s)/receiver(s) that comply with Innovation, Science, and Economic Development Canada’s license-exempt RSS(s). Operation is subject to the following two conditions:
NSTALLATION INSTRUCTIONS
Note: Before beginning the installation
- A. Make sure all power is off, shutting power off in the breaker box to areas where downlights are to be installed is recommended.
- B. Load the Samsung SmartThings® App to your Android or iOS mobile device.
Required Tools (not included): Safety glasses and gloves.
- Double-check and measure the ceiling hole. Make sure it is the correct size for the outside rim of the luminaire to cover the hole while still allowing the back of the luminaire to sink into the ceiling and springs to hold firmly.
- Remove the existing retrofit can if present or move it out of the way since it will not be needed for installation.
- If a new hole is to be cut, use the provided hole template. Place the template over the desired location. Trace the outer ring with a pen or pencil (not included). Cut the opening with a saw (not included).(Figure 1)

- Open the cover of the remote driver box. Push and remove one of the knockouts on the side plate.
- Locate power supply leads from the remote driver box and connect to a power source using Wago connectors (provided).
- Connect black wire to live wire, white wire to neutral wire, and green wire with ground (as shown) and secure using a connector. Close the cover of the box. (Figure 2)

- Connect the remote driver box to the light fixture and tighten the nut connector by hand. Arrow on the male and female parts of the connector between the driver and fixture cable should match. (Figure 3)

- Place the remote driver box through the cut-out hole.


Optional Mounting Kits:
The instruction sheet for the new construction plate and joist bar kit can be found at www.acuitybrands.com
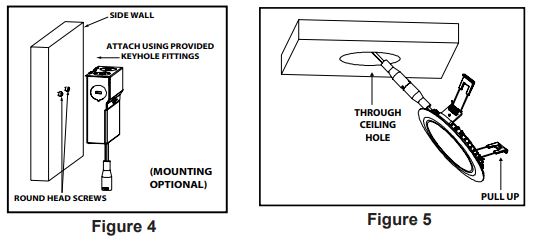
- Pull the spring clip on the fixture up and through the ceiling hole and place the module in the hole making sure the spring clips are holding securely. (Figure 5)

- Turn the power back on. If the module doesn’t illuminate within 5 seconds, turn the power off, carefully remove the module check all wiring, and replace it. (Figure 6)

WARNING:
- DO NOT PLACE YOUR HAND UNDERNEATH SPRING CLIP DURING REMOVAL PROCESS. SNAPPING OF THE CLIPS CAN CAUSE INJURIES TO THE HAND. (Figure 7)

- DO NOT USE ANY OTHER DRIVER EXCEPT THE JUNO DRIVER THAT IS INCLUDED WITH THE FIXTURE.
- DO NOT CONNECT MULTIPLE MODULES TO ONE DRIVER.
- DO NOT OPEN THE MODULE AND SIDE PLATE OF THE REMOTE DRIVER BOX – NO SERVICEABLE PARTS INSIDE.

Once the fixture is operational, activate the app on your mobile control device, and follow the instructions listed in the QUICK START GUIDE.
Trouble Shooting Guide
If this fixture fails to operate properly, use the guide below to diagnose and correct the problem.
- Verify that the fixture is wired properly.
- Verify that the fixture is grounded correctly.
- Verify that the line voltage at the fixture is correct.
If further assistance is required for installation issues, contact: Technical Support at (800) 705-SERV (7378). For setup support use the Samsung SmartThings® App. contact technical support at (800) 726-7864 This LED module does not require service or new bulbs to change.