BROTHER dcp1050dw Wireless A4 Printer Manual

Unpack the machine and check the components
Remove the protective tape or film covering the machine and the supplies. The components included in the box may differ depending on your country.

- Save all packing materials and the box in case you must ship your machine.
- You must purchase the correct interface cable for the interface you want to use.
Use a USB 2.0 cable (Type A/B) that is no more than 2 meters long. - Brother aims to reduce waste and save the raw materials and energy required for their production. Read more about our environmental work at www.brotherearth.com.
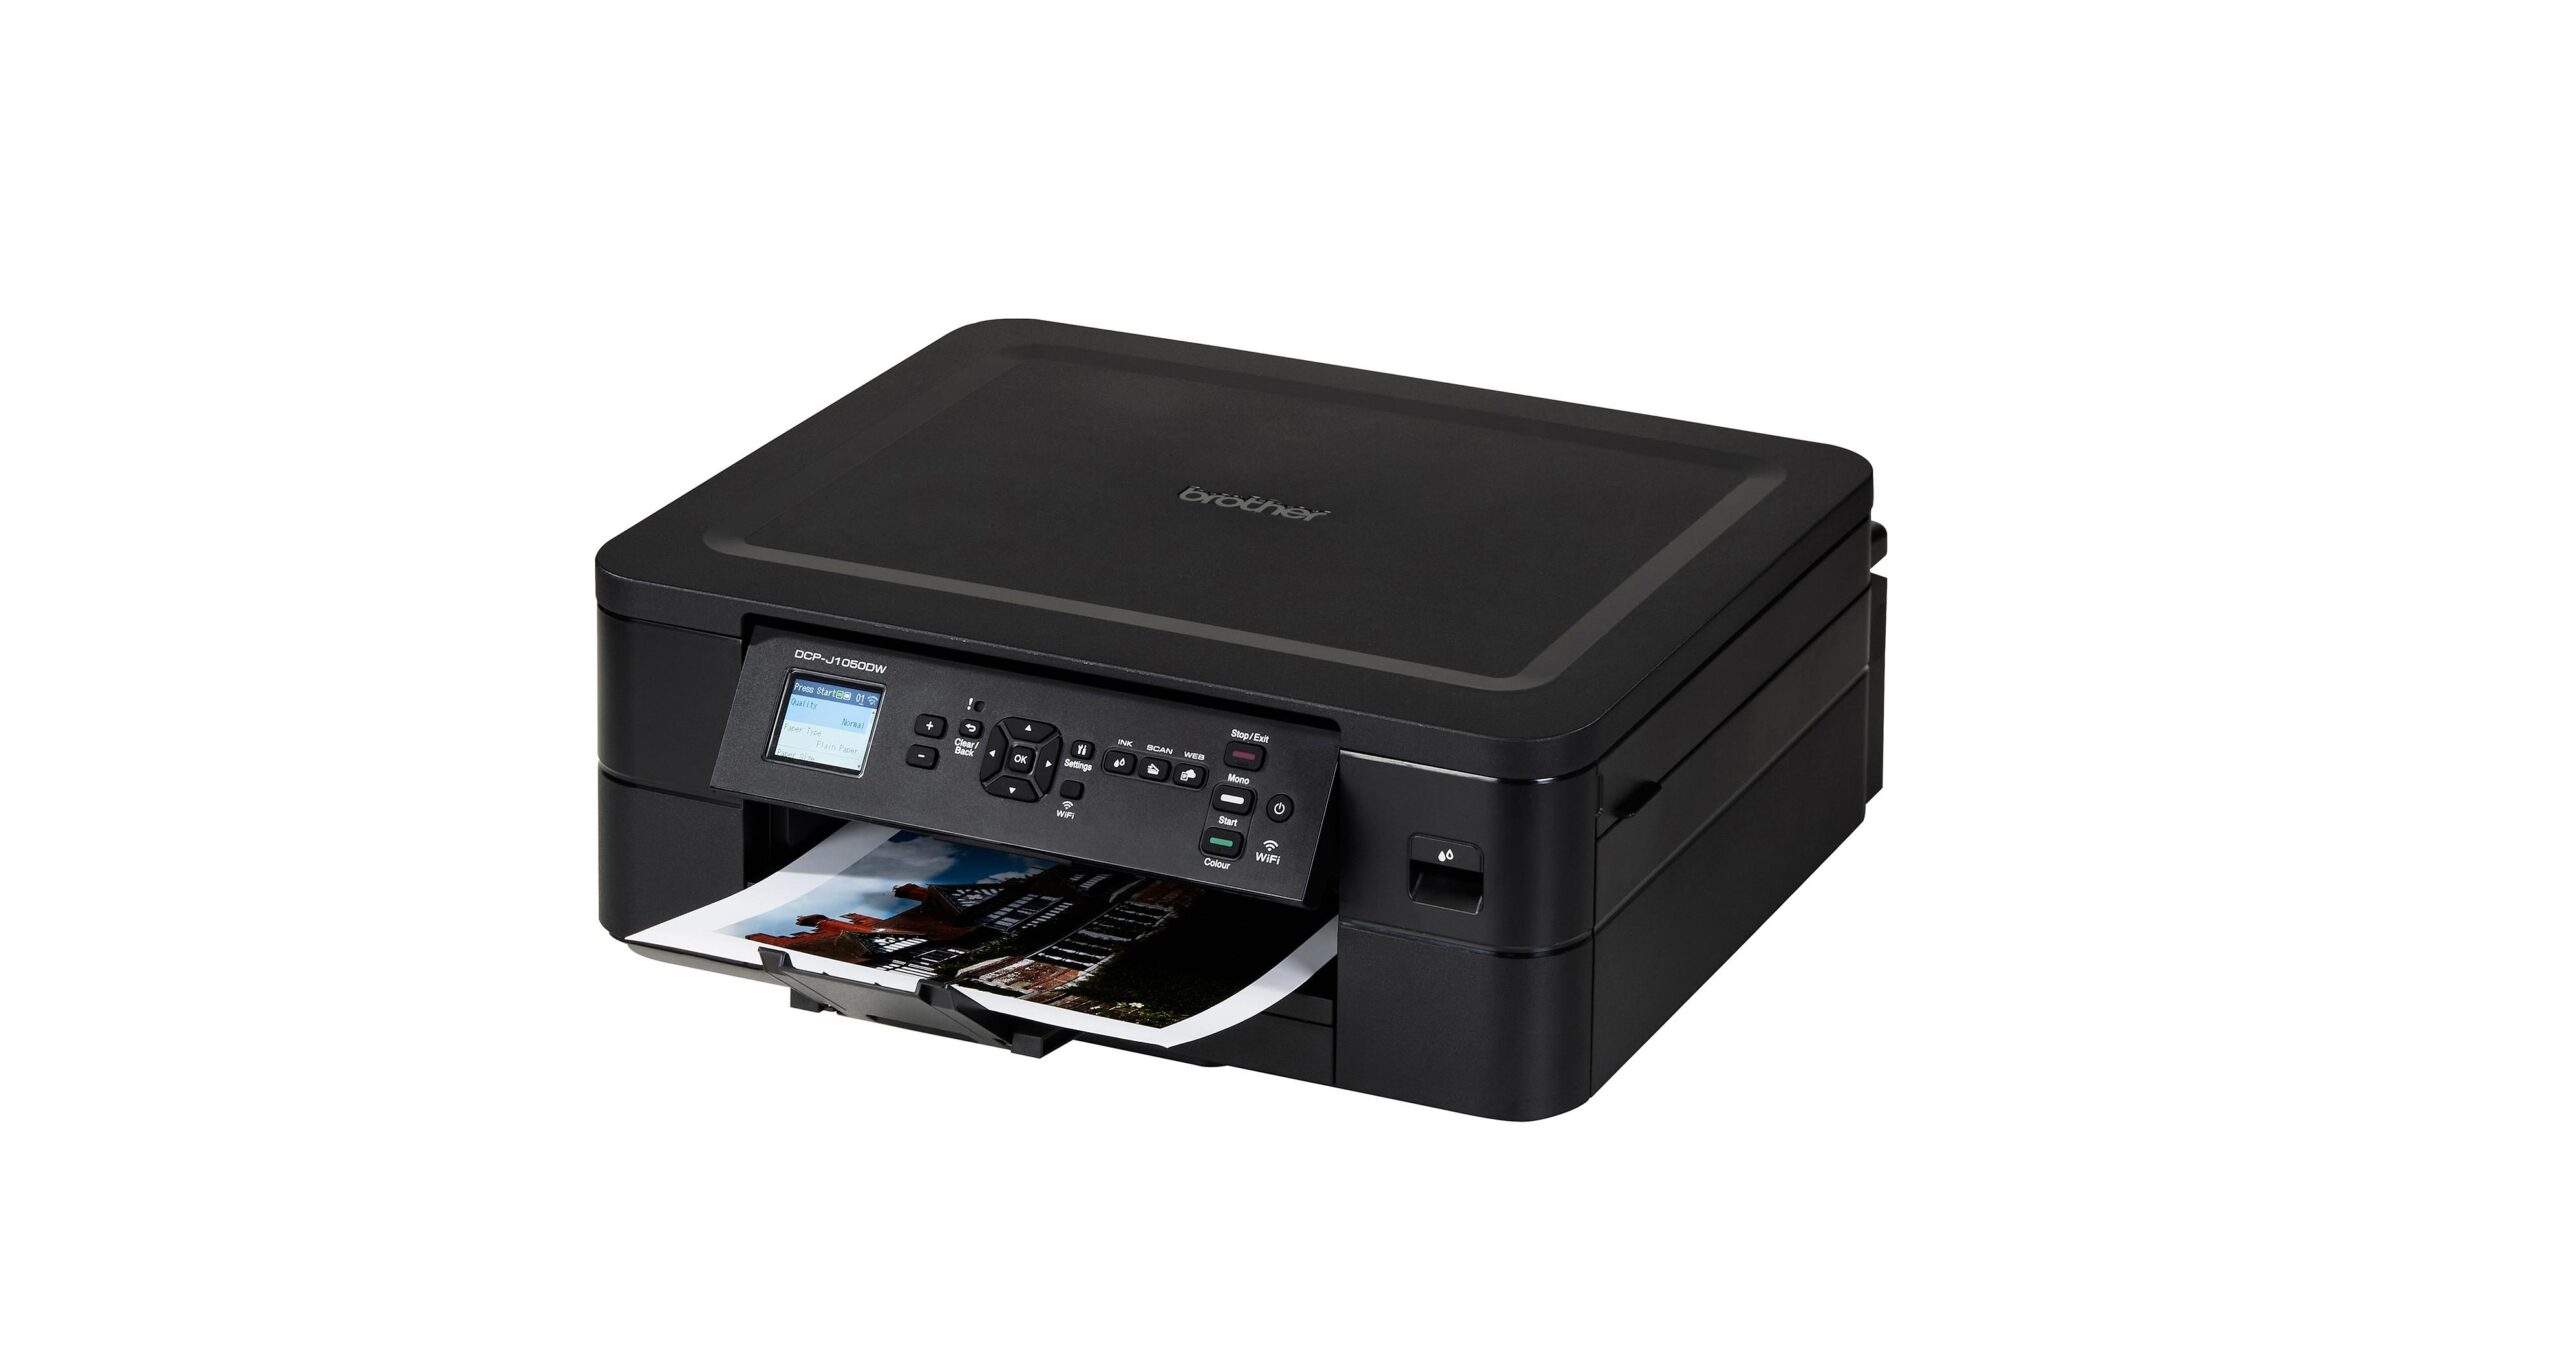
Load plain A4 paper in the paper tray
After finishing the machine setup, you can change the paper type or size. For more information about paper handling, see the Online User’s Guide at support.brother.com/manuals.

Connect the power cord
NOTE
You can adjust the control panel angle to read the LCD more easily.
Select your country or language
After turning the machine on, you may need to set your country or language (depending on your machine). If required, follow the LCD instructions.
Install the inbox ink cartridges
Open the ink cartridge cover and remove the orange protective part from the machine.
NOTE
Do not throw away the orange protective part. You will need it if you transport the machine.
Follow the LCD instructions to install the ink cartridges. Close the ink cartridge cover. The machine will prepare the ink tube system for printing.
NOTE
The first time you install a set of ink cartridges, the machine will use an amount of ink to fill the ink delivery tubes for high-quality printouts. This process will only happen once.
Set the date and time
Follow the LCD instructions to set the date and time.
After setting the date and time, you can set the Firmware Update defaults.
Clear the LCD notifications
If any notifications appear on the LCD, clear them by pressing OK or selecting [OK] depending on your model.
Select your language
DCP-J1050DW / MFC-J1010DW
- Press Settings.
- Press a or b to select the following:
a. Select [Initial Setup], and then press OK.
b. Select [Local Language], and then press OK.
c. Select your language, and then press OK. - Press Stop/Exit.
Manual wireless setup
BROTHER dcp1050dw Wireless A4 Printer
If the wireless setup is not successful, try to set up the connection manually.
Find your SSID (Network Name) and Network Key (Password) on your wireless access point/router and write them in the table provided below.
If you cannot find this information, ask your network administrator or wireless access point/router manufacturer.
DCP-J1050DW / MFC-J1010DW
- Go to your machine, and press WiFi or on the panel.
- Press OK to select
[Find Wi-Fi Network]. The [Enable WLAN?] message appears on the LCD. - Press c to select Yes.
DCP-J1140DW
Go to your machine, and press wifi [Find Wi-Fi Network] > [Yes].
Select the SSID (Network Name) for your access point/router and enter the Network Key (Password).
When the wireless setup is successful, the LCD displays [Connected].
If the setup is not successful, restart your Brother machine and your wireless access point/router, and repeat 13.
For detailed machine information and product specifications, see the Online User’s Guide at support.brother.com/manuals.
REFERENCES
https://www.brother.co.nz/printers/inkjet-printers/dcpj1050dw


