
Table of contents
show
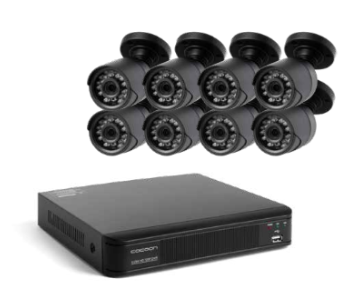
Cocoon HE180106 4 Camera Home Security System Instruction Manual
Camera Specifications
- Image Sensor: 1/3” Colour CMOS Sensor
- Video Resolution: 976 x 496
- Video System: PAL
- Infrared IRs: 24
- Day/Night mode: Smart IR Cut Filter
- Night Vision Distance: Max 24m
- Scan Frequency: 50Hz
- Minimum Illumination: 0 Lux (IR On)
- Backlight Compensation: Auto
- Electronic Shutter: 1/50~10,000 AUTO
- Gain Control: Auto
- Lens: F=3.6 ~ 60 degrees
- Operating Temperature: -10 – 50C
Installation
Installation Location
- Before installing the Home Security System, it is essential to plan where to locate the DVR unit. Below are a few points to consider:
- The DVR unit should be positioned in a central location with easy access to mains power,cameras and installed cables
- If you plan to use remote viewing features, the DVR unit should be located near your modem /router or Ethernet network point
- The DVR unit should be installed in a secure location to avoid tampering
- Do not place heavy objects on top of the DVR unit
- Do not block ventilation holes on the top and sides of the DVR unit or use in an enclosed area as this may cause overheating
- Plan out where you would like to place your cameras and test all connections BEFORE permanently installing cables and cameras.
- Cameras should be placed covertly indoors where you do not want to see them every day
- Outdoor Cocoon HE160232 8 Camera Home Security System can be placed in plain sight to act as a deterrent to would-be intruders.
Operation
- Single – Switch to single view mode. Select the camera to view
- Multi – Switch to split screen mode
TIP: Alternatively, use the mouse and double click with LMB on the image to switch between the two modes - Stop/Start Scan – Automatically changes the single camera view at a selected interval. See 4.4.2 Live for more details
- Colour – Adjust the colour settings of the selected camera
- E-Zoom – Click and drag to draw a box in the bottom left window to zoom-in on the selection, right-click to return to full screen mode


