Cuisinart CBK-100 Automatic Bread Maker User Manual

IMPORTANT SAFEGUARDS
When using electrical appliances, especially when children are present, basic safety precautions should always be taken, including the following:
- READ ALL INSTRUCTIONS, PRODUCT LABELS, AND WARNINGS BEFORE USING THIS BREAD MAKER.
- Do not touch hot surfaces; carry the unit by the plastic base. Always use oven mitts when handling hot material, and allow metal parts to cool before cleaning. Allow the bread maker to cool thoroughly before putting on or taking off parts.
- When the unit is not in use and before cleaning, unplug the bread maker from the wall outlet. Let the bread maker cool down completely before assembling or disassembling it.
- To protect against the risk of electric shock, do not immerse the appliance or plugs in water or other liquids.
- Close supervision is always necessary when this or any appliance is used near children or incapacitated persons.
- Do not allow anything to rest on the power cord. Do not plug in a cord where people may walk or trip on it. Unplug this bread maker from the wall outlet when not in use, before you leave for a trip, or go out for a long period of time.
- Do not operate this or any appliance with a frayed or damaged cord or plug, or after the appliance malfunctions or is dropped or has been damaged in any manner. Take the appliance to the nearest authorized service facility for examination, repair, or electric or mechanical adjustment.
Continued
- Do not let the cord dangle over the edge of a table or counter or touch hot surfaces. Do not place it on an unsteady or cloth-covered surface.
- Do not use attachments not recommended by the manufacturer. They may cause fire, electric shock, or injury or may damage the unit and void the warranty.
- Do not use it outdoors or for commercial purposes.
- Do not place the appliance near a hot gas or electric burner, or in a heated oven.
- Keep the power cord away from the hot surface of this bread maker. Do not put any flammable objects on the hot surface of this bread maker.
- Place this bread maker a minimum of 2 inches away from any wall or other object.
BEFORE FIRST USE
Remove all packing material and any promotional labels or stickers from your bread maker. Be sure that all parts of your new bread maker have been unpacked before discarding any packing materials. You may want to keep the box and packing materials for use at a later date. Wipe the housing with a damp cloth to remove any dust from the warehouse or shipping. Wash the inside of the lid with a sponge or damp cloth. Wash the kneading paddle and bread pan with warm, soapy water and dry them completely.
Special Cord Set Instructions
A short power supply cord is provided to reduce the risks resulting from becoming entangled in or tripping over a longer cord. Longer extension cords are available and may be used if care is exercised in their use. If a long extension cord is used, the marked electrical rating of the extension cord must be at least as great as the electrical rating of the appliance, and the longer cord should be arranged so that it will not drape over the countertop or tabletop where it can be tripped over or pulled on by children.
INTRODUCTION
Nothing says “home” like warm, just-baked bread. With your new automatic bread maker, all you have to do is add ingredients and select the time you’d like Cuisinart to start the process. We mix it, knead it, let it rise, and bake it. We’ve included lots of bread recipes, as well as recipes for pastries and jams. You’ll discover you’ve bought yourself much more than a breadmaker!
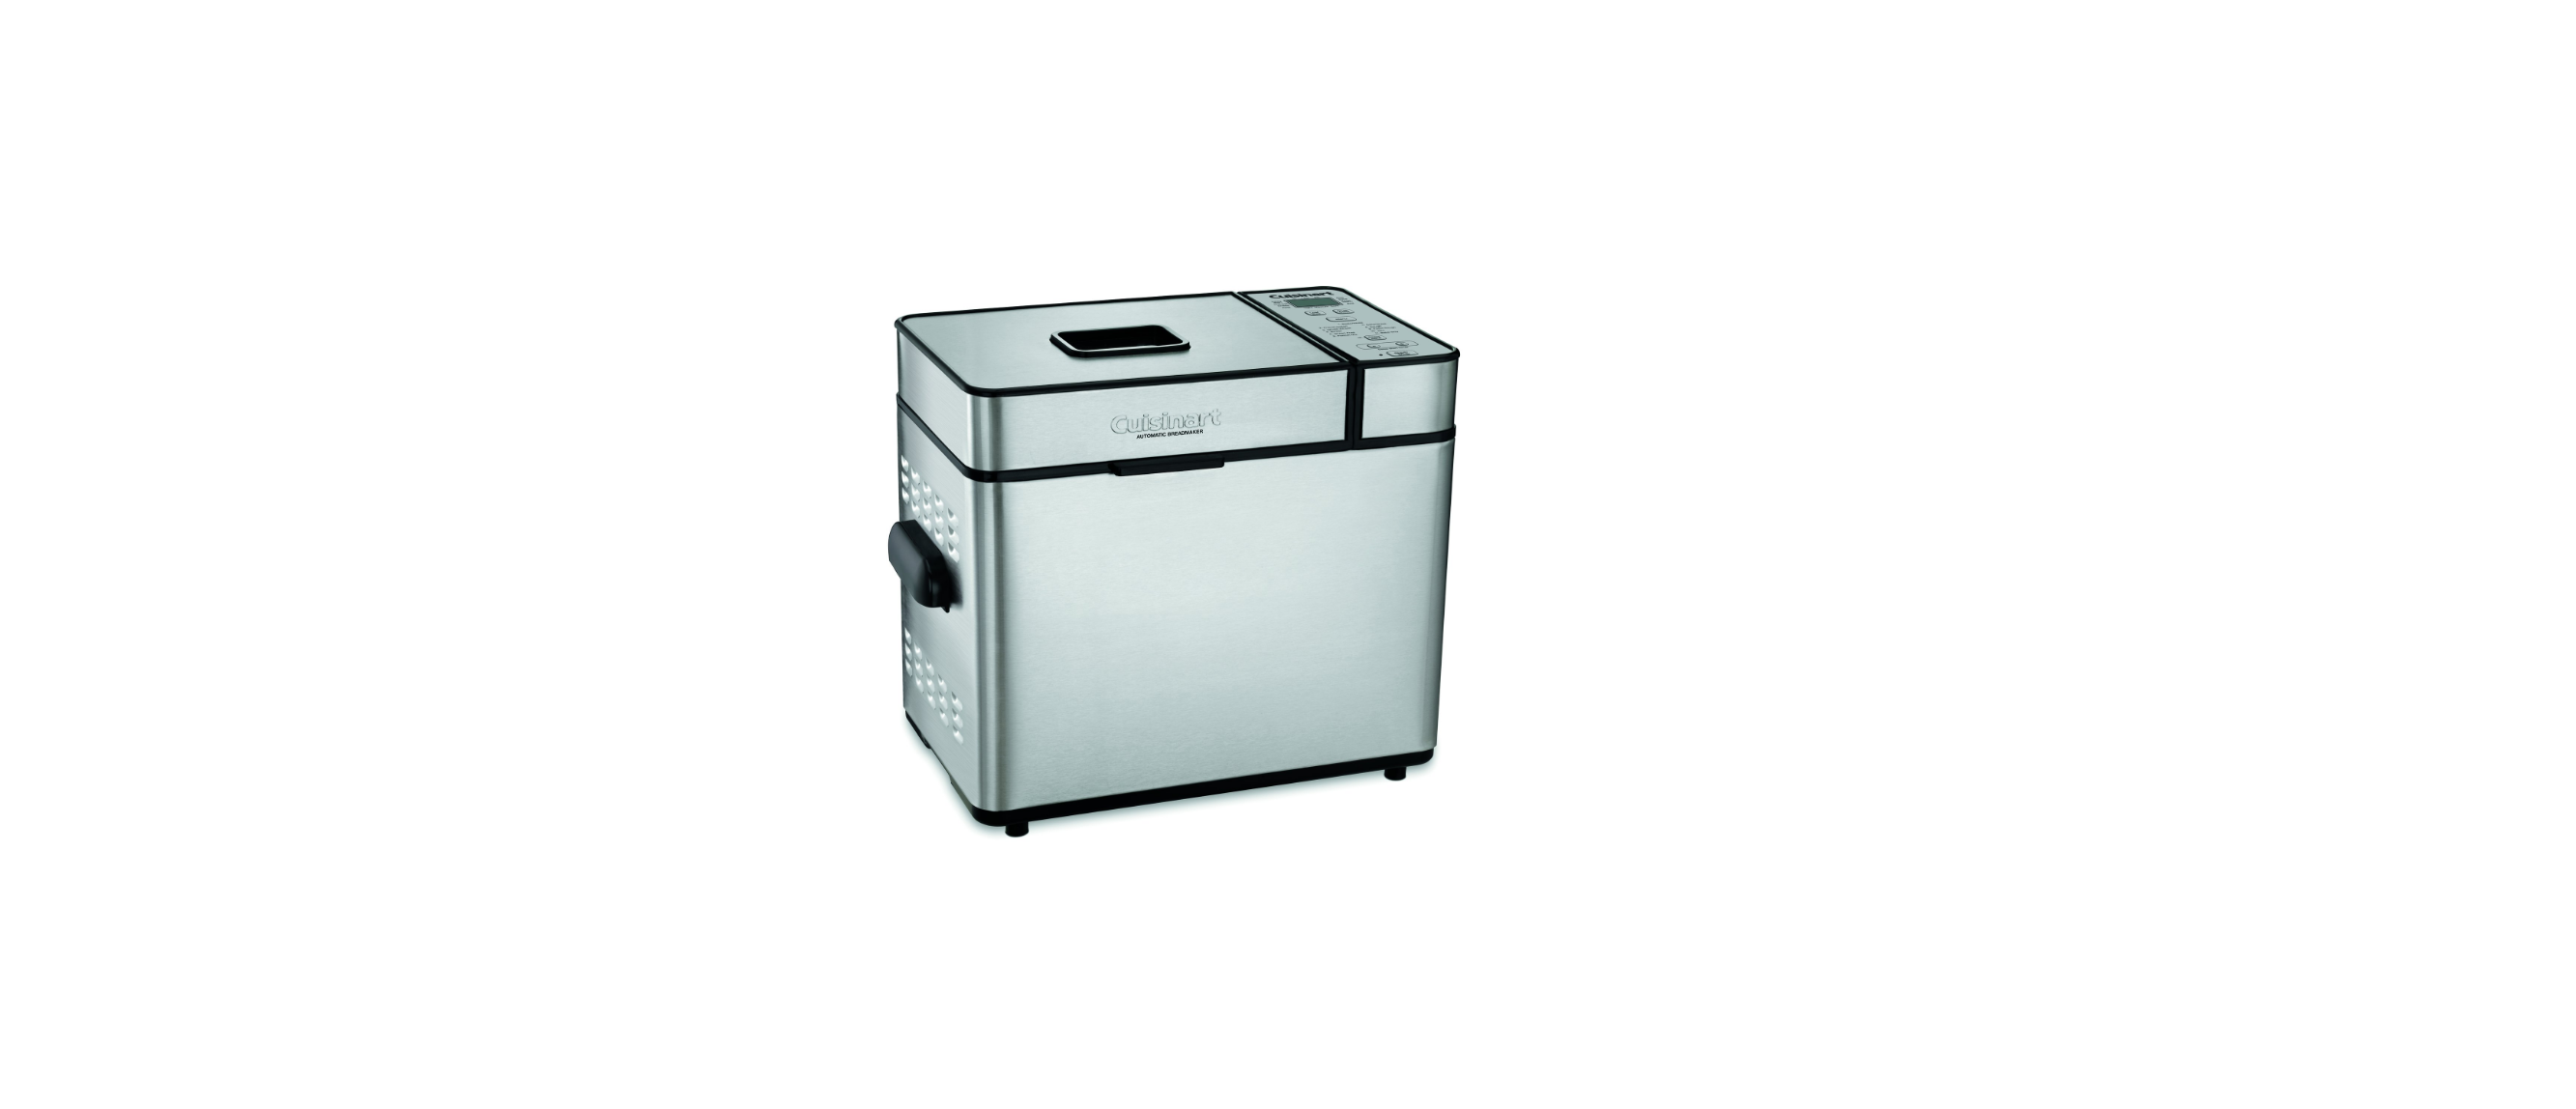
Parts AND Features

- Lid with viewing window
- Side handles
- Control Panel.
- Baking chamber:
- a. Removable bread pan with handle
- b. Kneading paddle
- c. Heating element (not shown)
- Power Cord (not shown)
- Measuring Spoon
- Measuring Cup
CONTROL PANEL LCD

Display – Displays your loaf size and crust color selection along with the current function. Also used to view menu selection and delay start timer. Loaf Size Button – Select a 1lb, 1½ lb, or 2lb loaf. Crust Color Button – Select a light, medium or dark crust. Menu Button – Select the program; refer to the program list for options. Program List – Lists the first 11 preprogrammed menu selections; use the menu button to select from this list. Rapid Bake Button – Select the 12th pre-program, Rapid Bake (Please refer to page 6 for more information on this setting). Delay Start Timer Buttons – Set the delay start timer. Start/Stop Button – Starts and stops the bread-making process.
Setting Up
- Remove the bread pan by grasping the handle, turning the pan to the left, and pulling up. Attach kneading paddle. (see Figures 1a and 1b).
- Put ingredients in bread pan – refer to the measuring and loading ingredients section (pages 6-7) for detailed instructions. Note: Always put liquid ingredients into the pan first, followed by dry ingredients. Be sure to put yeast last, as yeast must not touch wet ingredients, to avoid activation before kneading.
- Insert the bread pan back into the baking chamber, turning the pan to the right. Be sure it locks in place.
- Close the lid and plug in the bread maker.

Programming
- Select your loaf size (1, 1½, or 2 lbs) by pressing the Loaf Size button until your desired size is selected. Your current selection will be displayed on the LCD panel.
- Select your crust color (light, medium or dark) by pressing the Crust Color button until your desired color is selected. Your current selection will be displayed on the LCD panel.
- Select your program number by pressing the Menu button until your desired program is displayed. (The pre-programmed menu selections are listed on the control panel for easy reference.) For Rapid Bake, press the Rapid Bake button. For more information on each program.
Options
- Mix-Ins: During the last 8 minutes of the second kneading cycle with the Basic/White, Whole Wheat, French/Italian, and Sweet programs, an audible signal 5 of short beeps will sound to remind you to add any additional ingredients your recipe requires. To do so, open the lid and add additional ingredients. Be sure to close the lid, once finished.
- After mixing/kneading is complete there will be an audible signal of 6 short beeps, before the last rise cycle, indicating the point at which the mixing/kneading is complete. At this point in the bread-making process, you have the option of removing the kneading paddle, to avoid a small hole in the bottom of your baked loaf, and/or re-shaping the dough, though neither is necessary. To do so,
- a. Using oven mitts, open the lid and remove the bread pan by the handle and close the lid.
- b. Take the dough from the pan and remove the kneading paddle Caution: The kneading paddle may be hot.
- c. Form the dough into a neat ball and replace it in the center of the bread pan.
- d. Replace the bread pan in the machine and close the lid.
Note:
If you plan to remove the dough and reshape it in another pan for baking in your conventional oven, this is the time to do so. Be sure to press and hold the Start/Stop button to reset the machine so it does not automatically resume the process after 15 minutes.
MEASURING INGREDIENTS
Important note:
The most important rule of making bread is: Use exact measurements. This is the key to successful bread baking. With wet ingredients, use only liquid measuring cups with the cups/ounces marked clearly on the side. After filling the measuring cup, place it on a flat surface and view it at eye level to make sure the amount of liquid is exact. Liquids must be at room temperature. With dry ingredients, fill a dry measuring cup with a spoon and then level off the measurement with the back of a knife or a spatula to make sure the measurement is exact. Never use the cup to scoop the ingredients directly from the container (for example, flour). By scooping, you could add up to one tablespoon of extra ingredients. Do not pack down.
MEASUREMENT/CONVERSION CHART
| 11⁄2 teaspoons | = | 1⁄2 tablespoon | 8 tablespoons | = | 1 ⁄2 cup |
| 3 teaspoons | = | 1 tablespoon | 12 tablespoons | = | 3⁄4 cup |
| 1⁄2 tablespoon | = | 11⁄2 teaspoons | 16 tablespoons | = | 1 cup |
| 2 tablespoons | = | 1⁄8 cup | 3⁄8 cup | = | 1⁄4 cup + 2 tablespoons |
| 4 tablespoons | = | 1⁄4 cup | 5⁄8 cup | = | 1⁄2 cup + 2 tablespoons |
| 5 tablespoons + 1 teaspoon | = | 1⁄3 cup | 7⁄8 cup | = | 3⁄4 cup + 2 tablespoons |
Important Note:
The MOST important rule of making bread is: Use exact measurements. This is the key to successful bread baking. When measuring wet ingredients, use only liquid measuring cups with the cups/ounces marked clearly on the side. After filling the measuring cup, place it on a flat surface and view it at eye level to make sure the amount of liquid is exact. Most recipes require liquids to be at room temperature.
When measuring dry ingredients, fill a dry measuring cup with a spoon and then level off the measurement with the back of a knife or a spatula to make sure the measurement is exact. Never use the cup to scoop the ingredients directly from the container (for example, flour). By scooping, you could add up to one tablespoon of extra ingredients. Do not pack down, unless otherwise noted.
LOADING INGREDIENTS INTO THE BREAD PAN
Important Note:
The SECOND MOST important rule of making bread: Put the ingredients into the bread maker in the EXACT order given in the recipe. This means, in most cases:
- FIRST, liquid ingredients
- SECOND, dry ingredients
- LAST, yeast – Yeast must be separate from wet ingredients and salt.
Create a small crater in dry ingredients using your finger or a spoon, and place yeast within the crater. Make sure the yeast is fresh. Also, make sure ALL ingredients are at room temperature unless otherwise noted (that is, between 75˚F– 90˚F). Temperatures too cool or too warm can affect the way the bread rises and bakes. NOTE: Water should not be hot, or it will affect rising. Last, it is a good idea to start with fresh ingredients. Fresh flour and fresh yeast are critical.

CLEANING AND CARE
Caution:
Unplug the machine before cleaning. Do not put the bread maker in water or in a dishwasher. Do not use scrubbing brushes or chemical cleansers, as these will damage the machine. Use only a mild, nonabrasive cleanser to clean the outside of the bread maker. Do not use metal utensils as they will damage the nonstick surface.
Baking chamber
Remove all bread crumbs by wiping them away with a slightly damp cloth or a clean pastry brush. DO NOT bend the heating element, which is located on the inside of the bread maker. Lid – Wipe the inside of the lid with a sponge or damp cloth. Outer housing – Use only a mild, nonabrasive cleanser to clean the outside of the bread maker. Control panel – Wipe with a slightly damp cloth as necessary. Take care not to allow water or cleaning fluids under the buttons of the control panel.
Maintenance
Keep your bread maker clean at all times. Don’t worry if the color of the exterior of the baking pan changes over time. The color change is a result of steam and other moisture and does not affect the machine’s performance. If you have trouble removing the kneading paddle from bread pan, put warm, soapy water in the bread pan for 10 to 15 minutes – this will loosen the paddle.
TIPS AND HINTS
Important:
Use top-quality ingredients to make your bread-maker bread. The temperature of ingredients is important in bread-machine baking. Ideal temperatures are between 75°F–90°F. Use an instant-read thermometer to check the temperatures. Measure all ingredients accurately and have them ready before adding to the bread pan.
This helps to ensure that you measure each ingredient correctly, and do not find that you get down to the last (or nearly the last) ingredient and discover that it is not available in your pantry. When measuring ingredients, use liquid measuring cups for liquids, and dry measures for dry ingredients. Stir all flours first, spoon into the dry measure, and level off using the flat side of a knife or spatula – do not pack down.
Add ingredients to the pan in this order – liquids, melted or softened butter, salt and sugars (including honey, molasses, syrup), herbs, flours, dried milk, vital wheat gluten (if using), and yeast. Do not allow the yeast to touch the wet ingredients. See detailed instructions on page 11. Giving the kneading paddle a light coating with a nonstick cooking spray or vegetable oil may make it easier to remove if it bakes into a loaf.
WARRANTY
Limited Three-Year Warranty (U.S. and Canada Only)
This warranty is available to consumers only. Except as otherwise required under applicable law, this warranty is not available to retailers or other commercial purchasers or owners. We warrant that your Cuisinart® Compact Automatic Bread Maker will be free of defects in materials and workmanship under normal home use for 3 years from the date of original purchase.
We recommend that you visit our website, www.cuisinart.com for a fast, efficient way to complete your product registration. However, product registration does not eliminate the need for the consumer to maintain the original proof of purchase in order to obtain the warranty benefits. In the event that you do not have proof of purchase date, the purchase date for purposes of this warranty will be the date of manufacture.
CALIFORNIA RESIDENTS ONLY
The retail store shall then, according to its preference, either repair the product, refer the consumer to an independent repair facility, replace the product, or refund the purchase price less the amount directly attributable to the consumer’s prior usage of the product.
California residents may also, according to their preference, return nonconforming products directly to Cuisinart for repair or, if necessary, replacement by calling our Consumer Service Center toll-free at 800-726-0190. Cuisinart will be responsible for the cost of the repair, replacement, shipping, and handling of such nonconforming products under warranty.
REFERENCE LINK
https://www.cuisinart.com/shopping/discontinued/bread_makers/cbk-100/


