Cuisinart CPT-122 Compact 2-Slice Toaster User Manual

IMPORTANT SAFETY INSTRUCTIONS
- Read all instructions.
- Always unplug from the outlet when not in use and before cleaning. Allow to cool before cleaning or handling.
- Do not touch hot surfaces. Use handles or levers.
- To protect against electrical shock, do not place any part of the toaster in water or other liquids. See instructions for cleaning.
- This appliance should not be used by or near children, or individuals with certain disabilities.
- Do not operate any appliance with a damaged cord or plug, or after the appliance has malfunctioned or has been dropped or damaged in any way, or if it is not operating properly. Return the toaster to the store or retailer where purchased for examination or repair.
- The use of accessory attachments not recommended by Cuisinart may cause injury.
- Do not use outdoors.
- Do not let the cord hang over the edge of the table or countertop or touch hot surfaces.
- Do not place the toaster on or near a hot gas or electric burner or in a heated oven.
- Do not use this toaster for other than its intended use.
FEATURES AND BENEFITS

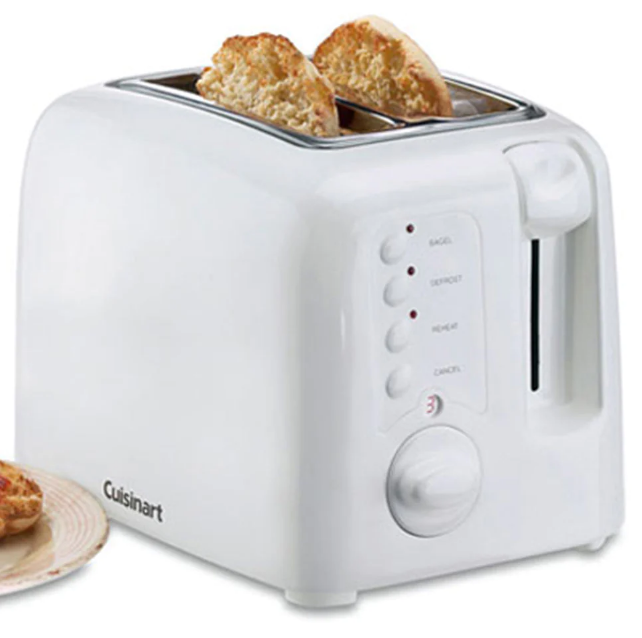
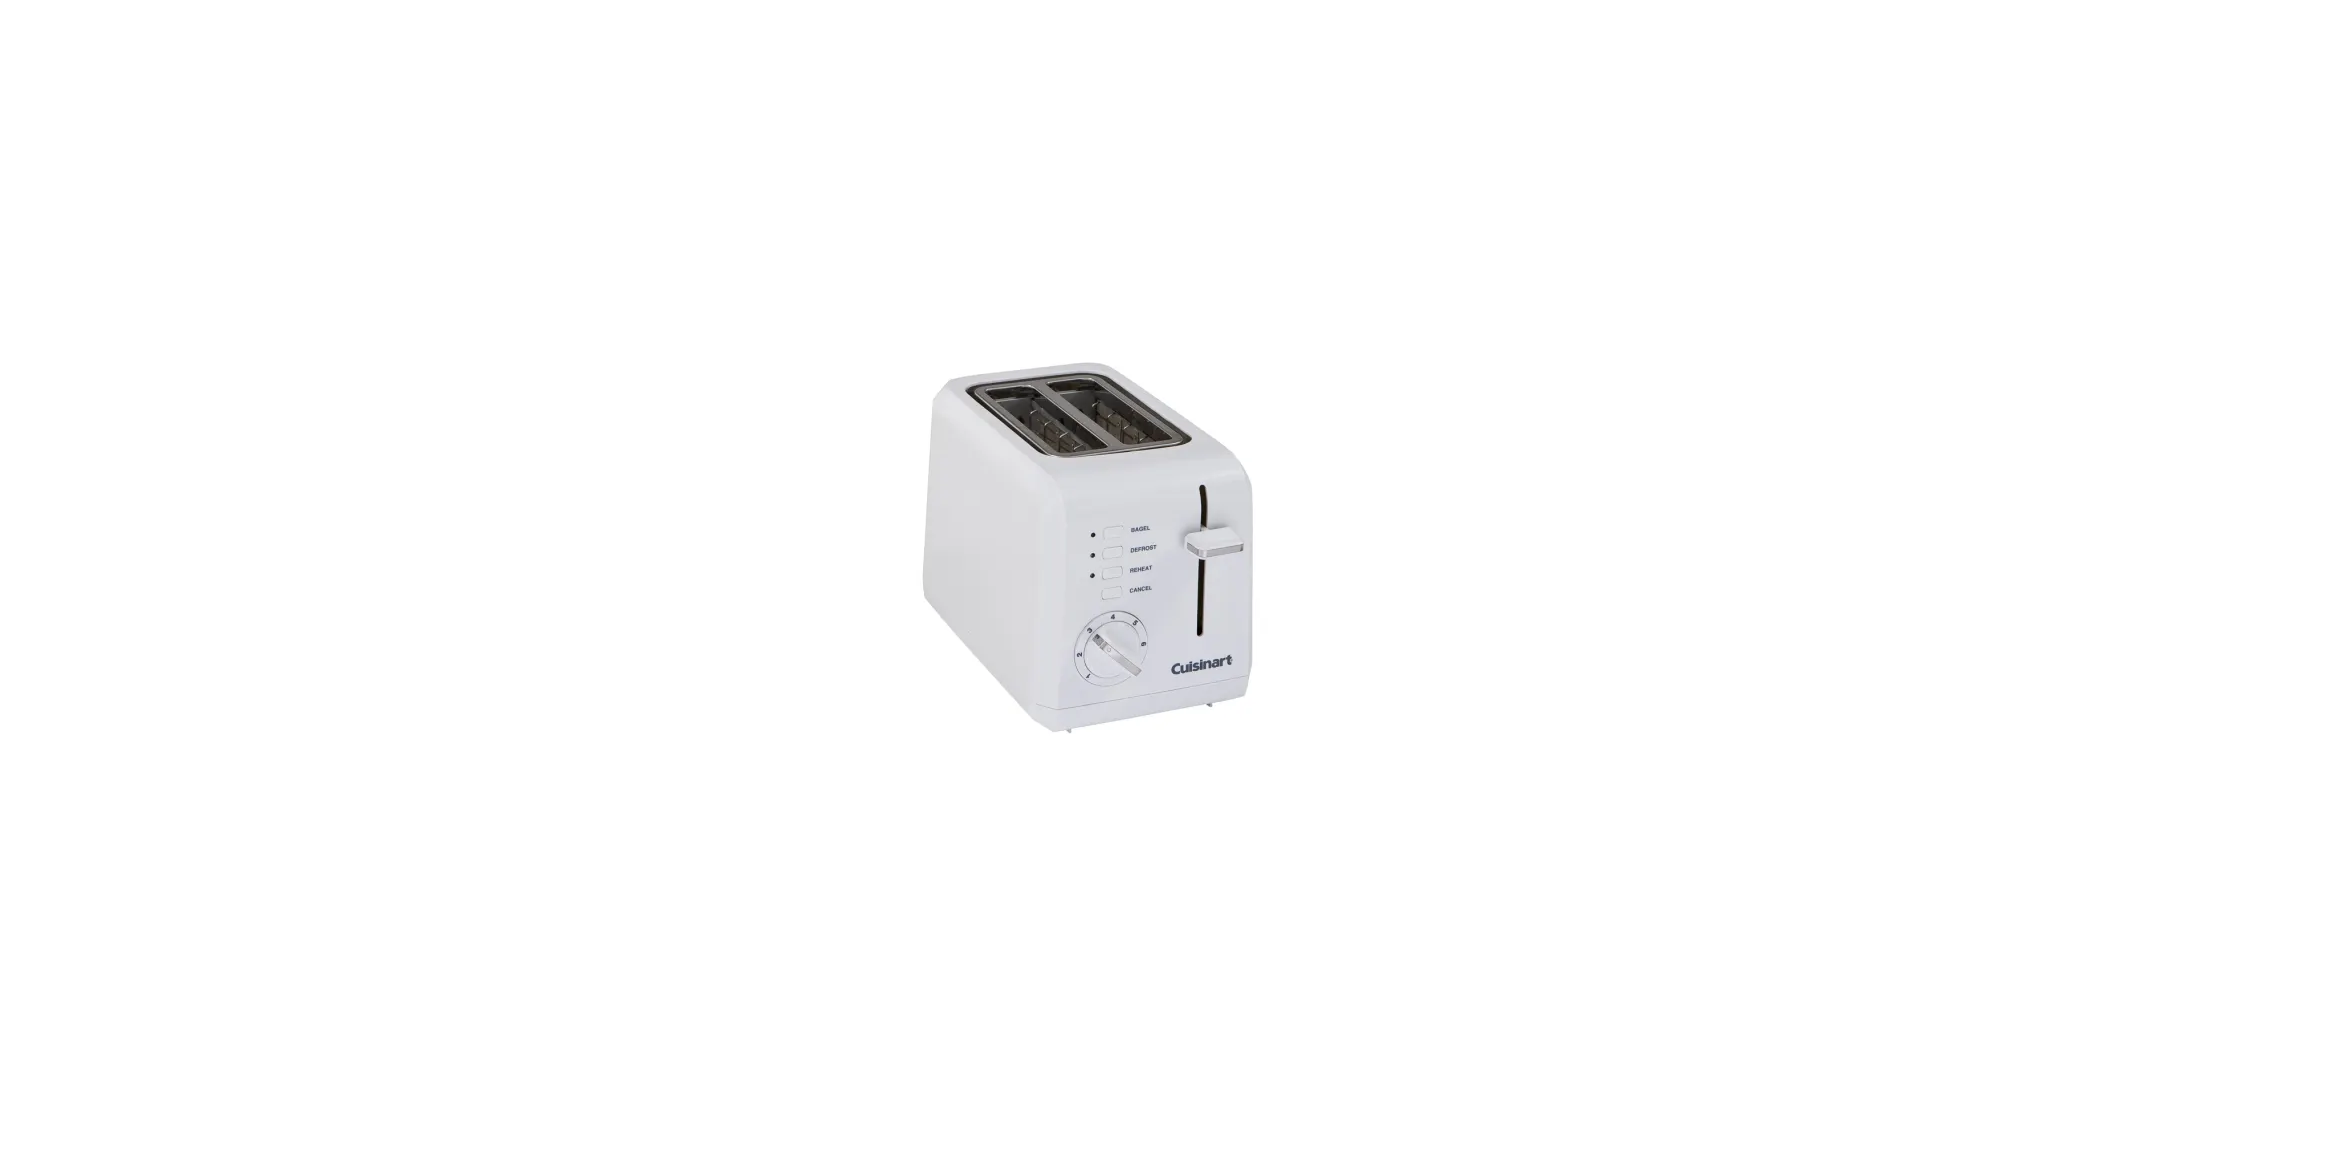
- Dual Toasting Slots 1½-inch slots toast a wide variety of breads.
- Extra-Lift Carriage Control Lever Brings small items close to the top of the toaster for easy removal.
- Browning Control Dial Sets selected shade. Seven browning levels toast from light to dark.
- The bagel Button Adds extra time to the toasting cycle. LED lights when selected.
- Defrost Button Defrosts and toast frozen bread. LED lights when selected.
- Reheat Button Reheats without browning or toasting. LED lights when selected.
- Cancel Button Interrupts the toasting process.
- Slide-out Crumb Tray (not shown) Pulls out to clean crumbs that collect in the bottom of the toaster.
- Cord Storage (not shown) Takes up excess cord and keeps countertop neat.
- BPA Free (not shown) All materials that come in contact with food are BPA free.
USE AND CARE
Unwind the power cord. Check that the crumb tray is in place and that there is nothing in the toaster slot(s). Plug the power cord into the wall outlet.
- Insert slice(s) of bread Be sure that the carriage is in the up position.
- Set the browning control
- To begin toasting Press the carriage lever until it locks into the down position. To stop the cycle When the Toasting cycle is finished, the toast will be raised. If you wish to stop the cycle before it is finished, simply press the Cancel button. After use, unplug the toaster from the electrical outlet.
Some notes on browning
Toasting is a combination of cooking and drying the bread. Therefore, differences in moisture level from one bread to another can result in varying toasting times.
- For slightly dry bread, use a lower setting than you normally would.
- For very fresh bread or whole wheat bread, use a higher setting than normal.
- Bread with very uneven surfaces (such as English muffins) will require a higher toast setting.
- Thickly cut pieces of bread will take longer to toast, sometimes significantly longer since more moisture must be evaporated from the bread before toasting can occur. Very thick pieces may require two cycles.
- When toasting raisins or other fruit pieces of bread, remove any loose raisins, etc. from the surface of the bread before putting them into the toaster. This will help prevent fruit pieces from falling into the toaster or sticking to the guide wires in the slot.
- Before toasting bagels, slice each bagel into two equal halves.
The Bagel feature adds extra time to the Toasting cycle. You may also use the bagel button for English muffins and other thick breads.
- Insert slice(s) of bread or halved bagel. Be sure that the carriage is in the up position.
- Select the browning control.
- Press the carriage lever until it locks into the down position.
- Press the Bagel button to start. Blue LED indicates the feature is activated. To stop the cycle When the Bagel cycle is complete, the toaster will raise the bread. If you wish to stop the cycle before it is finished, simply press the Cancel button to interrupt. After use, unplug the toaster from the electrical outlet.
Defrost button
The Defrost button is designed to first defrost and then toast the bread, which extends the Toasting cycle slightly.
- Insert slice(s) of bread. Be sure the carriage is in the up position.
- Select the browning control.
- Press the carriage lever until it locks into the down position.
- Press the Defrost button. Blue LED indicates the feature is activated. To stop the cycle When the Defrost cycle is complete, the toaster will raise the bread. If you wish to stop the cycle before it is finished, simply press the Cancel button to interrupt. After use, unplug the toaster from the electrical outlet.
CLEANING AND MAINTENANCE
Always allow the toaster to cool completely before cleaning.
- Always unplug the toaster from the electrical outlet before cleaning.
- Do not use abrasive cleaners. Simply wipe the exterior with a clean, damp cloth and dry thoroughly. Apply any cleaning agent to a cloth, not to the toaster, before cleaning.
- To remove crumbs, slide out the crumb tray and discard the crumbs. Wipe clean and replace. Never operate the toaster without the crumb tray in place.
- To remove any pieces of bread remaining in the toaster, turn the toaster upside down and gently shake. Never insert any hard or sharp instruments into the slots, as this could damage the toaster and cause a safety hazard.
- Never wrap the cord around the outside of the toaster. Use the cord storage cleats on the underside of the toaster.
- Any other servicing should be performed by an authorized service representative.
WARRANTY Limited Three-Year Warranty
This warranty is available to consumers only. We warrant that your Cuisinart® Vertical Waffle Maker will be free of defects in materials and workmanship under normal home use for 3 years from the date of original purchase.
We recommend that you visit our website, www.cuisinart.com for a fast, efficient way to complete your product registration. If your Cuisinart® Vertical Waffle Maker should prove to be defective within the warranty period, we will repair it, or if we think it necessary, replace it.
To obtain warranty service, simply call our toll-free number, 1-800-726-0190, for additional information from our Consumer Service Representatives, or send the defective product to Consumer Service at Cuisinart, 7475 North Glen Harbor Blvd., Glendale, AZ 85307. To facilitate the speed and accuracy of your return, please enclose $10.00 for shipping and handling of the product. Please pay by check or money order payable to Cuisinart (California residents need only supply proof of purchase and should call 1-800-726-0190 for shipping instructions).
REFERENCE LINK
https://www.cuisinart.com/shopping/appliances/toasters/cpt-122/


