Eco-Worthy Solar Panel Mount Bracket User Manual

Product List

| Item# | Description | Quantity |
| 1 | Aluminum Panel Mounting Rails (28inch or 42inch) | 4 |
| 2 | Aluminum Tilt Angle Bracket (11.25inch or 21.45inch) | 2 |
| 3 | M8 Plastic Knob Screw | 6 |
| 4 | M8 Flange nut | 10 |
| 5 | M8 Hexagon socket head cap screws | 4 |
The ECO-WORTHY Adjustable Tilt Bracket is the perfect solution to mount a solar panel to the roof of your RV, travel trailer, or any other flat surface, even on the ground allowing the tilt angle of the solar panel to be adjusted for optimum performance.
Installation
CAUTION:
When solar panels are placed in light sources, they produce electrical energy and a voltage will appear on the output terminals. To avoid a shock hazard, keep the panel covered with a dark material during installation and avoid contact with the output terminals.
NOTE:
Please wear gloves before installation to prevent hand injuries!
To avoid a shock hazard, keep the panel covered with a dark material during installation and avoid contact with the output terminals. Make sure the mounting surface is strong enough to handle the weight-bearing load of the solar panels. If the panels will be mounted on a roof, make sure the material is strong enough to provide support to the solar panel including wind loading.
To minimize wind loading effects in an RV or mobile application, place the panel’s longest edge parallel with the direction of wind travel. If you want to place the bracket on the ground, please choose a flat, hard surface, use self-tapping screws for installation with the plane, or choose a heavy thing to press the bracket.
Steps Installation
- Secure the solar panel to the two Panel Mounting Rails (Item 1) using 4 M8 screws and M8 Flange Nuts.

NOTE: The Panel Mounting Rails are 28” for tilt mount ECO-SOLBRC-M and 42” for ECO-SOLBRC-L - Attach the two Surface Mounting Rails (Item 1) to the Panel Mounting Rails at one end using the Plastic Knob Screw (Item 3) and Flange nut (Item 4), so that the assembly pivots at one end.

- Secure the Surface Mounting Rails to the roof or permanent mounting surface. Note: The bolts to secure the rails to the mounting surface are not included in this kit. This is because the bolt type (lag bolt, carriage bolt, etc) and bolt length will depend on the mounting surface type (metal, wood, and fiberglass) and thickness.
- Set the tilt angle by securing the Tilt Angle Brackets (Item 2) to the free ends of the mounting rail pairs using the remaining plastic Knob Bolts (Item 3) and flange Nuts (Item 4)

For Northern Hemisphere installations, the solar panels should be mounted at an angle facing true south (true north for Southern Hemisphere installations). The recommended mounting angle should be equal to the latitude location of where you are installing the solar panels. For example, the latitude of Los Angeles, California, USA is 34 degrees. Therefore, solar panels installed in this area should ideally be facing true south at a tilt angle of 34 degrees


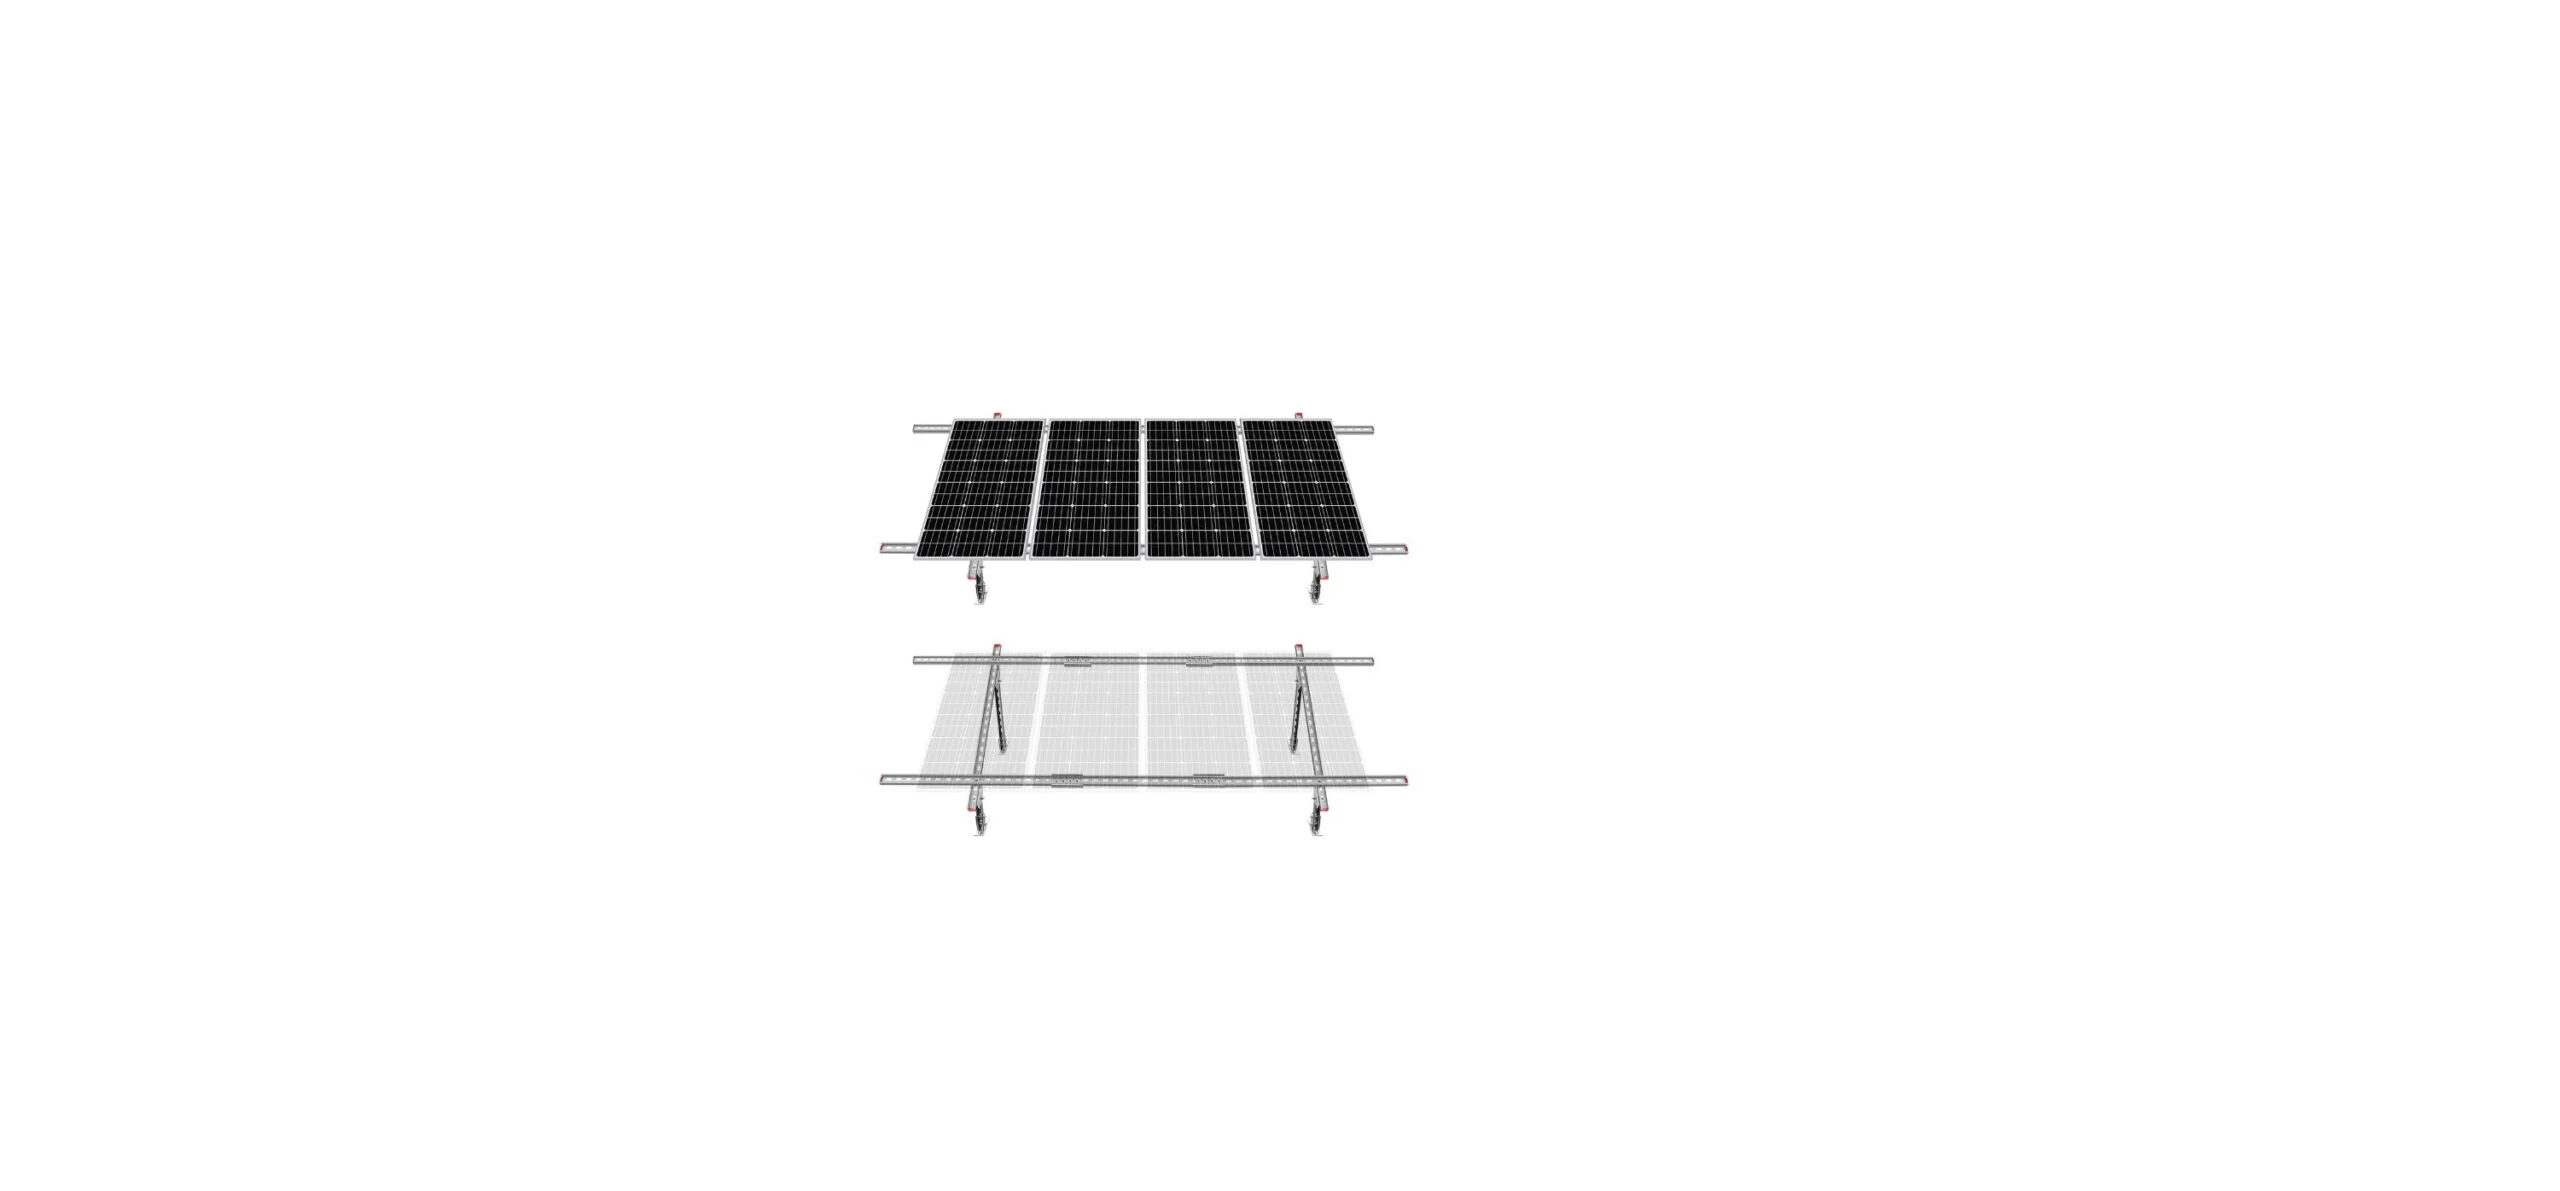
28 inch Solar mount bracket
Fixed bracket

Tilt bracket

Application

41-inch Solar mount bracket
Fixed bracket

Tilt bracket

Application


