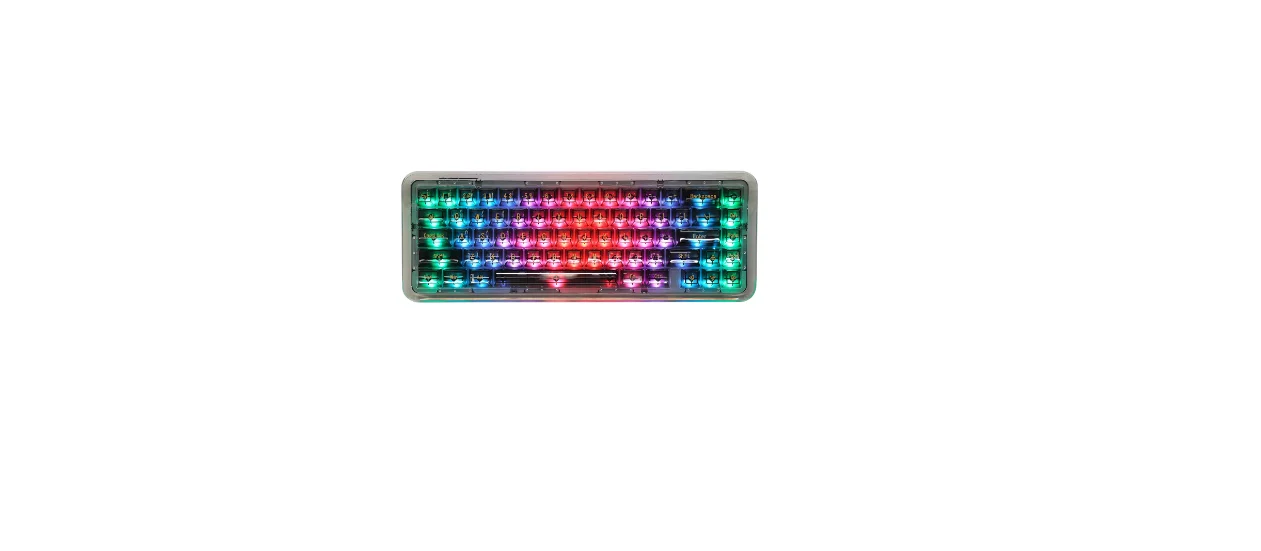
EpoMaker FIRSTBLOOD B67 Wireless Keyboard

CONNECTION
- FN +Q (HOLD 3S) Bluetooth Device 1
- FN +W (HOLD 3S) Bluetooth Device 2
- FN +E (HOLD 3S) Bluetooth Device 3
- FN+ R (HOLD 3S) PAIRING 2.4Ghz
WIRED MODE
Toggle switch next to the USB port to middle to use wired mode
PAIRING BLUETOOTH
- FN + Q/W/E Long Press for 3 seconds to pair Bluetooth device
- FN + Q/W/E Short Press to switch to last paired device
Toggle switch next to the USB port to left to use wireless mode. Long press FN + Q/W/E for 3 seconds, the keyboard will start pairing and the light will flashes. If the connection successful, the device indicator light(Q/W/E) stops flashing. If there’s no connection, the keyboard will enter sleep mod
PAIRING 2.4GHZ
FN + R Switch to Wireless Mode
Toggle switch next to the USB port to right to use 2.4Ghz mode. Insert the receiver into your device and long press FN+R, the keyboard will start pairing and the light will flashes. If the connection is successful, the device indicator light(R) stops flashing. If there’s no connection, the keyboard will enter sleep mode
POWER SAVING MODE
The backlight will be turned off after 5 minutes of no operation. Press any key to wake up the keyboard backlight and reconnect to the Bluetooth.
BATTERY STATUS
Press FN+BACKSPACE to check battery status in wireless mode, number keys display the power ratio; e.g. 1 is on, it means 10% battery, 1 and 2 are on, it means 20% battery;
LOW BATTERY INDICATOR
The FN key light flashes in low power mode, the FN key light is always on when charging, and the FN light returns to the default setting when fully charged.
Remove Switched
- Grab your Switch Removal Tool and align the gripping teeth vertically (on the Y-Axis) at the center of the switch, as shown in the example graphic above.
- Grab the switch with the Switch Puller and apply pressure until the switch releases itself from the plate.
- Using firm but gentle force pull the switch away from the keyboard using a vertical motion.
Install Switches
- Check that all the switch metallic pins are perfectly straight and clean.
- Align the switch vertically to have the Gateron logo facing north. The pins should align themselves to the keyboard PBC.
- Press the switch down until you hear a click. This means your switch clips have attached themselves to the keyboard plate.
- Inspect the switch to ensure it’s properly attached to your keyboard, and test it.
COMMUNIT Y FORU MS
https://discord.gg/2q3Z7C2 Join our community and learn together with other keyboard enthusiasts.
EN
https://www.reddit.com/r/Epomaker/
WA RRA NT Y
EPOMAKER’s Warranty covers any factory defects that might affect the proper functionality of your purchase. It doesn’t cover any damage that may occur from normal wear and tear If your product is defective we will send you a replacement unit. Replacement units might require you to send the defective unit back to Epomaker. We provide a 1 year warranty for our products when bought from our website (EPOMAKER.com). Your item will not be covered by your 1 year warranty if the inspection shows any sign of modification or changes unsupported by the original product, these include: Changing internal components, Assembling and reassembling the product, Replacing Batteries, etc. We will ONLY cover the item if it is bought from our official stores. You do not have a warranty with us if you bought the item from another reseller or likewise. Please contact the store that you bought your product from to resolve issues.
Download Pdf Link
https://epomaker.com/cdn/shop/files/FIRSTBLOOD_B67_Manual.pdf?v=13388898256011056883


