GoPro 3D Hero System User Manual

Firmware Update
The 3D HERO System requires two 1080p HD HERO cameras. You will need to make sure both of your HD HERO cameras have the latest firmware installed before using the 3D HERO System. To download the latest firmware, visit: gopro.com/firmware.
REQUIRED FREE 3D EDITING SOFTWARE:
GoPro CineForm Studio™ Your 3D HERO System allows you to combine two 1080p HD HERO cameras with a 3D HERO Sync Cable to record synchronized videos and photos. The cameras record video and photos much like your eyes see the world—with right and left lenses. While recording, each camera independently saves 2D videos or photos to the respective SD card.
In order to convert the saved 2D files into a single 3D file, you will need to download a FREE copy of GoPro CineForm Studio from: gopro.com/3D. GoPro CineForm Studio makes creating 3D videos and photos easy. Simply import the video or photo files you want to convert to 3D, click a button and the software automatically converts your paired 2D files into a single, viewable 3D file.
Using the red/blue (anaglyph) glasses included with the 3D HERO System, you can watch your 3D videos and photos on your computer, online at video sharing sites like YouTube that support 3D videos, or on your 3D TV at home using active or passive shutter glasses depending on your 3D TV. To download and install your free copy of GoPro CineForm Studio, visit gopro.com/3D.
3D HERO System Features
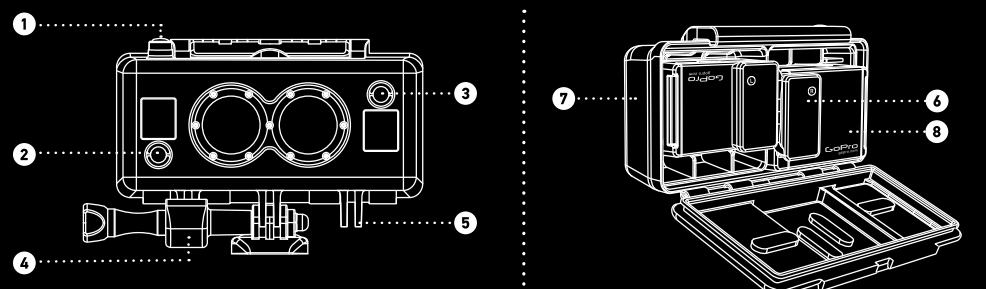
- Master Shutter Button Controls Both Cameras
- Right Camera Power Button
- Left Camera Power Button
- Center Mount Adapter
- Mounting Fingers
- 3D HERO Sync Cable
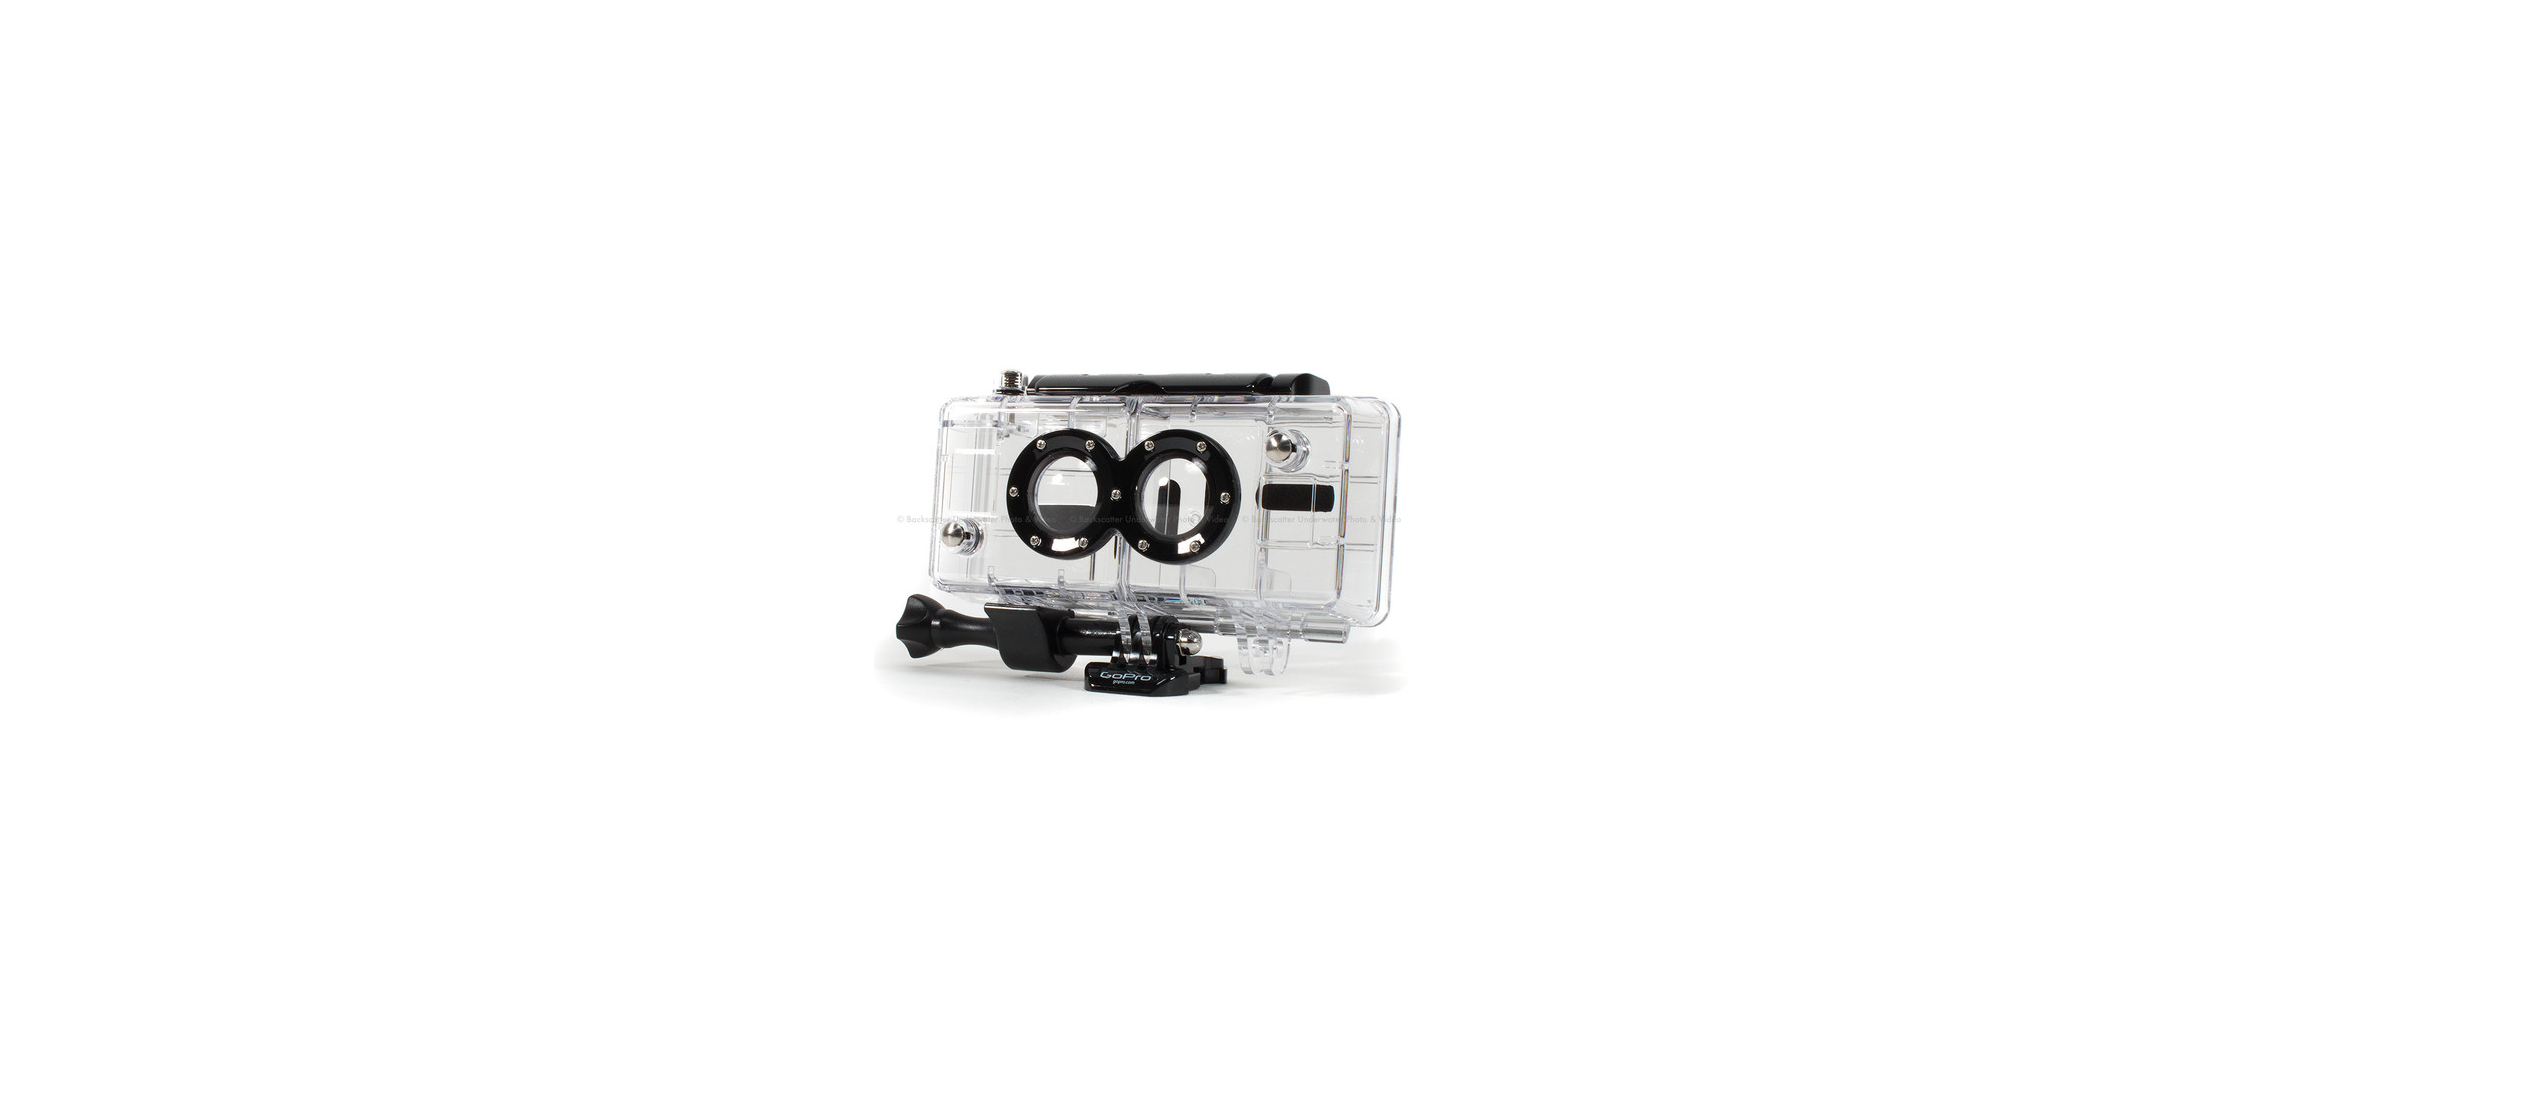
- Waterproof Housing
- Requires Two 1080p HD HERO Cameras (not included)
ASSEMBLING 3D HERO SYSTEM COMBINING
Two CAMERAS FOR 3D VIDEO AND PHOTO CAPTURE NOTE: The 3D HERO System requires two 1080p HD HERO cameras. Each camera requires a fully charged battery and SD card with sufficient memory for recording (GoPro recommends Class 4 or faster SD cards). Each camera’s settings (e.g.: resolution, exposure, record mode, video format (PAL & NTSC)) must match for 3D synchronization to work.

To combine cameras in 3D HERO System waterproof housing:
- Open the back door to the 3D housing.
- Insert the “right” camera right side up into the housing.
- Insert the “left” camera upside down into the housing.
- Insert the 3D HERO Sync Cable into the HERO Bus Port on both cameras. The side that says “R” on the sync cable attaches to the right camera while the side that says “L” on the sync cable attaches to the left camera. Note: Upon insertion of the sync cable, the right camera will automatically set itself to be in UP mode and the left camera will automatically set itself to be in UPd mode. This configuration is required for capturing synchronized 3D videos and photos. If 3D synchronization is not desired, you can manually change each camera’s settings to be in a different UP/UPd mode, different resolution, etc, but the cameras will only record in a synchronized manner allowing for 3D if BOTH cameras are set to shoot the same resolution, record mode, and frame rate.
- Make sure the 3D Sync Cable is fully inserted and is flush against the back of the cameras. Close warehousing.
This will reset the right camera to UP mode (right side up) and the left camera to UP mode (upside down), allowing for synchronized 3D video and photo capture.
REMOVING 3D SYNC CABLE FROM CAMERAS
To remove the sync cable from the HD HERO Bus Port, grasp each 3D sync port connector firmly and remove it by lifting the device evenly away from the HERO Bus Port. Do NOT pull on the cable connecting the left and right HERO port connectors.
USING THE 3D HERO System
IMPORTANT: To capture 3D video and photos, both cameras must be set to identical resolution, record mode, and frame rate settings. To begin recording video or photos:
- Power on both cameras.
- Verify that SD cards are present in both cameras, that batteries are charged, and that both cameras are set to the same resolution, record mode, and frame rate. Upon insertion of the sync cable, the right camera will automatically set itself to UP and the left camera will automatically set itself to UPd. This is necessary for capturing synchronized 3D videos and photos.
- Press the master shutter button on top of the 3D HERO System housing to initiate synchronized 3D video or photo capture.
Additional Notes:
- Blinking front LCD screen and red LED record lights may or may not blink in sync. This is OK and has no effect on whether or not each camera is in sync with the other.
- Always use brand-name SD cards with a Class 4 rating or higher.
Important Safety and Handling Information
WARNING:
Failure to follow these safety instructions could result in fire, electric shock, or other injury or damage to the LCD BacPac or other property.
Handling
The LCD BacPac contains sensitive components. The LCD screen is made of glass. This glass could break if the BacPac is dropped on a hard surface without the warehousing or receives a substantial impact or is crushed, bent, or deformed. If the glass chips or cracks do not touch or attempt to remove the broken glass.
Warranty
GoPro assumes no liability for any accident, injury, death, loss, or other claim related to or resulting from the use of this product. In no event shall GoPro be liable for incidental or consequential damages relating to or resulting from the use of this product or any of its parts. Visit gopro.com for more information.
REFERENCE LINK
https://www.tradeinn.com/xtremeinn/en/gopro-3d-hero-system/37375/p


