Honeywell CL810PM Portable Air Cooler Manual

PARTS DESCRIPTION
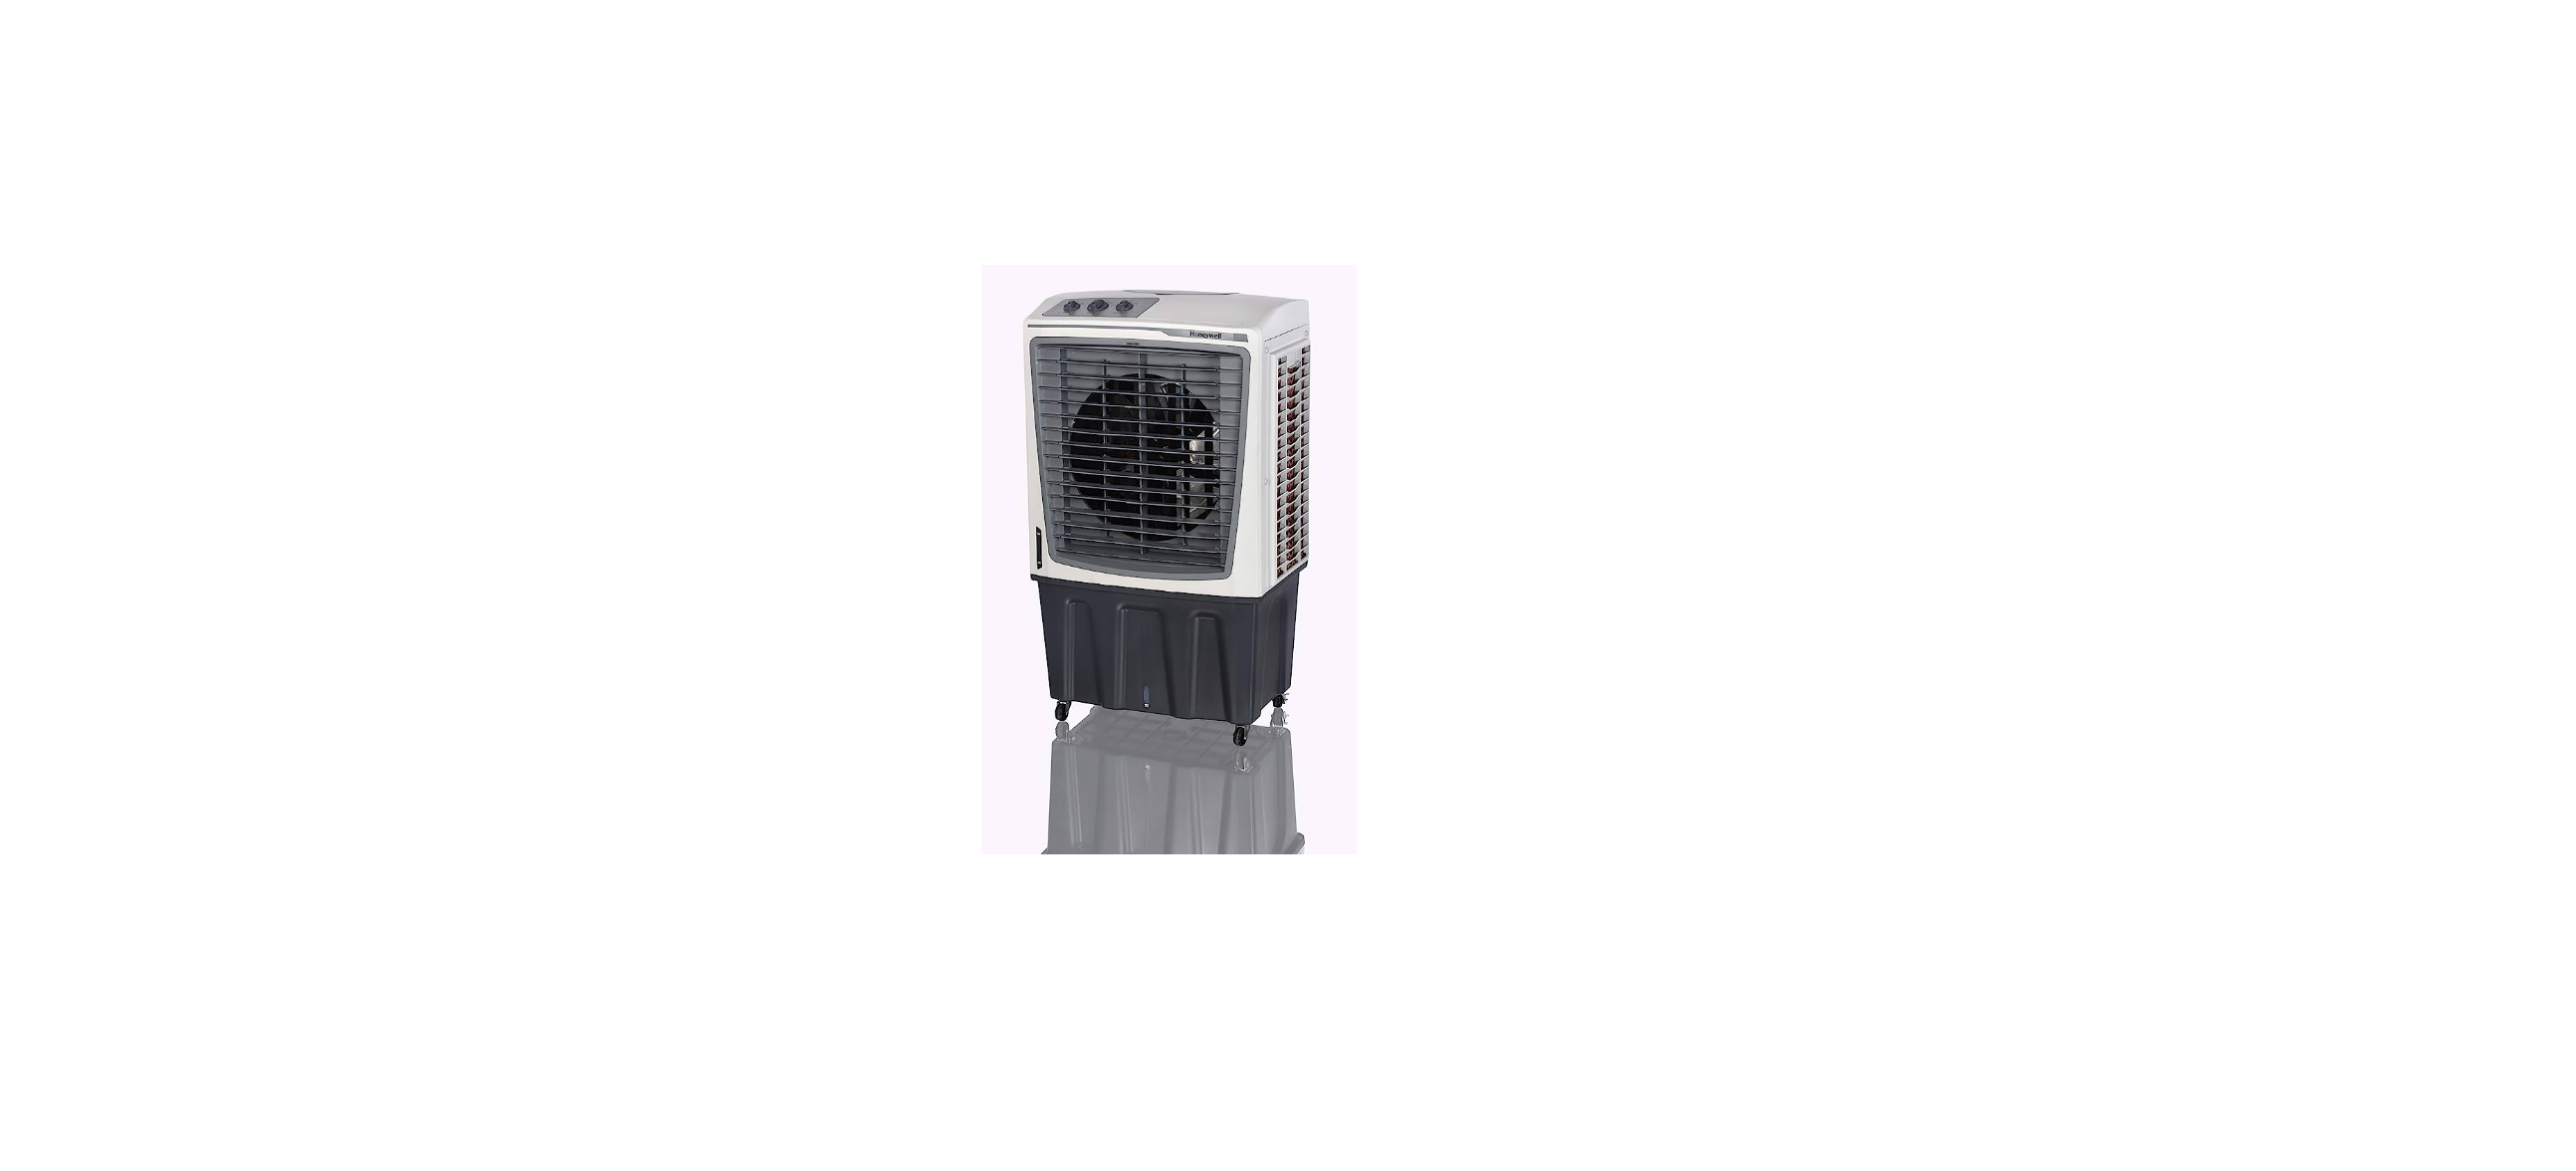
FOR MODEL: CL610PM/ CO610PM

FOR MODEL: CL810PM/ CO810PM

- Control Panel
- Lever for Horizontal Louvers
- Louvers 10) Rear Grill
- Water Level Indicator
- Water Fill Door
- Handle
- Side Grill
- Casters
- Rear Grill Screws
- Rear Grill
- Water Tank
- Drain Plug
- Water Inlet Valve
- Power Cord & Plug
OUTDOOR MODELS CO610PM/CO810PM:
IMPORTANT:
Honeywell Outdoor Air Cooler models are designed to IPX4 product standards and are not recommended to be placed outdoors during heavy rain or snow.
- WARNING: Use only on GFCI Protected outlets/ sockets (for USA only). Press the TEST button (then the RESET button) every month to ensure proper operation.
- Power cords must be secured to avoid tripping.
- The wiring and connections must be protected from water. The electrical plug and Air Cooler connections must be dry at all times. When used outdoors, insert the air cooler electrical plug into an IP44-compliant outdoor electrical outlet.
- Set the unit on a solid flat surface.
CONTROL PANEL

FUNCTION BUTTONS
SPEED / ON-OFF
Connect to the power supply and turn the SPEED knob. The fan will start. Change the speed from 3 to 1 (1 for Low, 2 for Medium, and 3 for High fan speed). To switch OFF the unit, turn the SPEED knob to 0.
COOL
You must add water before operating the unit in Cool mode. Turn the COOL knob to the ON position to activate evaporative cooling. The water pump will operate and you will feel the cooler air after the Honeycomb Cooling Media is completely wet.
SWING
Turn the SWING knob to the ON position to activate the movement of the louvers. The louvers will begin to move left to right automatically. Vertical Air Flow – You can manually adjust the lever located at the front of the unit to change the vertical airflow.
COOLER LOCATION
Make sure to position the air cooler correctly before you set up and start using the product. Please refer to the COOLER LOCATION section of the separate Safety & Maintenance Guide.
Water Supply Connection:
For a continuous water supply, you will need a garden hose that is connected to a main water supply. Note: The garden hose is not included. Please make use of a garden hose that is compatible with the unit connection.

- Locate the male connector at one end of the garden hose. Insert the garden hose connector into the water inlet valve of the cooler. Screw and tighten the water inlet valve onto the threaded part of the garden hose connector, making sure the hose connector is secured to ensure there will be no leaks. If there is leakage, the hose, and the water inlet valve may not be connected properly. Try to disconnect, replace and tighten the water inlet valve again.
- When the connection is secured, turn ON the water supply and the water will flow into the water tank of the cooler.
- The cooler is now set so the water refills automatically when the water tank is empty, or when the water reaches below a minimum level.
- When the water tank is full, the water inlet valve will automatically stop the water supply from overflowing.
- Please open the water valve for minimum flow as too much pressure could damage the inlet pressure control system. WARNING: The maximum water inlet pressure is 0.5 MPa.
Manual Water Tank Refill:
- Using a portable container or a garden hose, you can refill the water tank manually by pouring water into the water tank through the water inlet hole located at the top of the air cooler.
- Check the water level indicator to know when the water tank is full. Do not fill water above the “Max.” water level mark to avoid water droplets collecting on the louvers.
WARNING:
Always ensure the water in the water tank is above the minimum (Min.) water level mark for both Continuous & Manual Water Refill. Running the unit in Cool mode with inadequate water may cause pump failure. WARNING: Do not fill the water tank with dirty water or salt water. This can damage the unit and Honeycomb media.
Note:
The water capacity refers to the total volume of water that can be contained within the air cooler water tank and water distribution system. The water capacity in the tank at the “Max.” indicator level may be lower than the actual water capacity of the air cooler.
CLEANING & DRAINING THE WATER TANK
If the cooler will not be used for a long period of time, please refer to the STORAGE & MAINTENANCE GUIDELINES located in the separate Safety & Maintenance Guide.
WARNING:
Before cleaning the unit, switch the unit OFF and disconnect it from the power outlet
- Move the unit to a location where the water can be drained. Remove the cap from the Drain plug located at the bottom of the unit. Allow the tank to empty.
- Detach the water tank by unlocking the Detachable Water Tank Latches on both sides of the unit. Lift the cooler upwards away from the base and place it carefully and vertically on the floor. Be careful not to bend the water pump tubes and other parts that will hang from the bottom of the unit when the body is removed from the tank.
- Refill the water tank with clean water and drain it completely. Clean the water tank with dish detergent or a damp cloth and rinse it thoroughly.
- Refill the water tank with clean water, up to the maximum level.
- Replace the top of the air cooler carefully back onto the tank and lock the side latches. The air cooler is now ready to be used.
- Use a damp cloth to remove dirt and dust from the surface of the unit. Never use corrosive elements or chemicals to clean this product.
- When the product is not in use, store the unit in a dry place out of direct sunlight
CLEANING THE CARBON DUST FILTER* AND HONEYCOMB COOLING MEDIA
- The appliance is supplied with a Carbon Dust Filter* & Honeycomb Cooling Media.
- The Carbon Dust Filter* and Honeycomb Cooling Media are located inside the Rear Grill. See Figure 1 for instructions on how to remove them from the unit for cleaning and maintenance.
- Do not run the unit in COOL mode with stale water in the tank. You must empty the water tank and refill it with fresh water, especially if the tank has not been cleaned in a long time.


