Honeywell D6 Pro Smart Ductless Controller Manual

Choose a location
Choose a location where the controller’s signal has a clear path to the ductless unit. Remove the batteries from the remote controller that came with the
ductless unit. That way the two controllers won’t send conflicting commands.

The controller sends an IR signal from three places. One on each side, left and right, and one from the top. Consider them when you choose a location

Tabletop assembly
- Pull the power cord through the tabletop stand.

- Plug the power cord into the controller.

- Connect the tabletop stand to the controller.

- Plug the power cord into the wall adapter, and plug in the wall adapter.

- Place the controller in your selected location.


Wall mount assembly
- Plug the power cord into the controller.

- Snap the back plate onto the controller.

- Attach the wall mount hook and loop strips to the controller, slightly overlapping the back plate on both sides.

- Plug the power cord into the wall adapter, and plug in the wall adapter.

- Attach the controller to the wall in your selected location.


System setup
- Connect the controller to power.

- Press any button to enter setup.

- Press o once. Display should show -1 (Controller Location).Press + until the display shows the desired setting for the controller location.


Display sleep
The controller goes into Display sleep (the screen is dim) after 45 seconds of inactivity. Press o to wake up the controller. This button push does not change temperature or settings.
Change mode
- Be sure the controller is not in Display sleep, then press o to change the system mode.
- Stop pressing o when you reach the mode you want. The ductless unit will beep when it gets a command from the controller.

Change temperature

Room temperature
Any time the controller is not being interacted with, the current room temperature is displayed on screen.
Viewing set temperature
Be sure the controller is not in Display sleep, then press + or – once to view the current set temperature. The set temperature will “pulse” on screen. After a short period of time the screen will change to display the room temperature.
Change temperature
- Be sure the controller is not in Display sleep, then press + or – more than once to change the set temperature so it is higher or lower in the current mode.
- Stop pressing + or – when you reach the temperature you want.
- The screen will pulse and then return to the room temperature display.
Wi-Fi setup
- Download the Honeywell Home app.
- Create an account or log in to your account.
- Select “Add New Device” from the menu in the app.
- Choose D6 Pro Wi-Fi Ductless Controller.
- Follow instructions in the app to configure the controller.
Note: During setup, the Wi-Fi icon will blink or be on solid. This tells you the controller status in the Wi-Fi connection process.

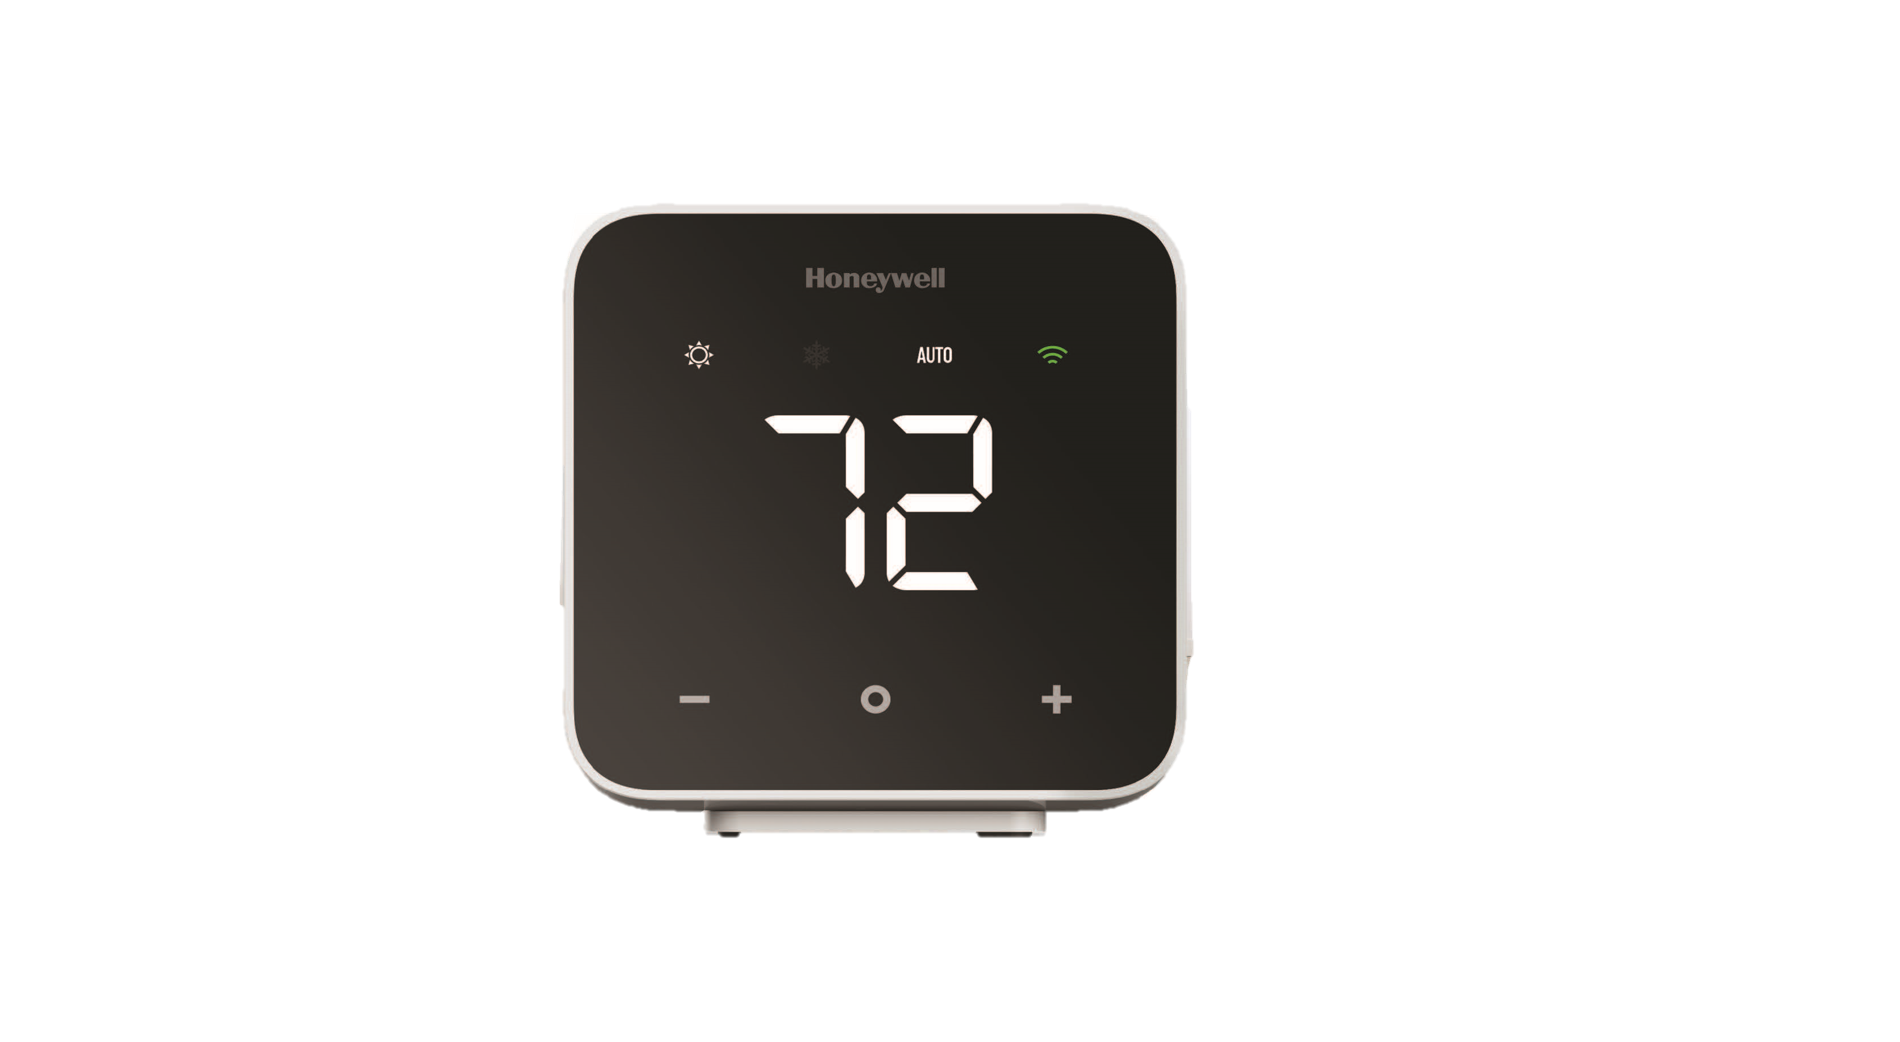
In the Honeywell Home app
In the app you can set the controller to Auto Changeover. The controller will switch from heating mode to cooling mode based on the temperature setting and the room temperature. When in Auto Changeover mode, AUTO will be displayed on the controller screen.
Enter system setup
You can change your controller settings at any time. To enter system setup:
- Be sure the controller is not in Display sleep, then press and hold + and o and – for three seconds all at the same time.
- Change the settings as needed. See “System setup” for more information.
Software and security questions
- Q: How can I be sure my D6 controller is running the most up-to-date firmware?
A: When your D6 controller is connected to Wi-Fi, it will automatically receive over-the-air firmware updates from Resideo. These firmware updates contain things such as new features as well as security upgrades. Keep your D6 controller connected to Wi-Fi to ensure it receives these updates. - Q: How can I prevent a cybercriminal from making unauthorized changes to my D6 controller?
A: If a cybercriminal gains access to your Wi-Fi router, they can tamper with a wide range of online activities, including the settings on your connected devices. Make sure you change the default password on your Wi-Fi router, and when you select a new password, make sure it uses multiple upper- and lower-case letters and special characters.


