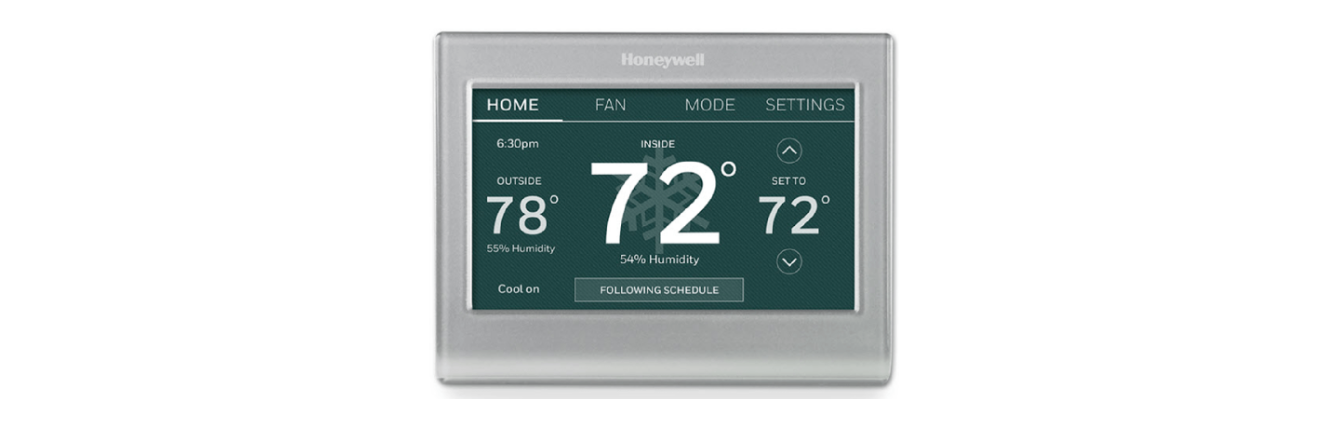
Honeywell Smart Color Thermostat User Manual
Install your thermostat
Switch OFF power to your heating/cooling system
Important! To protect your equipment, switch OFF the power to your heating/cooling system at the breaker box or the system switch.
Confirm power is OFF. Try to turn on heating/ cooling equipment by changing the temperature on your old thermostat. Your power is OFF if your system does not turn ON.

WARNING
This thermostat works with common 24 volt systems such as forced air, hydronic, heat pump, oil, gas, and electric. It will not work with millivolt systems, such as a gas fireplace, or with 120/240 volt systems such as baseboard electric heat.
Remove old thermostat faceplate and leave wires connected
Take a picture of the wire connections for later reference. If no wire is connected to a terminal labeled C or no C terminal exists on the old thermostat, view the Alternate Wiring videos at wifithermostat.com/videos Important! C wire is required and is the power source for your thermostat. Without a C wire, your thermostat will not power up.

Label wires
Do not label by wire color.
Use the supplied sticky tags to label each wire as you disconnect it. Label wires according to old thermostat terminal designations, not by wire color.
Note: If no tag matches a terminal designation, write the appropriate letter on a blank sticky tag. Wrap the wires around a pencil to prevent them from falling back into the wall.

Remove wallplate
Remove the old wallplate from the wall after all wires are labeled and disconnected.

Mount wallplate for thermostat
Mount your new wallplate using screws and anchors included with the thermostat. If necessary:
- Drill 3/16-in holes for drywall
- Drill 7/32-in holes for plaster
Note: You may be able to use your existing wall anchors. Hold the wallplate up to the existing anchors to check for alignment.

Switch heating/cooling system ON
Important!
Verify that the C wire is connected at the thermostat and at the heating/cooling system. Make sure the heating/cooling system door is firmly secured. Switch power back ON for your heating/cooling system at the breaker box or its power switch.
Connect to your Wi-Fi network
Connect the Wi-Fi network
After touching Done on the final screen of the initial set up (Step 1.9g), the thermostat displays an option to connect to your Wi-Fi network. Touch Yes to connect the thermostat to your Wi-Fi network. The screen displays the message “Searching for wireless networks. Please wait…” after which it displays a list of all Wi-Fi networks it can find.
Note: If you cannot complete this step now, touch I’ll do it later. The thermostat will display the home screen. Complete this process by selecting MENU > Wi-Fi Setup. Continue with Step 2.1b

Touch the name of the network you want to use. The thermostat displays a password page. Using the keyboard, touch the characters that spell out your home network password.

Touch Done. The thermostat displays “Connecting to your network. Please wait…” then shows a “Connection Successful” screen.

Note: If your home network is not shown on the list, touch Rescan. Touch OK to display the registration information screen.
Register online for remote access
To register your thermostat, follow the instructions on Step 3.1.
Note: The Register Online screen remains active until you complete registration and/or touch Done.

Note: If you touch Done before you register online, your home screen displays an orange alert button telling you to register. Touching that button displays registration information and an option to snooze the task.

Open the Total Connect Comfort web site
Go to www.mytotalconnectcomfort.com.

Register your thermostat
After you are logged in to your Total Connect Comfort account, register your thermostat. Follow the instructions on the screen. After adding your thermostat location you must enter your thermostat’s unique identifiers:
- MAC ID
- MAC CRC

Note: The IDs are not case sensitive. Notice that when the thermostat is successfully registered, the Total Connect Comfort registration screen will display a SUCCESS message. You can now control your thermostat from anywhere through your laptop, tablet, or smartphone.
1-year limited warranty
Resideo warrants this product, excluding battery, to be free from defects in workmanship or materials, under normal use and service, for a period of one (1) year from the date of first purchase by the original purchaser. If the product is defective, (i) return it, with a bill of sale or other dated proof of purchase, to the place from which you purchased it; or (ii) call Resideo Customer Care at 1-800-633-3991.
Resideo’s sole responsibility shall be to repair or replace the product within the terms stated above. RESIDEO SHALL NOT BE LIABLE FOR ANY LOSS OR DAMAGE OF ANY KIND, INCLUDING ANY INCIDENTAL OR CONSEQUENTIAL DAMAGES RESULTING, DIRECTLY OR INDIRECTLY, FROM ANY BREACH OF ANY WARRANTY, EXPRESS OR IMPLIED, OR ANY OTHER FAILURE OF THIS PRODUCT.
Some states do not allow the exclusion or limitation of incidental or consequential damages, so this limitation may not apply to you. THIS WARRANTY IS THE ONLY EXPRESS WARRANTY RESIDEO MAKES ON THIS PRODUCT. THE DURATION OF ANY IMPLIED WARRANTIES, INCLUDING THE WARRANTIES OF MERCHANTABILITY AND FITNESS FOR A PARTICULAR PURPOSE, IS HEREBY LIMITED TO THE ONE-YEAR DURATION OF THIS WARRANTY. Some states do not allow limitations on how long an implied warranty lasts, so the above limitation may not apply to you. This warranty gives you specific legal rights, and you may have other rights which vary from state to state. If you have any questions concerning this warranty, please write Resideo Customer Care, 1985 Douglas Dr, Golden Valley, MN 55422, or call 1-800-633-3991.
FCC Regulations
This device complies with part 15 of the FCC Rules. Operation is subject to the following two conditions: (1) This device may not cause harmful interference, and (2) this device must accept any interference received, including interference that may cause undesired operation. The grantee is not responsible for any changes or modifications not expressly approved by the party responsible for compliance.
Such modifications could void the user’s authority to operate the equipment. This equipment has been tested and found to comply with the limits for a Class B digital device, pursuant to part 15 of the FCC Rules. These limits are designed to provide reasonable protection against harmful interference in a residential installation. This equipment generates, uses, and can radiate radio frequency energy and, if not installed and used in accordance with the instructions, may cause harmful interference to radio communications. However, there is no guarantee that interference will not occur in a particular installation.
If this equipment does cause harmful interference to radio or television reception, which can be determined by turning the equipment off and on, the user is encouraged to try to correct the interference by one or more of the following measures:
- Reorient or relocate the receiving antenna.
- Increase the separation between the equipment and the receiver.
- Connect the equipment to an outlet on a circuit different from that to which the receiver is connected.
- Consult the dealer or an experienced radio/TV technician for help.
This transmitter must not be co-located or operating in conjunction with any other antenna or transmitter. This equipment should be installed and operated with a minimum distance of 20 millimeters between the radiator and your body.


