Hunter PRO-HC Irrigation Controller User Manual

PRO-HC SUPPORT
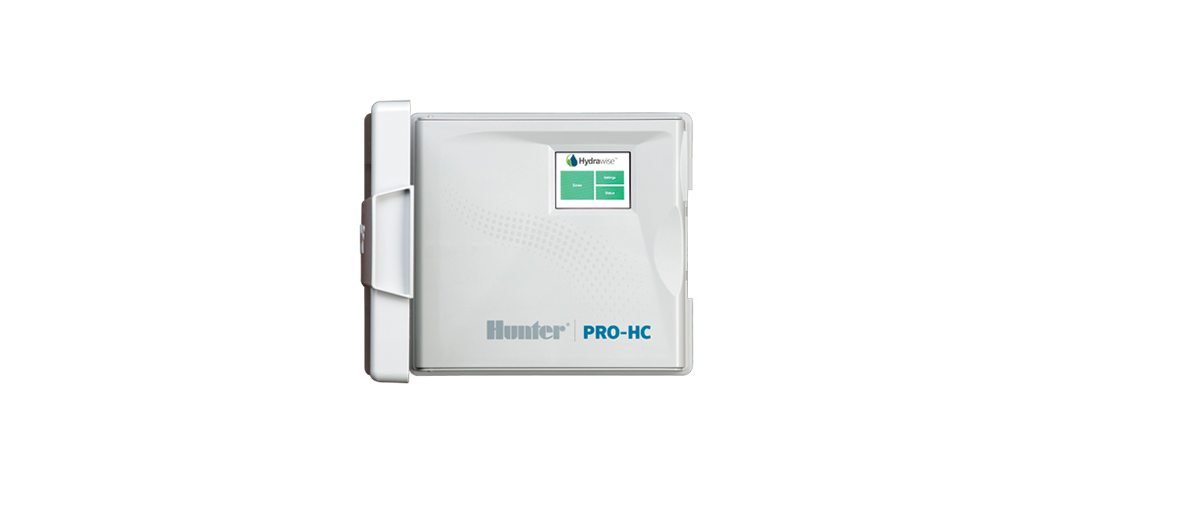
Thank you for purchasing the Hunter Pro-HC Controller. This Quick Start Guide will help you install and configure the Pro-HC Controller and connect to Wi-Fi. For support of the Hydrawise™ cloud software or help with your Hydrawise account, please visit Hunter. direct/pro help.
Your Pro-HC box contains:
- A Pro-HC Wi-Fi controller
- 24 VAC transformer (indoor model) or built-in transformer (outdoor model)
- Three screws and three wall anchors for wall mounting
- Three wire nuts for U.S. outdoor and one Terminal block for European outdoor models.
INSTALLATION
Installing the Pro-HC Controller
Start by choosing a location with good Wi-Fi coverage. Wi-Fi coverage can be easily tested using a smartphone. A signal strength of two or three bars is recommended. Wi-Fi connectivity can also be tested on the Pro-HC itself (signal strength is shown when you select a wireless network).
Mounting the controller to a wall
All necessary hardware is included for most installations.

- Use the hole at the top of the controller as a reference and secure a 1″ (25 mm) screw into the wall. Note: Install screw anchors when attaching the controller to drywall or masonry wall.
- Align the controller with the screw and slide the keyhole on top of the controller over the screw.
- Secure the controller in place by installing screws in the other mounting holes.
For PHC-601-A, PHC1201-A, and PHC2401-A: If the supply cord is damaged, it must be replaced by the manufacturer or service agent or a similarly qualified person to avoid hazards.
CONNECTING AC POWER
Indoor cabinet
Route the transformer cable through the hole on the bottom left side of the controller and connect one yellow wire to each of the screws marked 24AC and the green wire to GND.

Note:
The indoor Pro-HC is not water or weather resistant and must be installed indoors or in a protected area. This device is not intended for use by young children. Never let children play with this device.
Outdoor cabinet
The outdoor model is water and weather resistant. Connecting the outdoor Pro-HC to the primary power should be done by a licensed electrician following all local codes.
- Route AC power cable and conduit through the ½” (13 mm) conduit opening on the left side of the bottom of the cabinet.
- Connect the wires to the transformer wires located inside the junction box. International units are supplied with a built-in terminal strip. Always use a UL-listed conduit ½” (13 mm) male adapter when installing the AC wiring.
- Insert the adapter into the ½” (13 mm) hole at the bottom of the controller. Attach a nut to the adapter inside the enclosure.
- A battery is not required for this controller. Watering will not occur without AC power. Since this controller has non-volatile memory, the program, clock, and calendar will be retained during a power outage.


Note:
To be performed by a licensed electrician only. Always use UL listed ½” (13 mm) conduit with a male adapter when installing AC wiring. Pro-HC controllers are intended to be supplied AC power with an over-current protected device. Improper installation could result in shock or fire hazards. This device is not intended for use by young children. Never let children play with this device.
CONNECTING STATION WIRES

- Route valve wires between the control valve location and controller.
- At valves, attach a common wire to either solenoid wire of all valves. This is most commonly a white-colored wire. Attach a separate control wire to the remaining wire of each valve. All wire splice connections should be done using waterproof connectors.
- Route valve wires through the conduit and attach the conduit to one of the openings at the bottom of the cabinet.
- Strip ½” (13 mm) of insulation from the ends of all wires. Secure the valve common wire to the “COM” (Common) terminal. Attach all individual valve control wires to the appropriate station terminals.
Note:
All wire connections should be done using waterproof connectors. Connect each of the other individual wires to a different colored wire. Record zones against wire color for later reference. Connect the common wire from the multicore cable (usually white) to the terminals on the controller marked COM.
CONNECTING SENSORS OR FLOW METERS (OPTIONAL)
Pro-HC Controller supports most open/closed contact types of sensors, such as Hunter rain and soil moisture sensors.
- Connect one sensor wire to COMMON on the controller.
- Connect the Normally Closed or Normally Open wire from the sensor to SEN-1 or SEN-2 on the controller and configure it in the Hydrawise app.
Wiring for standard Hydrawise 0.75″ (20 mm) or 1″ (25 mm) flow meters are as follows:

For full details, refer to the instructions provided with your sensor, or flow meter. Once you’ve wired your sensor, you must configure it in your Hydrawise account.
Wiring for open/closed contact sensors is as follows:

See Configuring Sensors at hydrawise.com/support for full instructions on setting up sensors.
CONNECTING TO A WI-FI NETWORK
When your controller is first powered on, it will run a short wizard to connect it to your wireless router. If you’re not using the initial startup wizard, then go to the Wireless Settings section to make changes. For support, please contact Hunter. direct/pro help.
Using the wizard
- Select your wireless network from the list shown on the controller display and press the Confirm button on the screen.
Note: If your network is not listed, check if the unit is within wireless range. - Enter your wireless password and press the OK button on the keyboard.
HYDRAWISE APP CONFIGURATION
To connect the Pro-HC Controller to the Hydrawise app, follow these steps and then follow the on-screen instructions. Register for an Account Online
- If you have not already done so, go to hydrawise.com and register for an account. Log in to Your Account
- If this is your first time logging in, you will be guided through a setup wizard to help you with the initial configuration of your controller.
The owner’s manual and app instructions are located here: hydrawise.com/support.
U.S. FCC Statement
This equipment has been tested and found to comply with the limits for a Class B digital device, pursuant to part 15 of the FCC Rules. These limits are designed to provide reasonable protection against harmful interference in a residential installation. This equipment generates, uses, and can radiate radio frequency energy, and if not installed and used in accordance with the instructions, may cause harmful interference to radio communications.
However, there is no guarantee that interference will not occur in a particular installation. If this equipment does cause harmful interference to radio or television reception, which can be determined by tu
- Reorient or relocate the receiving antenna.
- Increase the separation between the equipment and the receiver.
- Connect the equipment to an outlet on a circuit different from where the receiver is connected.
- Consult the dealer or an experienced radio/TV technician for help.
To satisfy FCC RF Exposure requirements for mobile and base station transmission devices, a separation distance of 20 cm or more should be maintained between the antenna of this device and persons during operation. To ensure compliance, operation closer than this distance is not recommended. The antenna(s) used for this transmitter must not be co-located or operating in conjunction with any other antenna or transmitter.
ISED Canada Statement
This device complies with ISED Canada license-exempt RSS standard(s). Operation is subject to the following
two conditions: (1) this device may not cause interference, and (2) this device must accept any interference,
including interference that may cause undesired operation of the device.
REFERENCE LINK
https://www.hunterindustries.com/en-metric/irrigation-product/controllers/pro-hc

