Table of contents
show
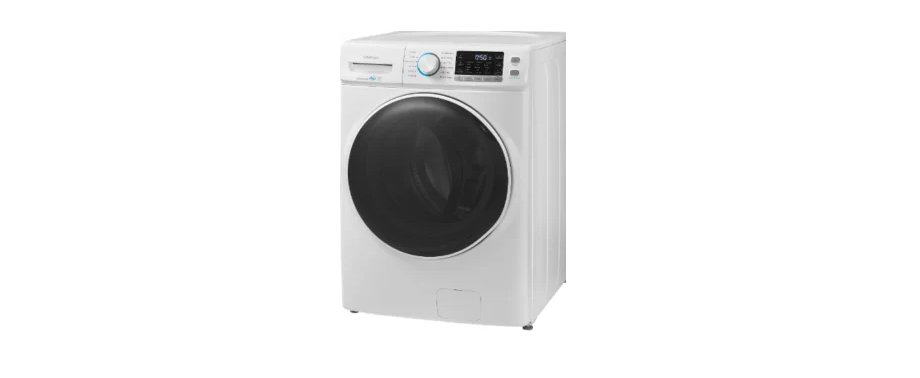
Insignia NS-FWM45W3 Front-Load Washer

PACKAGE CONTENTS

WARNING
- To reduce the risk of fire, electric shock, or injury to persons when using or installing the washer, read and obey all safety information provided in the User Manual & Installation Instructions that accompanied the washer.
- Do not install or store this washer in an area where it will be exposed to dripping water or outside weather conditions. See Choosing a location section in the User Guide.
Note: This washer must be properly grounded and installed as described in these steps and the User Guide. Electrical service to the washer must conform with local codes and ordinances and the latest edition of the national Electrical Code, ANSI/NFPA 70.
REMOVING THE SHIPPING HARDWARE
IMPORTANT: Save all bolts and spacers for future use.
- Place the washer within 4 feet (1.3 meters) of its final location, then use an adjustable or 1⁄2” socket wrench to remove the following from the back of the washer:
- 4 shipping bolts
- 4 plastic spacers (including rubber grommets)
- 4 power cord retainers

- Insert the hole caps (attached next to the bolt holes on the back of the washer) into the bolt holes after the shipping bolts, spacers, and retainers have been removed.

CONNECTING THE HOSES TO A WATER SUPPLY
- Before connecting the hoses, make sure that there is a rubber washer in both of the hoses.
- Install the hose screen washers (included) by inserting them into the free ends of the inlet hoses with the protruded side facing the faucet.
- Connect the water hose (not provided) ends to the hot and cold water faucets tightly by hand, then tighten another 2/3 turn with pliers or a wrench.

- Place the unconnected end of the hoses into a bucket, then turn on the faucets connected to the water supply hoses for 10 or 15 seconds to remove any foreign substances. Turn off the faucets.

CONNECTING THE HOSES TO THE WASHER
- Connect the water hoses to the water intake connections on the back of your washer.
Note: The water supply hose connected to the hot water faucet must be connected to the hot water (H) supply intake, and the supply hose connected to the cold faucet must be connected to the cold (C) water supply intake.
- Turn the water on and check for leaks.

CONNECTING THE DRAIN HOSE
- Attach the drain hose guide (included) to the end of the drain hose.
- Place the drain hose in a laundry tub, floor drain pipe, wall or floor standpipe and secure with the nylon tie (included).
Note: If placed in a standpipe, the end of the drain hose should extend only 4 – 7 in. (10.2 – 17.8 cm) down the pipe.

CONNECTING TO THE POWER SUPPLY
Note: Do not use an extension cord or adapter plug.
- Make sure that the power is turned off at the circuit breaker/fuse box.
- Plug the power cord into a well-grounded, three-prong, 120V~60Hz approved electrical outlet, protected by a 16-amp fuse or comparable circuit breaker. Your washer is grounded through the third prong of the power cord.

- Turn the power on.

LEVELING YOUR WASHER
- Press the four top corners of your washer. If your washer moves when you press a corner, the leg for that corner needs to be adjusted.
- Place a level on top of the washer.

- Loosen the lock nut on the bottom of your washer, pull the leg down until it touches the floor, then tighten the nut. Extend the feet only as much as is necessary. If the feet are extended too much, your washer may vibrate.


RUNNING A TEST CYCLE
- Wash a load of clothes on the Rinse & Spin cycle. Check
for leaks and make sure that the washer drains well on the spin cycle. - When the load is spinning at high speed, make sure that the washer and leveling legs are stable. If necessary, adjust the front leveling legs while the washer is in the spin cycle until the washer is level.
ONE-YEAR LIMITED WARRANTY
Visit www.insigniaproducts.com for details.
CONTACT INSIGNIA:
For customer service, call 1-877-467-4289 (U.S. and Canada) or 01-800-926-3000 (Mexico) www.insigniaproducts.com
INSIGNIA is a trademark of Best Buy and its affiliated companies.
Distributed by Best Buy Purchasing, LLC
©2016 Best Buy. All rights reserved.
Made in China
Download Link