Nest 3rd-gen-Learning-Thermostat Manual
The Nest Learning Thermostat for the UK and Ireland should be installed by a professional.
Please visit nest.com/eu/install to schedule your installation. You’ll see a list of approved Nest Pro installers nearby and find pricing information. A Nest Pro will:
- Make sure that your heating system is working. Your system needs to be working and needs to conform to building and safety regulations before a Pro can start working.
- Find the best place to install your Nest Thermostat.
- Install the thermostat and Heat Link.
- Connect your thermostat to Wi-Fi or help you do it yourself.
- Give you a quick product intro and demo.
If you’ve already bought an installation, you can schedule it with your reseller. Find out more at nest.com/eu/retail-install.
Compatibility
The Nest Learning Thermostat is compatible with almost all central heating systems, including:
- Combi boilers
- System boilers with hot water control
- Heat pumps (heating only)
- Zoned systems
- District heating with electrical control valve
A Wi-Fi connection is required to control the Nest Thermostat with the Nest app and to receive software updates.
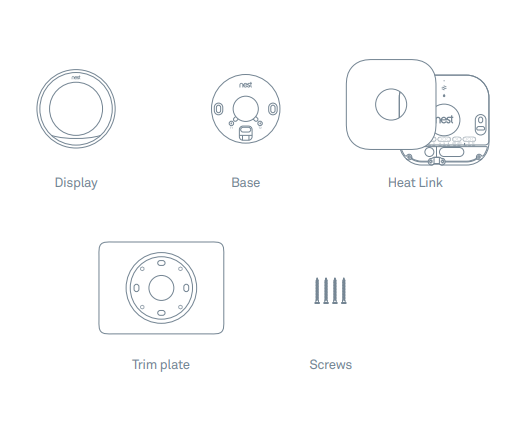
In the box
Before you start
You may want to install the Nest Thermostat somewhere new Many wired thermostats are installed in rooms that are rarely used, so the temperature that they sense can be warmer or cooler than the temperature that homeowners feel. If the current thermostat isn’t in a good location, install the Nest Thermostat in a new place with the Nest Stand (sold separately) in a room that’s used more often.
Where should you install it?
- Place it within 30 meters of the Heat Link. Closer is generally better. Walls and large objects between them can affect their communication range.
- The Nest Thermostat should be in a room that’s used often so that it can read the right temperature, can sense when the home is empty, and know when to automatically turn down the heating.
- It should have a clear view of the room.
- Wall-mounted thermostats should be installed on an interior wall.
- Make sure that it’s away from draughts and heat sources.
- For zoned systems, install the thermostat in the zone that it’s controlling.
Installing the Heat Link
It’s important to install the Heat Link before the Nest Thermostat. Do not connect the thermostat directly to your heating system. High voltage current will irreparably damage the Nest Thermostat. The Heat Link is necessary, even if there are low-voltage wires.
Switch off mains power
You’ll be working with mains voltage, so protect yourself, the heating system, and the thermostat by turning off the power before you start.

Connect to power and the control circuit
Check the heating system’s wiring to determine what type it is. Remove the Heat Link cover and connect the L (live) and N (neutral) terminals on the Heat Link to the L and N circuit on the boiler or junction box. This will power the Heat Link. Connect the heating control circuit to the Heat Link 1 (normally closed/satisfied), 2 (common), and 3 (normally open/call-for-heat) as needed. If the system has a hot water control circuit, connect it to 4 (normally closed/satisfied), 5 (common), and 6 (normally open/call-for-heat) as needed. If you have an OpenTherm boiler, connect its control circuit to the OT1 and OT2 terminals.
Connect to the thermostat wires
Skip to the next step if you’re installing the Nest Thermostat on the stand and are using the USB cable for power. Take two wires from the wire bundle that goes to the current thermostat and attach them to the T1 and T2 terminals on the Heat Link.

Mount the Heat Link
Use the screws included to mount the Heat Link near the boiler or junction box. Then put the Heat Link cover back on. To help ensure a good wireless connection to the thermostat:
- Leave at least 30 cm of space on each side.
- Install it within 30 m of the thermostat.

Installing the thermostat
On the wall
Choose this installation method if the current thermostat connects to heating wires in the wall and doesn’t need to move to a better place.
Using the stand
Choose this installation method if you’re replacing a wireless thermostat or if the thermostat needs to be moved to a better position. The Nest Stand is sold separately. Go to nest.com/eu for more information.
Installing it on the wall
Install the Nest base
Remove the old thermostat if there is one. You can attach the Nest base directly to the wall or use the trim plate included to cover up any marks. If you’re using the trim plate, snap it onto the base first, then screw them to the wall as one piece. When installed on the wall, the Nest Thermostat should be 1.2-1.5 m above the floor.

Connect the wires
Connect the wires coming through the wall to Nest’s T1 and T2 terminals. It doesn’t matter which wire goes into which connector.

IMPORTANT:
Terminate and insulate all wires according to the regulations in your country or region.
Install the Nest Stand
Attach the thermostat base to the stand according to the instructions that came with it. Connect the power cable to the base and plug it into a wall socket. Stand-mounted thermostats should be placed on a table or shelf 0.75–1 m above the floor and no further than 1 m from the edge.

NOTE:
The Nest Stand is sold separately and comes with its own installation instructions. Go to nest.com/eu/stand for more information.
IMPORTANT:
Make sure that you install the Heat Link before you install the Nest Thermostat.
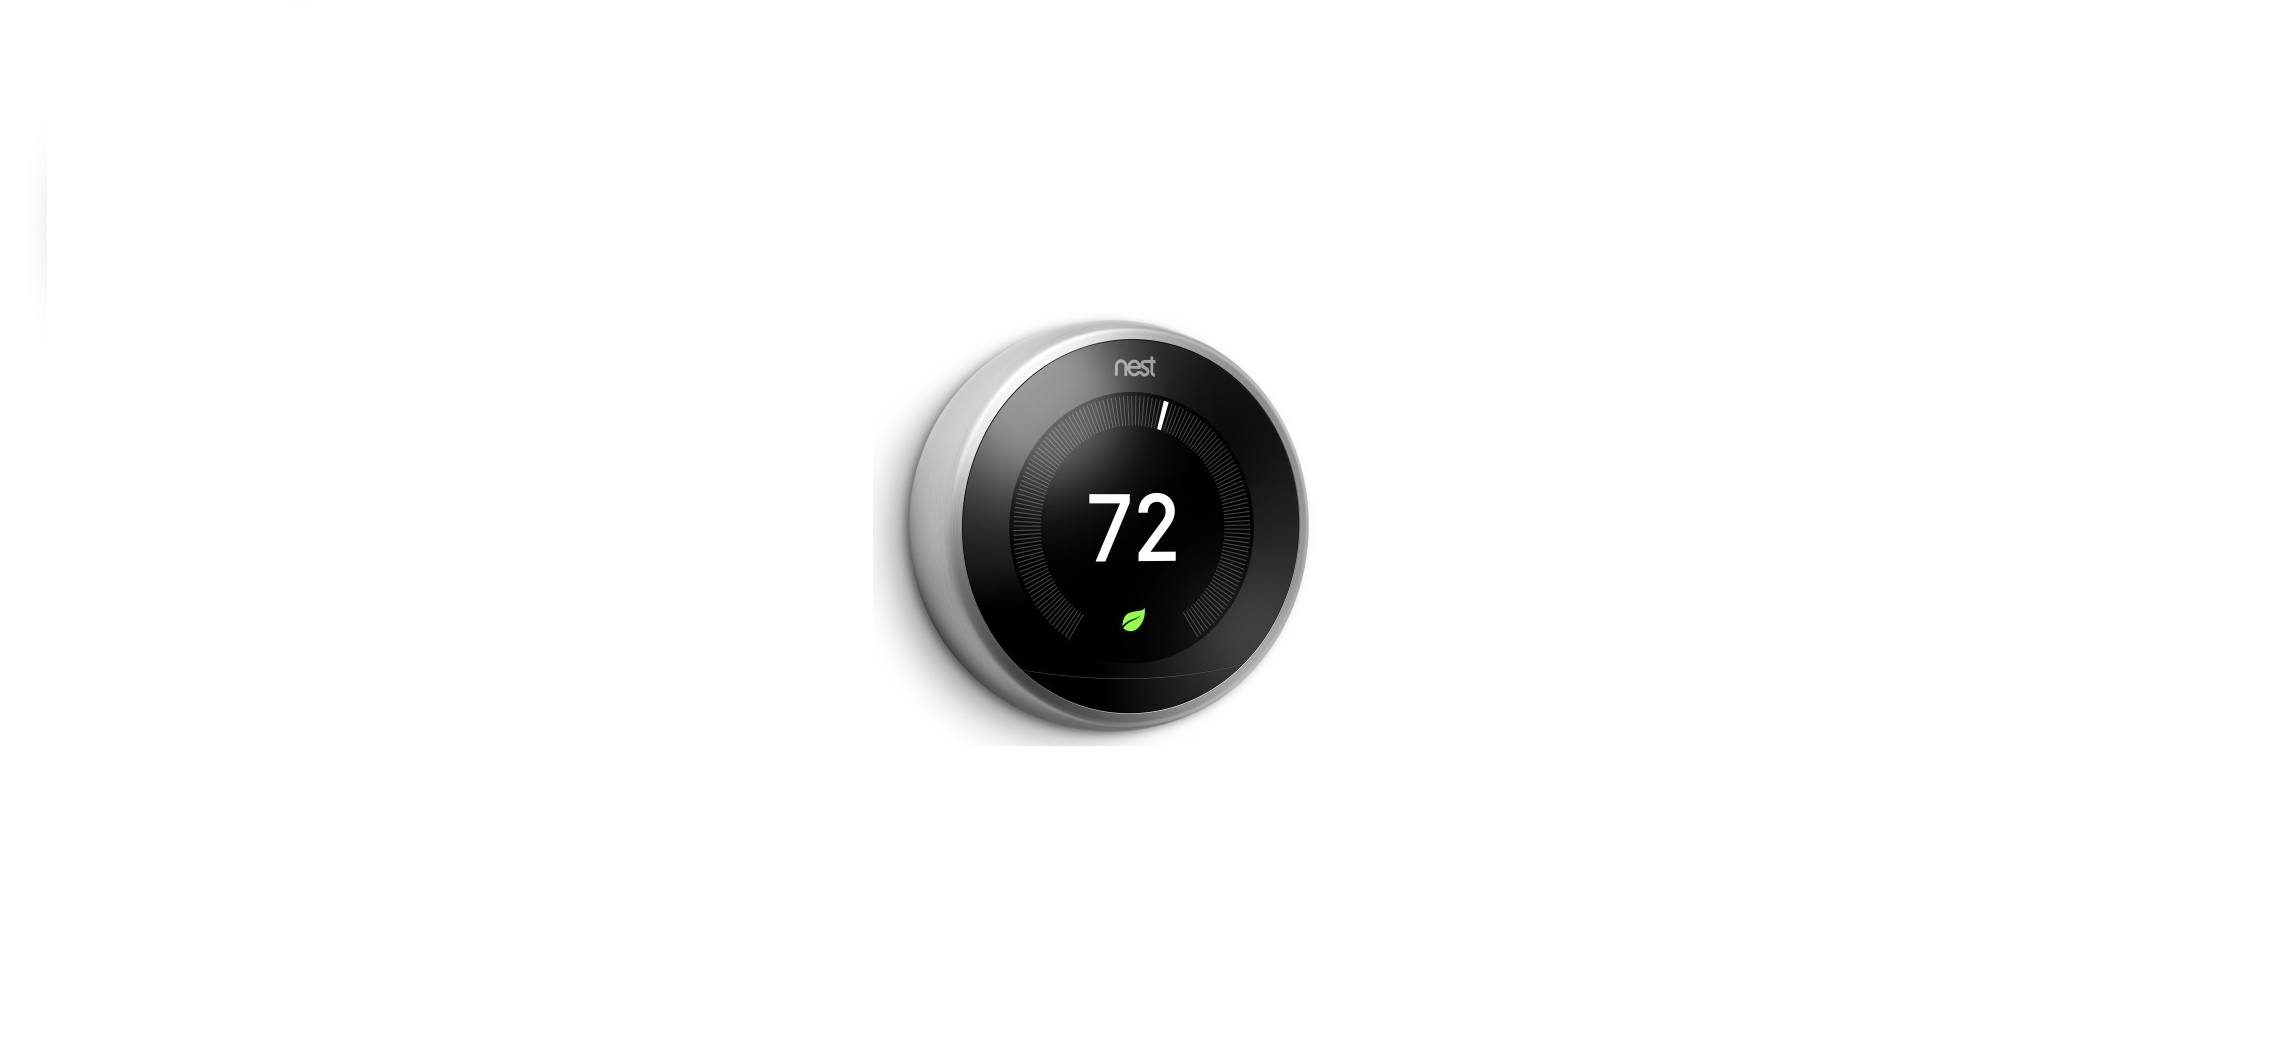
Attach the display
Press the thermostat display onto the base until it clicks into place. Switch on mains power and the Nest Thermostat will begin setup.

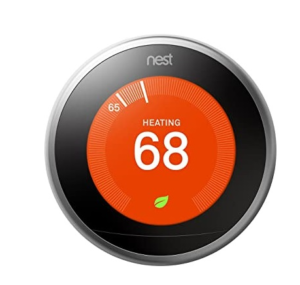
Setup
The Nest Thermostat will turn on and take you through setup. You can select a language, connect it to Wi-Fi, and tell it some things about your home and system so that it can help save energy. The Nest Thermostat doesn’t have a touch screen. Turn on the thermostat display and press it to select.
Control it with the Nest app
To control your thermostat with your mobile, download the free Nest app from Google Play or the iTunes App Store. Then create a free Nest account with the app. You can go to home.nest.com if you’re using a computer. If you need help, please visit nest.com/eu/pairing
Getting started
Using your thermostat
Your thermostat can automatically start learning your schedule or you can choose a schedule with preset times and temperatures. You can edit your schedule at any time. For help with getting started, learning about Nest Thermostat features, energy-saving tips, and more, please go to nest.com/eu/thermostatbasics.

230 V combi boiler

Low voltage/dry contact combi boiler

S-plan

Y-plan

OpenTherm boiler

District heating with electrical control valve

Device and function definition in accordance with EN 60730-1
- Purpose of control: Automatic electrical control of modulating thermostat
- Protection against electric shock: Independently Mounted Class I Equipment
- Rated voltage: 100-240 V~, 50-60 Hz
- Surge immunity category: Installation Class 2 or Residential
- Pollution degree: 2
- Type of action: 1C
- Rated loads for relays: 100-240 V~, 50-60 Hz, 3 A resistive or 1 A inductive
- Method of earthing: Functional ground terminal
- Rated impulse voltage: 4 kV
- Temperature for the ball pressure test: 125 ºC for materials in contact with or supporting
- live parts; 80 ºC for accessible surfaces
- ELV limits of power output to the thermostat: 12 V DC, 0.15 A on terminals T1 and T2
Nest Labs (Europe) Ltd. Limited Warranty Nest Learning Thermostat
THIS LIMITED WARRANTY CONTAINS IMPORTANT INFORMATION ABOUT YOUR RIGHTS AND OBLIGATIONS, AS WELL AS LIMITATIONS AND EXCLUSIONS THAT MAY APPLY TO YOU UNDER THIS LIMITED WARRANTY. YOUR RIGHTS AND THIS LIMITED WARRANTY This Limited Warranty gives you specific legal rights. You may also have other legal rights that vary by state, province, or jurisdiction. The disclaimers, exclusions, and limitations of liability under this Limited Warranty will not apply to the extent prohibited by applicable law.
For a full description of your legal rights, you should refer to the consumer protection laws applicable in your jurisdiction, and you may wish to contact a relevant consumer advisory service. This Limited Warranty is in addition to your legal rights in relation to the Products and does not affect your statutory rights. In particular, this Limited Warranty does not limit the legal warranty obligations imposed on the seller and you may claim your rights under the legal warranty against the seller. This Limited Warranty only applies to Products purchased and used in the European Union, Norway, and Switzerland.
WHAT THIS LIMITED WARRANTY COVERS; PERIOD OF COVERAGE
Nest Labs (Europe) Ltd. (“Nest Labs”) warrants to the owner of the enclosed product that the product contained in this box (“Product”) will be free from defects in materials and workmanship for a period of two (2) years from the date of delivery following the original retail purchase (the “Warranty Period”). If the Product fails to conform to this Limited Warranty during the Warranty Period, Nest Labs will, at its sole discretion, either (a) repair or replace any defective Product or component; or (b) accept the return of the Product and refund the money actually paid by the original purchaser for the Product.
Repair or replacement may be made with a new or refurbished product or components, at Nest Labs’ sole discretion, to the extent that this is permitted by local laws in your jurisdiction. If the Product or a component incorporated within it is no longer available, Nest Labs may, at Nest Labs’ sole discretion, replace the Product with a similar product of a similar function. Any Product that has either been repaired or replaced under this Limited Warranty will be covered by the terms of this Limited Warranty for the longer of (a) ninety (90) days from the date of delivery of the repaired Product or Replacement Product, or (b) the remaining Warranty Period. This Limited Warranty is transferable from the original purchaser to subsequent owners, but the Warranty Period will not be extended in duration or expanded in coverage for any such transfer.
WHAT THIS LIMITED WARRANTY DOES NOT COVER
This Limited Warranty does not cover the following (collectively “Ineligible Products”): Products marked as “sample” or “Not for Sale”, or sold “AS IS”; or Products that have been subject to (a) modifications, alterations, tampering, or improper maintenance or repairs; (b) handling, storage, installation, testing or use not in accordance with the user’s guide, placement guidelines, or other instructions provided by Nest Labs; (c) abuse or misuse of the Product; (d) breakdowns, fluctuations or interruptions in the electricity supply or the telecommunications network;
or (e) Acts of God, including, but not limited to lightning, flood, tornado, earthquake, or hurricane. This Limited Warranty does not cover consumable parts, including batteries unless damage is due to defects in materials or workmanship of the Product or software (even if such consumable parts or software are packaged or sold with the Product). Nest Labs recommends using only authorized service providers for maintenance or repair. Unauthorized use of the Product or software can impair the Product‘s performance and may invalidate this Limited Warranty.
LIMITATION OF LIABILITY
IF YOU CHOOSE TO USE THEM, ONLINE SERVICES OFFERED BY NEST LABS, INC., A US AFFILIATE OF NEST LABS, (“SERVICES”) PROVIDE YOU WITH INFORMATION (“PRODUCT INFORMATION”) REGARDING YOUR NEST PRODUCTS OR OTHER PERIPHERALS CONNECTED TO YOUR PRODUCTS (“PRODUCT PERIPHERALS”). 4
THE TYPE OF PRODUCT PERIPHERALS THAT MAY BE CONNECTED TO YOUR PRODUCT MAY CHANGE FROM TIME TO TIME. WITHOUT LIMITING THE GENERALITY OF THE DISCLAIMERS ABOVE, ALL PRODUCT INFORMATION IS PROVIDED FOR YOUR CONVENIENCE, “AS IS” AND “AS AVAILABLE”. NEST LABS OR ITS AFFILIATE DOES NOT REPRESENT, WARRANT OR GUARANTEE THAT PRODUCT INFORMATION WILL BE AVAILABLE, ACCURATE, OR RELIABLE, OR THAT PRODUCT INFORMATION OR USE OF THE SERVICES OR PRODUCT WILL PROVIDE SAFETY IN YOUR HOME.
YOU USE ALL PRODUCT INFORMATION, THE SERVICES, AND THE PRODUCT AT YOUR OWN DISCRETION AND RISK. YOU WILL BE SOLELY RESPONSIBLE FOR (AND NEST LABS AND ITS AFFILIATE DISCLAIM) ANY AND ALL LOSS, LIABILITY, OR DAMAGES, INCLUDING TO YOUR WIRING, FIXTURES, ELECTRICITY, HOME, PRODUCT, PRODUCT PERIPHERALS, COMPUTER, MOBILE DEVICE, AND ALL OTHER ITEMS AND PETS IN YOUR HOME, RESULTING FROM YOUR USE OF THE PRODUCT INFORMATION, SERVICES OR PRODUCT. PRODUCT INFORMATION PROVIDED BY THE SERVICES IS NOT INTENDED AS A SUBSTITUTE FOR DIRECT MEANS OF OBTAINING THE INFORMATION.
REFERENCE LINK
https://support.google.com/googlenest/answer/9246551?hl=en