Nexvoo N110 All-In-One 4K UHD Video Conference Bar Guide

Packing List

- OneView N110
- Power adapter
- Wall mounting bracket
- 5m USB-C cable
- Wall mounting hardware
- Remote control
- User Manual
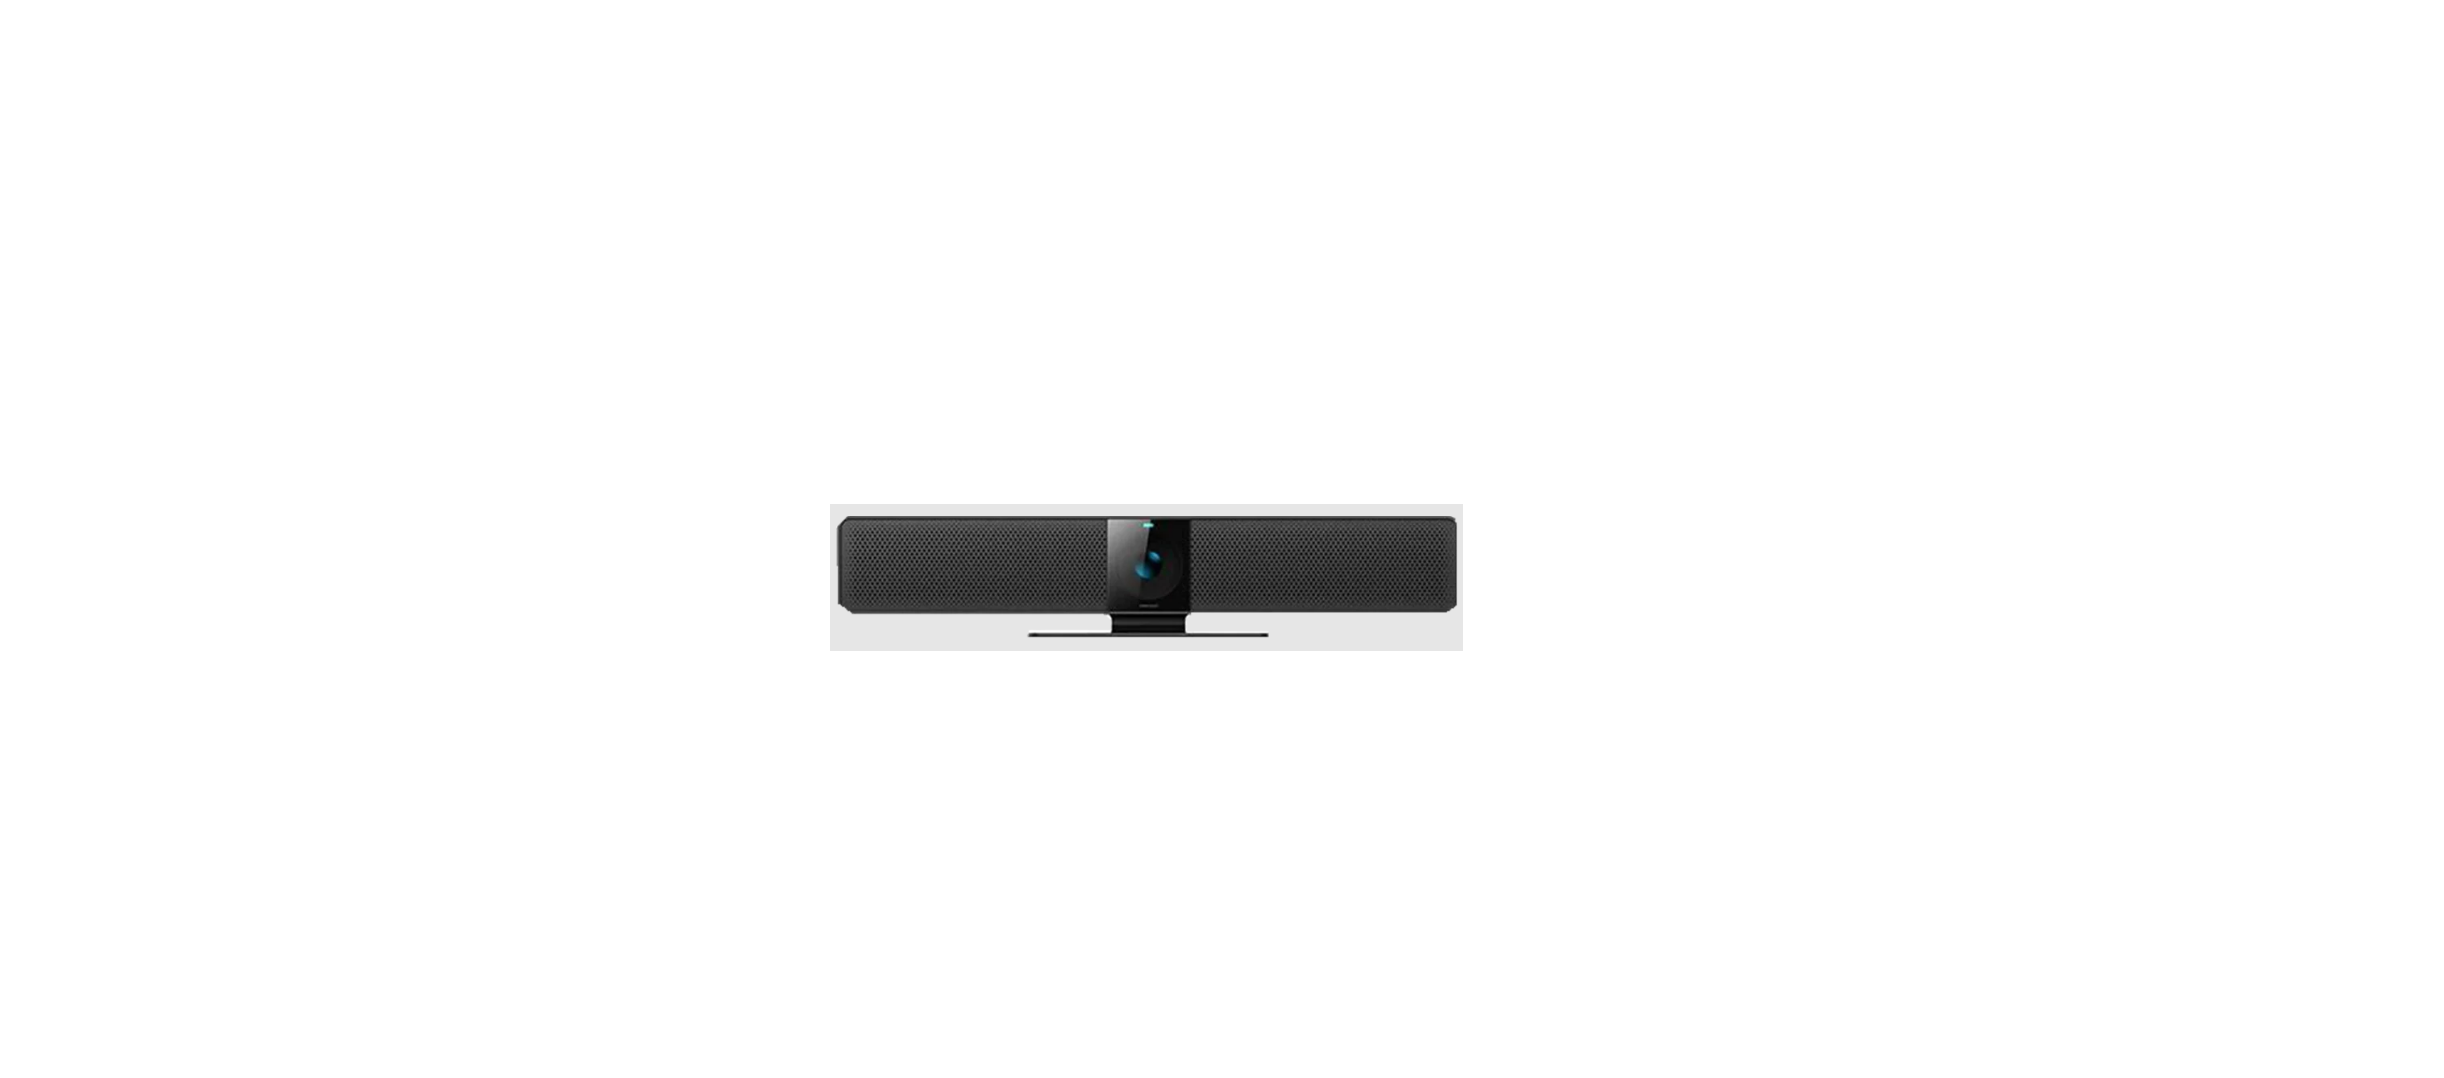
OneView N110 Introduction

- 4K HDR Camera
- LED indicators
- Base bracket
- Kensington lock
- USB-A, for connecting external extension devices
- Bluetooth key
- USB-C, for connecting PCs
- Power Key
LED indicator status


The actual color of the LED indicator may be slightly different and shall prevail.
Connection with Bluetooth remote control
- N110 will automatically perform a Bluetooth search after power-on. If the remote control is found, the pairing connection will be automatically performed.
- If the remote control is not found within 5 minutes, the search will be stopped. Please short-press the Bluetooth button of the device to restart the search.
- If N110 has been paired with the remote control, you can press the Bluetooth button for 3 seconds to delete the pairing information. After deleting the pairing information, you can pair and connect with the new remote control.
- If N110 has been paired but failed to connect with the remote control successfully, short press the Bluetooth button to make the device search for the remote control again.
Remote Control Features
The following figure and table identify the functions of the keys on the remote control.

- Mute
- Camera Preset 1
- Camera Preset 2
- Pan and Tilt
- Volume up/down
- Zoom in/out
- Al Switch
LED indicator status

Connection with N110
- The powered-on remote control will be automatically paired with the OneView N110, If it is not paired successfully, please short-press the Bluetooth button of OneView N110 and the remote control to pair and connect again.
- If the remote control is paired, you can press the Bluetooth button for 3 seconds to delete the pairing information. After deleting the pairing information, the remote can be paired with the new N110 again.
- The remote control is paired but not connected to the N110. After 1 minute, it enters the sleep state. Please press any key to wake up the remote control and reconnect it.
- The remote control can only be paired and connected by one N110.
Advanced Al Technologies
Advanced Al technologies include Auto Framing and Speaker Tracking functions The Auto Framing is based on participants’ face detection, realizing real-time detection and position tracking of everyone in the meeting, and can automatically adjust the camera according to the number of participants and changes in position, so that the screen covers all participants and their position.
Besides, based on the Auto Framing function, the device adds a speaker tracking function, In a meeting the camera lens can be individually focused on the speaker giving the speaker the best close-up shot of a single person. You can turn it off or turn it on with the Al switch button through Remote Control.
Placement
We recommend placing the camera as close to eye level as possible. You can get the best performance.
- Placement on the table: Place on a table or shelf near the monitor.
- Mount on the wall:
- a. Attach the bracket to the wall. Please use the screws which are in the box or the appropriate type of screws for your wall type.

- b. Attach the camera to the bracket.

- a. Attach the bracket to the wall. Please use the screws which are in the box or the appropriate type of screws for your wall type.
- Place on or under display: Adjust the equipment angle to make all participants in the picture when Al is off.


Please contact us to choose Nexvoo’s optional accessory
Connection
Connecting OneView N110 is the same whether you plan on using a dedicated PC or Mac in the room, or your team members bring a laptop to the room to run the meeting. This is a normal setup step as below, maybe a little different depending on your device.
- Plug N110 into power.

- Connect the USB-C cable from N110 to your PC or Mac.

- If you need to cast a screen, please connect your PC or Mac to the display via HDMI or RGB cable.

- Diagram of all connections.

- Enter your software settings, then find audio and video equipment. Select Nexvoo N110 as the default device and click “Save”.


Starting A Video Call
After installing OneView N110 and ensuring it is the default device in your video conferencing application, simply start the application in the normal manner and enjoy the benefits of improved audio and video. Please go to www.nexvoo.co
Web management
You can configure the Nexvoo ClassCam CC520 USB video device on the Web management. You can configure the following settings on the Web management.
- View device information
- Remote control configuration
- Camera Tracking System update & reset Change password
- Restore default settings Note: Web management only supports Windows systems.
Network configuration
- After NexPod is connected to the power supply, it will automatically turn on, and connect NexPod to your computer via USB. The computer will automatically install NexPod USB Audio, USB Camera, and Remote NDIS drivers, then open the computer device manager to view the installed USB devices. (Set Windows 10 system as an example)

- Select [Computer’s Control Panel – Network and Internet – View Network Status and Tasks – Change Adapter Settings], you can see the Ethernet with the device name “Remote NDIS based Internet Sharing Device”, right-click the Ethernet, select “Properties”, and open [Network-Internet Protocol Version 4(TCP/ IPv4)], then manually configure the IP address
- IP address: 172.16.110.7
- subnet mask: 255.255.0.0
- Default gateway: 172.16.255.255


Click OK to save the configuration.
Login Web management
- Start the browser, and enter http://172.16.110.6 to open the login interface of the NexPod Web management platform.
- Enter the username and password, and click “Sign in” to log in to the web management platform. (Default username: Admin, Password: 123456).
Note:
Some browsers may not be fully compatible. It is recommended to use Chrome/Firefox/Microsoft Edge browser etc
View device information
You can view the basic information for your NexPod USB device through the Web Management platform.
Procedure
- Login to the web management platform through a browser.
- In the Dashboard section, view the basic information for your NexPod USB device.
Camera tracking
You can set the AI technology of the device in the Camera Tracking menu through the web management platform.
Procedure
- Login to the web management platform through a browser.
- Go to General Settings – Camera Tracking.
- Control the NexPod USB device through the following functions:

Update the NexPod USB Device
You can update the firmware of the ClassCam CC520 USB device through the Web Management platform.
Procedure
- Login to the web management platform through a browser.
- Go to System Settings – System Update.
- Click or drag the firmware file with the format of .img to the firmware import area, then click the “Update” button to start the system update. Note: Make sure your computer doesn’t enter sleep mode during the system update. Otherwise, the update may fail.
Change Your Password
Nexvoo recommends that you change your device’s password from the default for security reasons
Procedure
- Login to the web management platform through a browser.
- Go to System Settings – Change Password.
- Enter your Current Password.
- Enter a new password in the New Password and Confirm Password fields.
- Click Save.
Restore Default Settings
You can erase all configuration and restore the ClassCam CC520 USB video device default setting through the Web Management platform. The default settings to be cleared include but are not limited to:
- Password
- Remote control presets
- Bluetooth settings
- Camera Tracking
- Audio settings
Procedure
- Open the login interface of the Web management platform.
- Click Restore Default Settings.
- Enter the correct SN number of the device.
- Click OK to restore default settings.
Warranty
Our product warranty is limited only to the unit itself when used normally by the operating instructions and the system environment. We are not liable for damage or loss resulting from the use of this product or for any claim from a third party. We are not liable for problems with Nexvoo device arising from the use of this product; we are not liable for financial damages, lost profits, claims from third parties, etc., arising from the use of this product.
Explanation Of The Symbols DC
To avoid the potential effects on the environment and human health as a result of the presence of hazardous substances in electrical and electronic equipment, end users of electrical and electronic equipment should understand the meaning of the crossed-out wheeled bin symbol. Do not dispose of WEEE as unsorted municipal waste and have to collect such WEEE separately.
Safety Instructions
Save these instructions. Read these safety instructions before use!
General Requirements
Before you install and use the device, read the safety instructions carefully and observe the situation during operation. During the process of storage, transportation, and operation, please always keep the device dry and clean, to avoid collision and crash. Please attempt not to dismantle the device by yourself. In case of any discrepancy, please contact the appointed maintenance center for repair. Please refer to the relevant laws and statutes while using the device. The legal rights of others should be respected as well.
FCC Caution
This device complies with part 15 of the FCC Rules. Operation is subject to the following two conditions: (1) This device may not cause harmful interference, and (2) this device must accept any interference received, including interference that may cause undesired operation. Any Changes or modifications not expressly approved by the party responsible for compliance could void the user’s authority to operate the equipment.
Note:
This equipment has been tested and found to comply with the limits for a Class B digital device, under part 15 of the FCC Rules. These limits are designed to provide reasonable protection against harmful interference in a residential installation. This equipment generates uses and can radiate radio frequency energy and, if not installed and used following the instructions, may cause harmful interference to radio communications.
However, there is no guarantee that interference will not occur in a particular installation. If this equipment does cause harmful interference to radio or television reception, which can be determined by turning the equipment off and on, the user is encouraged to try to correct the interference by one or more of the following measures:
- Reorient or relocate the receiving antenna.
- Increase the separation between the equipment and the receiver.
- Connect the equipment to an outlet on a circuit different from that to which the receiver is connected.
- Consult the dealer or an experienced radio/TV technician for help.
Third-Party Components
“Third Party Components” means certain software programs or portions thereof included in the Software or Hosted Service may contain software (including open source software) distributed under third party agreements (“Third Party Components”), which contain terms regarding the rights to use certain portions of the Software (“Third Party Terms”).
As required, information regarding distributed Android source code (for those products that have distributed Android source code) and identifying the copyright holders of the Third Party Components and the Third Party Terms that apply are available in the products, Documentation, or such successor site as designated by Nexvoo.
The open-source software license terms provided as Third Party Terms are consistent with the license rights granted in these Software License Terms and may contain additional rights benefiting you, such as modification and distribution of the open-source software. The Third Party Terms shall take precedence over these Software License Terms, solely concerning the applicable Third Party Components to the extent that these Software License Terms impose greater restrictions on you than the applicable Third Party Terms.
Any Changes or modifications not expressly approved by the party responsible for compliance could void the user’s authority to operate the equipment.
Product Information
Dimensions
• 3.9 x 19.9 x 2.8 inches (H x W x D) 98 x 505 x 72 mm (H x W x D)
Weight
- 3.7 Ibs / 60 oz 1.7 ka
Camera Specs
- f/1.8 Aperture
- 4K Video Output
- 120° FOV
- 5x digital zoom / EPTZ
- 3F HDR > 120dB
- Auto Framing and Speaker tracking
- Automatic White Balance
- Automatic Exposure
- Fixed focus
Video Specs
- UHD 4K@30fps
FHD 1080p@30fps
HD 720p@30fps
Audio Specs
- Support full-duplex conversations, acoustic echo cancellation, and background noise suppression
- Stereo microphone:
- 6-element microphone array
- 19.7ft / 6m pickup range
- Single speaker:
- 100Hz-20KHz Frequency response
- Output = 90 dB @ 0.5m
General Specs
- 16-feet detachable USB cable for PC or Mac-based video conferencing
- Works with most video conferencing applications
- Bluetooth Key
- Kensington Security Slot
System Requirements
- Windows 7, Windows 8 or Windows 10
- Mac® OS X® 10.15 or higher
- Chrome OS™
- Android™ 6.0 or higher
Connector
- USB Type-C (USB2.0)
- USB Type-A (USB3.0)
*The specifications above are subject to changes without notice.


