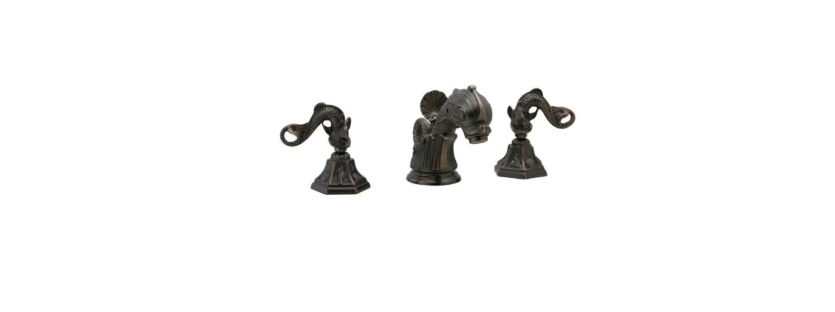
Pyhlrich K101 Dolphin Lavatory Faucet User Instructions

Step 1 

Should a counter top need to be drilled, please reference the diagram above.
Step 2

Insert spout base nipple into center hole in lavatory or counter top. Install stainless washer (7) and spont (8) on
spout nipple and tighten. Place pop-up knob rod (14) though spout.
Step 3

Install spout tee assembly (9, 10, 11, 12 and 13) as shown in diagram.
Step 4

Remove top fastening nut and washer (2 & 3) from the lavatory valve with one right-hand valve and one left-hand valve. Install valve with the blue dot on the cold side [Round handle sets are supplied with two hot valves that turn in the same direction]). Insert valve from below through hole in lavatory or counter top.
Step 5

Reattach top fastening nut and washers (2 and 3).
Step 6

Set valve to proper rough-in height “A”, by adjusting bottom fastening nut. Secure valve by tightening top fastening nut *YOU MAY NEED TO CUT THE ALL BROACHED STEM TO REDUCE THE VISIBILITY BETWEEN HANDLE AND ESCUTCHEON. Repeat procedure for the second lavatory valve. Please see page P99030A for the “A” measurement for your trim.
Step 7

Step 8


Insert drain rim (25) into the basin placing the Teflon washer (26) under the rim. From below slip on washer (27)onto the bottom thread of the drain rim and secure to basin with drain nut and washer (28 and 29)
Step 9


Step 10


