Pyle USB/SD/AUX Inputs User Manual

PRECAUTIONS
Precautions & Warnings
- To reduce the risk of fire, electric shock, and interference, never attempt to repair this unit yourself. Refer all services to an authorized service center.
- Some MP3/WMA files may not be playable.
- Keep the volume at a reasonable level to avoid distracted driving. High volume levels may make it difficult to concentrate on traffic and road conditions while driving.
- If the ship/car has been in direct sunlight for an extended period, you may need to reduce the temperature inside the ship/car before turning on and using the unit.
- If the battery is disconnected, discharged, or changed, the preset memory of the unit will be lost and will require re-programming.
- The unit is designed to be installed in a level, horizontal position. For optimal performance, avoid installing the unit at an angle.
- Never use excessive force when removing or attaching the faceplate. Handle the display and the buttons gently so as to avoid damage.
Lithium Battery Cell Warnings
- Cell leakage may cause damage to the remote control
- Do not throw cells into it as this may cause an explosion.
- Keep battery cells out of reach of children.
Drives and connections Never place foreign objects into the openings of the ship/car receiver (USB jack, card slot, AUX-IN connection) as this will damage the slots and the connections.
Others Warnings Do not play the ship/car receiver for long periods of time when the motor is switched off as this will cause the ship/car battery to discharge and the vehicle may not start.
INSTALLATION
Installation Procedures
First, complete the electrical connections and then check that all connections are correct.
Installation Opening
This unit can be installed in any dashboard that has an opening as illustrated in the below figure.
To Install the Ship/Car Receiver
Be sure to first test all connections and then follow these steps to install this unit.
- Make sure the ignition is turned off and then disconnect the cable from the vehicle battery’s negative (-) terminal.
- Disconnect the wire harness and the antenna.
- Lift the left or right top corner of the plastic outer trim ring then pull it out to remove it.
- Insert the two bracket keys into the left and right side of the chassis, as shown below figure to separate the chassis from the housing.

- Insert the mounting sleeve into the dashboard and bend the mounting tabs out with a screwdriver. Make sure that the lock lever is flush with the mounting sleeve and that it does not project beyond it.
- Insert this receiver into the mounting sleeve.
- Connect wires as illustrated in the “Wiring Diagram.”
- Install the plastic outer trim ring.

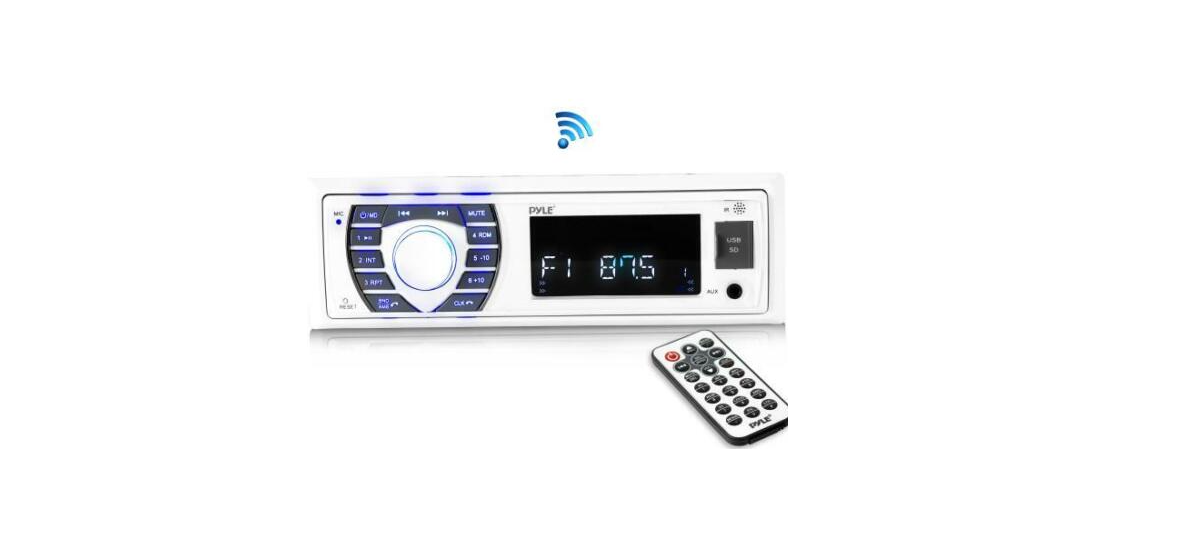
CONTROL PANEL BUTTONS

- (power)/MODE (source) button
- SEL (select/menu) button and VOL (volume) knob
- button, BAND(band) button AMS (automatic store / preset station scan, automatic music search) button
- (pause/play), Preset station 1 button
- INT (intro), Preset station 2 button
- RPT (repeat), Preset station 3 button
- RDM (random), Preset station 4 button
- -10(previous 10 tracks), Preset station 5 button
- +10(next 10 tracks), Preset station 6 button
- CLK (clock setting) button, button
- (tune down, seek down, previous track, fast reverse) button
- (tune-up, seek-up, next track, fast forward)button
- MUTE button
- IR remote control sensor
- LCD Display
- USB port & Micro SD Card Slot
- MIC hole(built-in Microphone)
- AUX IN (auxiliary input) jack
INTERFERENCE
All cables can source and create interference. The power cable and Cinch/RCA audio cable are very prone to interference; the remote cables are less prone. There is often interference caused by the generator (piping), ignition (cracking) or another vehicle/or boat electronic parts. Most of these problems can be eliminated by correct and careful cabling. In doing so, here are the following guidelines:
- Use only a screened audio cable for the wiring between the “low level in” of the amplifier and the RCA or DIN output of the radio.
- Lay the signal, speaker, and power cables separately with enough distance from one another and also from each other car cable. If not possible, you can lay the circuit and ground cable together with the serial cables. Audio and speaker cables should be as far away from these as possible. The REM cable to the automatic antenna output of the radio can be laid together with the signal cables.
- Avoid ground loops by laying the ground wiring of all components to a center point in a star-like way. you can find the best central point in measuring the voltage directly at the battery. Now compare this voltage value with the chosen ground point and the (+) terminal of the amplifier. If the measured voltage is only slightly different, you’ve found the correct central. Otherwise, you have to look for another point. You should measure with the ignition point for the earth being switched on and additionally switched on consumers (rear window heating and light).
Adjust Volume (VOL)
Rotate the VOL knob on the front panel or press the VOL+ /VOL- button on the remote control to increase or decrease the volume level.
Adjust Menu Options (SEL)
- Press the SEL button on the front panel or on the remote control repeatedly to cycle through the following adjustable audio functions: BASS, TREBLE, BALANCE, FADER, EQ OFF/ CLASS/ ROCK/POP/FLAT/, LOUD ON/OFF, DX/LOC, STEREO/MONO, CLOCK 12/24 and AREA US/EU.
- Rotate the VOL knob on the front panel or press the VOL+ /VOL- button on the remote control to adjust the selected item.
- BASS:-07,-06, ~, -01,00,+01,~, +06,+07
- TREBLE:-07,-06, ~, -01,00,+01,~, +06,+07
- BALANCE:L07,L06,~, L01, 00, R01,~,R06,R07
- FADER:R07,R06~,R01,00,F01,~,F06,F07
- EQ(Equalizer) Setting: OFF, FLAT, POP, ROCK, CLASS
- Loudness: LOUD ON/OFF
- DX/LOCAL: Enables or disables the local broadcast mode (LOCAL).
- Stereo/Mono: Switches between MONO and STEREO reception mode for radio frequencies.
- CLOCK 12/24: Select between 12 hours and 24 hours display. Note: If a 12-hour display is selected, AM= Morning; PM= Afternoon
- AREA US/EU: This receiver is equipped with the USA / Europe fr
- frequency. Rotate the volume knob to switch between USA and Europe frequencies. The system will change the frequency setting in about 3 seconds.
RADIO OPERATION
Switch Between USA area and Europe area Frequency In radio mode, press and hold the VOL/SEL button to enter the switch state of the US(USA) and EU (Europe) frequency, then rotate it to switch between the US(USA) and EU(Europe) frequency.
The system will change the frequency setting in about 3 seconds.


