![]()
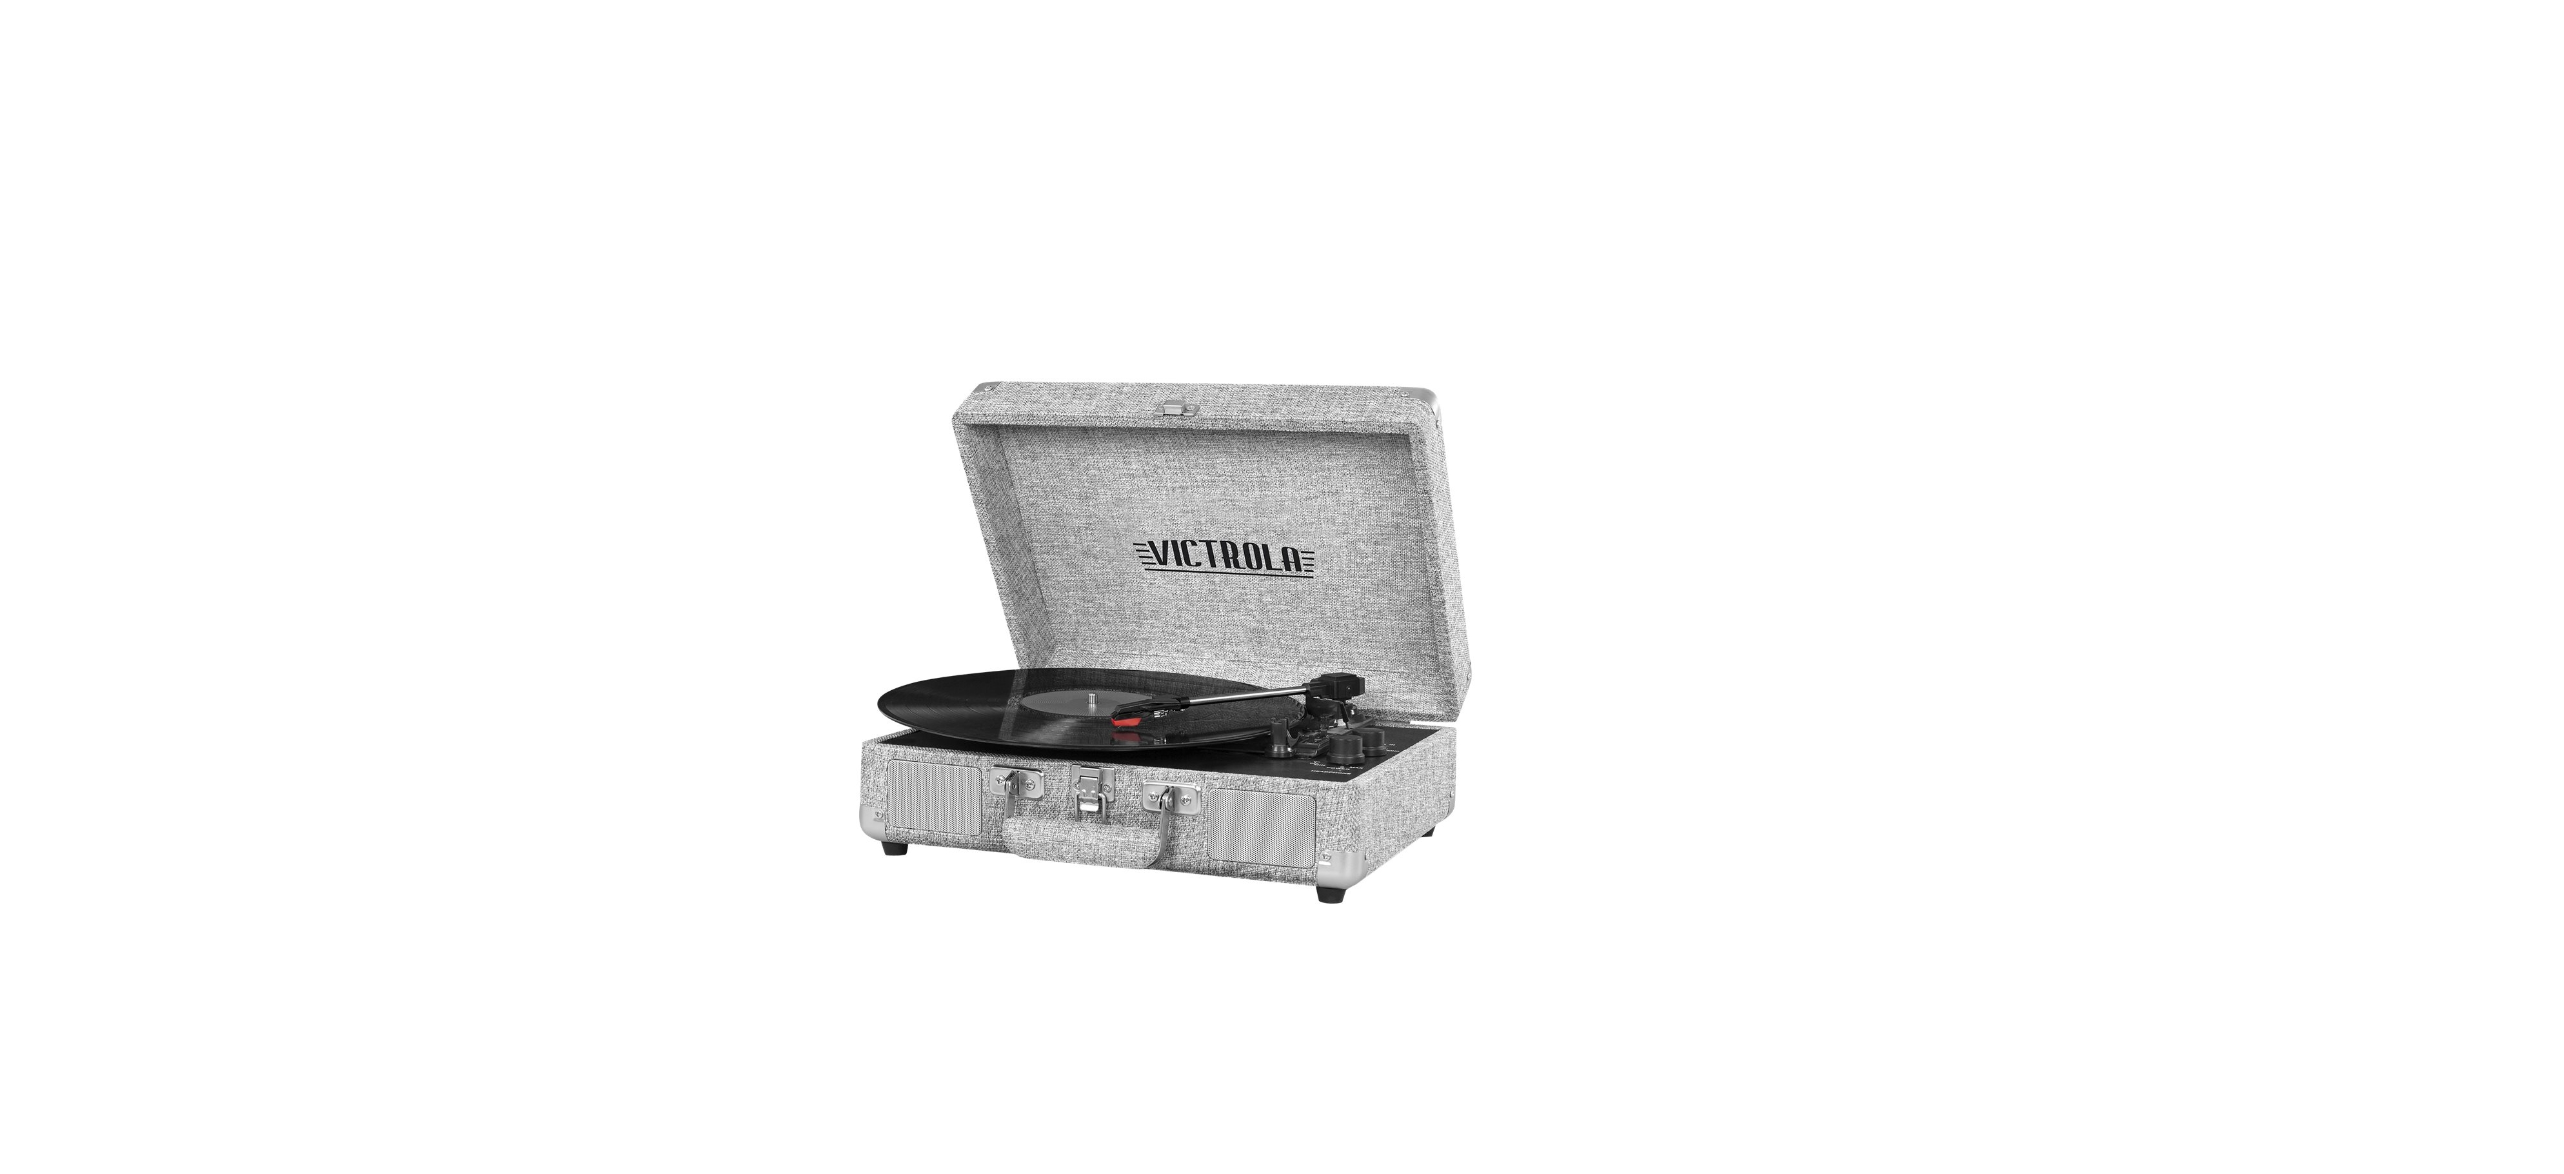
Victrola VSC-550BT Bluetooth Portable Suitcase User Manual

SAFETY INSTRUCTIONS
- Read these instructions – All the safety and operating instructions should be read before this product is operated.
- Keep these instructions – The safety and operating instructions should be retained for future reference.
- Heed all warnings – All warnings on the appliance and in the operating instructions should be adhered to.
- Follow all instructions – All operating and use instructions should be followed.
- Do not use this apparatus near water – The appliance should not be used near water or moisture – for example, in a wet basement, near a swimming pool, or other wet areas.
- Clean only with a dry cloth.
- Do not block any ventilation openings. Keep at least 5 cm around the apparatus for sufficient ventilation. Install per the manufacturer’s instructions.
- Do not install near any heat sources such as radiators, heat registers, stoves, or other apparatus (including amplifiers) that produce heat.
- Do not defeat the safety purpose of the polarized or grounding plug. A polarized plug has two blades one wider than the other. A grounding plug has two blades and a third grounding prong. The wide blade or the third prong is
provided for your safety. If the provided plug does not fit into your outlet, consult
an electrician for the replacement of the obsolete outlet. - Unplug the apparatus during lightning storms or when unused for long periods.
- Refer all servicing to qualified personnel. Servicing is required when the apparatus has been damaged in any way, such as a power supply cord or plug is damaged, liquid has been spilled or objects have fallen into the apparatus, the apparatus has been exposed to rain or moisture, does not operate normally, or has been dropped.
- Please keep the unit in a well-ventilated environment.
- Only use attachments/ accessories specified or provided by the manufacturer
- To reduce the risk of fire or electric shock, do not expose this apparatus to rain or moisture. The apparatus shall not be exposed to dripping or splashing and no objects filled with liquids, such as vases, shall not be placed on the apparatus.
- The main plug is used as a disconnect device, the disconnected device shall remain readily operable. This product is not intended for commercial use. Household Use Only.
HOW TO INSTALL / REMOVE POWER ADAPTOR PLUG

TURNTABLE LAYOUT

- TURNTABLE PLATTER
- TURNTABLE SHAFT
- 45 RPM ADAPTOR
- LIFT LEVER
- TONEARM CLIP
- LINE-IN JACK
- SPEED SELECTION SWITCH
- FUNCTION (BT (BLUETOOTH), LINE-IN, PHONO) KNOB
- AUTO AND MANUAL STOP SELECTION SWITCH
- TONEARM
- POWER ON/OFF AND VOLUME CONTROL KNOB
- POWER/BLUETOOTH LIGHT INDICATOR
- STYLUS CARTRIDGE
- HEADPHONE JACK
- BUCKLE
- HANDLE
- SPEAKERS
- RCA OUTPUT JACK
- POWER ADAPTOR JACK
TURNTABLE OPERATION
POWER SUPPLY
Insert the adaptor plug into the DC IN jack on the rear of the unit, then connect the AC/DC adaptor (5V/1A AC 100-240V, 50-60Hz) to an AC/DC wall outlet.
BASIC OPERATION
- Lift the BUCKLE on the front of the turntable and open the lid.
- Turn the FUNCTION KNOB to the PHONO position. Power ON the unit by turning the VOLUME CONTROL KNOB clockwise. The red LED will light to show that the turntable is turned ON.
- Place a record on the TURNTABLE PLATTER and select the desired speed (33 1/3 / 45 / 78) by sliding the SPEED SELECTION SWITCH according to the record. NOTE: When playing a 45 RPM record, use the included 45 RPM ADAPTOR located in the holder near the tone arm.
- Open the TONE ARM CLIP to release the TONE ARM. Push the LIFT LEVER backward to raise the arm. Gently move the tonearm to the desired position over the record. The turntable will begin to spin when the arm is moved toward the record. Push the lift lever forward and lower the arm slowly onto the desired position on the record to begin playing. Please Note: The record will begin to spin only when the tone arm is moved over the record if the Auto Stop is turned ON.
- If the AUTO AND MANUAL STOP SELECTION SWITCH is turned ON, the record will stop automatically when finished. If this switch is OFF the record will NOT stop automatically when finished.
- To select the volume level, turn the VOLUME CONTROL KNOB to adjust the volume.
HOW TO REPLACE THE TURNTABLE NEEDLE (Replacement Needle # INP-Y1)

Removing the Stylus from the Cartridge
- Set a screwdriver at the tip of the stylus and push down to the direction “A”. WARNING: When applying force to the stylus, too much may damage or break the stylus.
- Pull the stylus out toward the direction “B”.
Installing the Stylus
- Hold the tip of the stylus and insert the other edge by pressing toward direction “C”.
- Push the stylus up toward direction “D” until it locks at the tip.
BLUETOOTH OPERATION
An external device with Bluetooth Connectivity can be wirelessly connected to this turntable using the Bluetooth function.
- Power ON the unit by turning the VOLUME CONTROL KNOB clockwise.
- Turn the FUNCTION KNOB to the BT (Bluetooth”) position, the blue LED light will begin to flash.
- Turn your external device’s Bluetooth Setting ON. Wait a moment, then look for the Bluetooth pairing name “Vintage Turntable”.
- Select the Bluetooth pairing name, to connect the unit. Once connected, the blue LED light will stop flashing.
- You are now connected to your external device via Bluetooth!
- Potato the VOl LIME CONTROL KNOR to adjust the sound of love
AUX-IN OPERATION
An external (auxiliary) audio source (i.e. personal CD/MP3 Player/Mobile phone or computer) can be connected to this apparatus via the LINE-IN JACK.
- Plug a detachable Aux Cable (not provided) into the LINE-IN socket on the function panel of the apparatus.
- Turn the FUNCTION KNOB to the LINE-IN position, the LED will turn purple.
- Plug the other end of the Aux Cable into the Headphone or Line Out socket of your External Source.
- Power ON the unit by turning the VOLUME CONTROL KNOB clockwise.
- Rotate the VOLUME CONTROL KNOB to adjust the sound level.
EARPHONE OPERATION
Plug the earphone jack into the earphone port on the function panel to listen to the record. The built-in speaker will stop playing once the earphones are plugged in. NOTE: For best performance and product maintenance, unplug the turntable when not in use.