Aqara CH-C01 Camera Hub G2H Pro User Manual

Product introduction
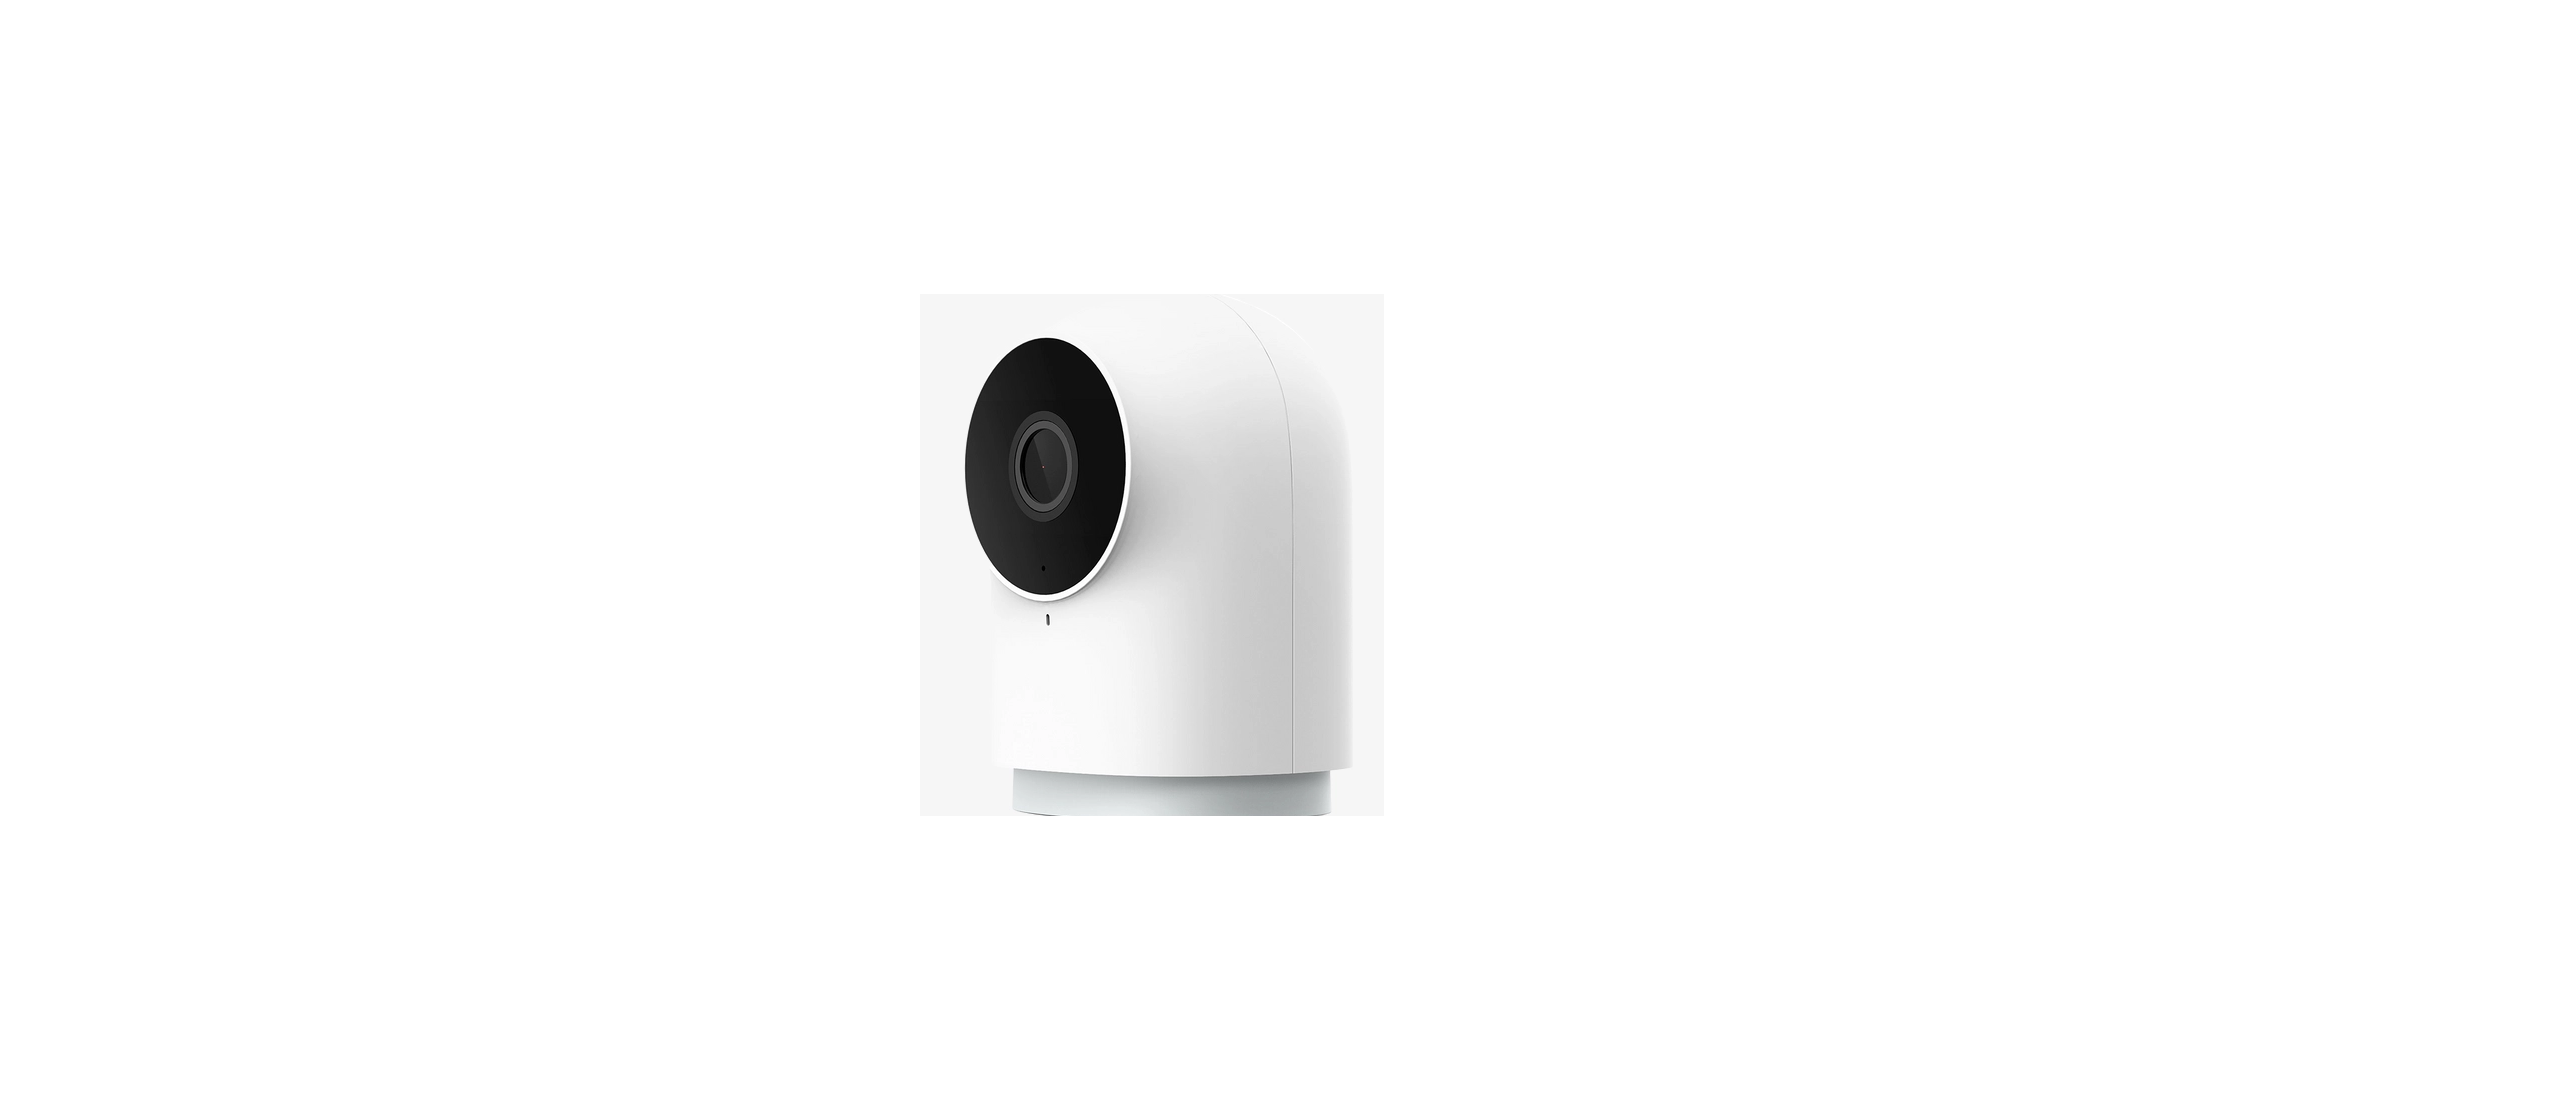
Aqara Camera Hub G2H Pro is an intelligent product that integrates dual functions of camera and hub. It has functions such as video intercom, motion detection, sound detection, MicroSD card recording, NAS storage, timelapse, privacy area covering, and so on. It can also be used as a Zigbee hub in collaboration with other sensors, controllers, and other accessories to realize functions such as home guard, data reporting, and smart control. It also supports HomeKit Secure Video.

Preparation before Use
- A smartphone or tablet that supports Wi-Fi or a cellular network (with iOS or Android system) is required.
- Please make sure that there is a Wi-Fi connection and that your internet connection is stable.
Quick Setup
Download the Aqara Home app

Search for “Aqara Home” in the Apple App Store, Google Play, Xiaomi GetApps, and Huawei App Gallery, or scan the following QR code to download the Aqara Home app.
Power up and turn on the Camera Hub G2H Pro
Choose the installation location of the hub: Ensure that the hub and the routing connection are not disturbed, and avoid metal obstacles between the hub and the router or around the hub. Locate the power interface at the back of the product and plug in the MicroUSB power cord to connect the power adapter. When the Camera Hub G2H Pro is started, the status indicator will turn yellow and flash quickly. Make sure your mobile phone is connected to a Wi-Fi network in the 2.4 GHz frequency band.
Add the product to the Aqara Home app
Please open the Aqara Home app, tap “Home” and then tap “+” in the top right corner to enter the “Add Device (Accessory)” page, select “Camera Hub G2H Pro”, and add it according to the instructions in the Aqara Home app. After a successful connection, the status indicator of the device will turn blue and keep the light constant.
NOTICE:
If the device addition fails, please confirm the following points:
- The Wi-Fi name or password contains an unsupported special character, such as, @, #,%, -, $, etc., failing to connect to the router. Please change it to a commonly used character and try again.
- If the camera cannot recognize the QR code generated by the mobile phone. Please make sure that the screen size of the mobile phone is not less than 4.7 inches, and make sure that you don’t use the backlight of the camera to shoot the QR code.
- Check whether the router has enabled the Wi-Fi anti-squatter setting, which causes the camera to be unable to connect to the Internet.
- Check whether the router has enabled AP isolation, which leads to the failure to search the camera on the mobile phone in the LAN. * Make sure the camera is connected to the 2.4GHz Wi-Fi network.
Add Accessory
After the Camera Hub G2H Pro is added successfully, please open the Aqara Home app and refer to the user manual of the accessory to add.
Connect to Apple HomeKit
Open the Apple Home app, click “+” on the upper right corner, and then enter the “Add Accessory” page. Scan or manually enter the HomeKit Setup Code at the bottom of the camera to bind the camera to HomeKit. If the camera failed to add to the HomeKit:
- “Failed to add accessory”. Due to multiple adding failures, the error information of the iOS cache cannot be removed. Please restart the iOS device and reset the camera;
- “Accessory already added”. After restarting the iOS device and resetting the camera, you can manually enter the HomeKit setup code and add it again;
Notice
Use of the Works with Apple badge means that an accessory has been designed to work specifically with the technology identified in the badge and has been certified by the developer to meet Apple performance standards. Apple is not responsible for the operation of this device or its compliance with safety and regulatory standards.
A 10-day recording history from your Camera Hub G2H Pro is securely stored in iCloud and available to view in the Apple Home app on your iPhone, iPad, or Mac. You can add one camera to your 200 GB plan or up to five cameras to your 2 TB plan at no additional cost.
Camera recordings don’t count against your iCloud storage limit. Communication between iPhone, iPad, Apple Watch, HomePod, or Mac and the HomeKit-enabled Camera Hub G2H Pro is secured by HomeKit technology.
Product Installation
- Please make sure the camera is added successfully, and then install it onto the wall.
- You can place the camera on a horizontal surface, such as a desk, table, bookcase, and so on.
- The base of the camera contains a magnet, which can be attached to the surface of ferrous material, such as a refrigerator, iron door, and so on. Do not place it near the main unit of the computer or hard disc.
- You can also use double-sided tape to attach the magnet to the surface of smooth materials, such as glass, tile, latex wall, and so on, or fastening screws can be used to fix the magnet sheet on the wall, and then attach the camera to the magnet.

- Please make sure the installation position is within the coverage range of the Wi-Fi.
- Do not place it near strong electromagnetic interference sources.
- The product is only limited to be used indoors. Please do not use it in humid environments or outdoors.
- Please make sure there is no obstacle around the device.
Warnings
- This product is NOT a toy. Please keep children away from this product.
- This product is designed for indoor use only. Do NOT use in humid environments or outdoors.
- Beware of moisture, do NOT spill water or other liquids onto the product.
- Do NOT place this product near a heat source.
- Do NOT place it in an enclosure unless there is normal ventilation.
- Do NOT attempt to repair this product by yourself. All repairs should be performed by an authorized professional.
- This product is only suitable for improving the convenience of your home life and reminding you about the status of your devices. It should NOT be used as security equipment for homes, buildings, warehouses, or any other places. If a user violates the product use instructions, the manufacturer will NOT be liable for any risks and property losses.
- The base of this product has been designed with strong magnetic properties, which can ensure that product will not fall off when it is installed on the wall. To prevent falling off and possibly causing personal injury, we recommend that the installation of the device should be less than 2 meters.
- This product does not come with a power adapter by default. Please purchase a separate danter from a regular source.
Description of Indicator Light Status
| Indicator Light Status | Status Description |
| Yellow light is on steady | The camera is turning on |
| Yellow light flashes quickly | Waiting to connect to the network |
| Yellow light flashes slowly | The camera is being resetting/OTA upgrading |
| Blue light flashes quickly | Connecting to the network |
| Blue light flashes slowly | Connected to the network successfully and the account is being bound |
| Blue light is on steady | Working properly |
| Red light is on steady | Live video is in progress |
| White light is on steady | No network is connected in 10 minutes after starting |
| Purple light flashes slowly | Accessories are allowed to be added |
| Off | The indicator is turned off/the device sleeps/the device is not powered |
Description of Button Operations
| Button Operations | Status Description |
| Click the function button one time | Turn off alert |
| Click the function button three times | Initiate a child device access request |
| Click the reset button five times | Reset the device but clear local information |
| Long press the reset button for 5 seconds | Reset the device but retain local information |
| Long press the function button for 3 seconds | Initiate a voice call request |
Specifications
- Product Model: CH-C01
- Video Coding: H.264
- Resolution: 1080p
- Power Supply Input: 5V
 1A
1A - Viewing Angle: 146° (diagonal)
- Overall Power Consumption: 5 W
- Product Dimensions: 82.4×56.5×50.5 mm (3.24×2.33×1.99 in.)
- Working Temperature: -10°C ~ 40°C (14°F ~ 104°F)
- Operating Humidity: 15% ~ 85% RH, no condensation
- Wireless Protocols: Zigbee 3.0 IEEE 802.15.4, Wi-Fi IEEE 802.11 b/g/n 2.4 GHz
- Local Storage: MicroSD card (CLASS 4 or above is supported, up to 512 GB storage)
- Supported Device: Android 4.0 or iOS 13.2 and above
- What is in the Box: G2H Pro Camera Hub × 1, User Manual x 1, Screw × 2, Metal Plate × 1, Micro USB to USB-A Cable × 1, Ejector Tool × 1, Sticker × 1
| Wi-Fi Operation Frequency | 2412-2472 MHz |
| Wi-Fi Maximum Output Power | c 20 dBm |
| Zigbee Operation Frequency | 2405-2480 MHz |
| Zigbee Maximum Output Power | c 13 dBm |
Under normal use conditions, this equipment should keep a separation distance of at least 20cm between the antenna and the body of the user.
EU Declaration of Conformity
Hereby, Lumi United Technology Co., Ltd declares that the radio equipment type (E camera Hub 2H Pro, CH. Co in compliance with Directive 2014/53/EU. The full text of the EU Declaration of Conformity is available at the following internet address: https://www.aqara.com/DoC/|
WEEE Disposal and Recycling Information
All products bearing this symbol are waste electrical and electronic equipment (WEEE as in directive 2012/19/EU) which should not be mixed with unsorted household waste. Instead, you should protect human health and the environment by handing over your waste equipment to a designated collection point for the recycling of waste electrical and electronic equipment, appointed by the government or local authorities.
Correct disposal and recycling will help prevent potential negative consequences to the environment and human health. Please contact the installer or local authorities for more information about the location as well as the terms and conditions of such collection points.
Note:
This equipment has been tested and found to comply with the limits for a Class B digital device, under part 15 of the FCC Rules. These limits are designed to provide reasonable protection against harmful interference in a residential installation. This equipment generates, uses, and can radiate radio frequency energy and, if not installed and used following the instructions, may cause harmful interference to radio communications.
However, there is no guarantee that interference will not occur in a particular installation. If this equipment does cause harmful interference to radio or television reception, which can be determined by turning the equipment off and on, the user is encouraged to try to correct the interference by one or more of the following measures:
- Reorient or relocate the receiving antenna.
- Increase the separation between the equipment and the receiver.
- Connect the equipment to an outlet on a circuit different from that to which the receiver is connected.
- Consult the dealer or an experienced radio/TV technician for help.
RF Exposure statement:
This equipment complies with FCC radiation exposure limits set forth for an uncontrolled environment. This equipment should be installed and operated with a minimum distance of 20 cm between the radiator and your body. This transmitter must not be co-located or operating in conjunction with any other antenna or transmitter.