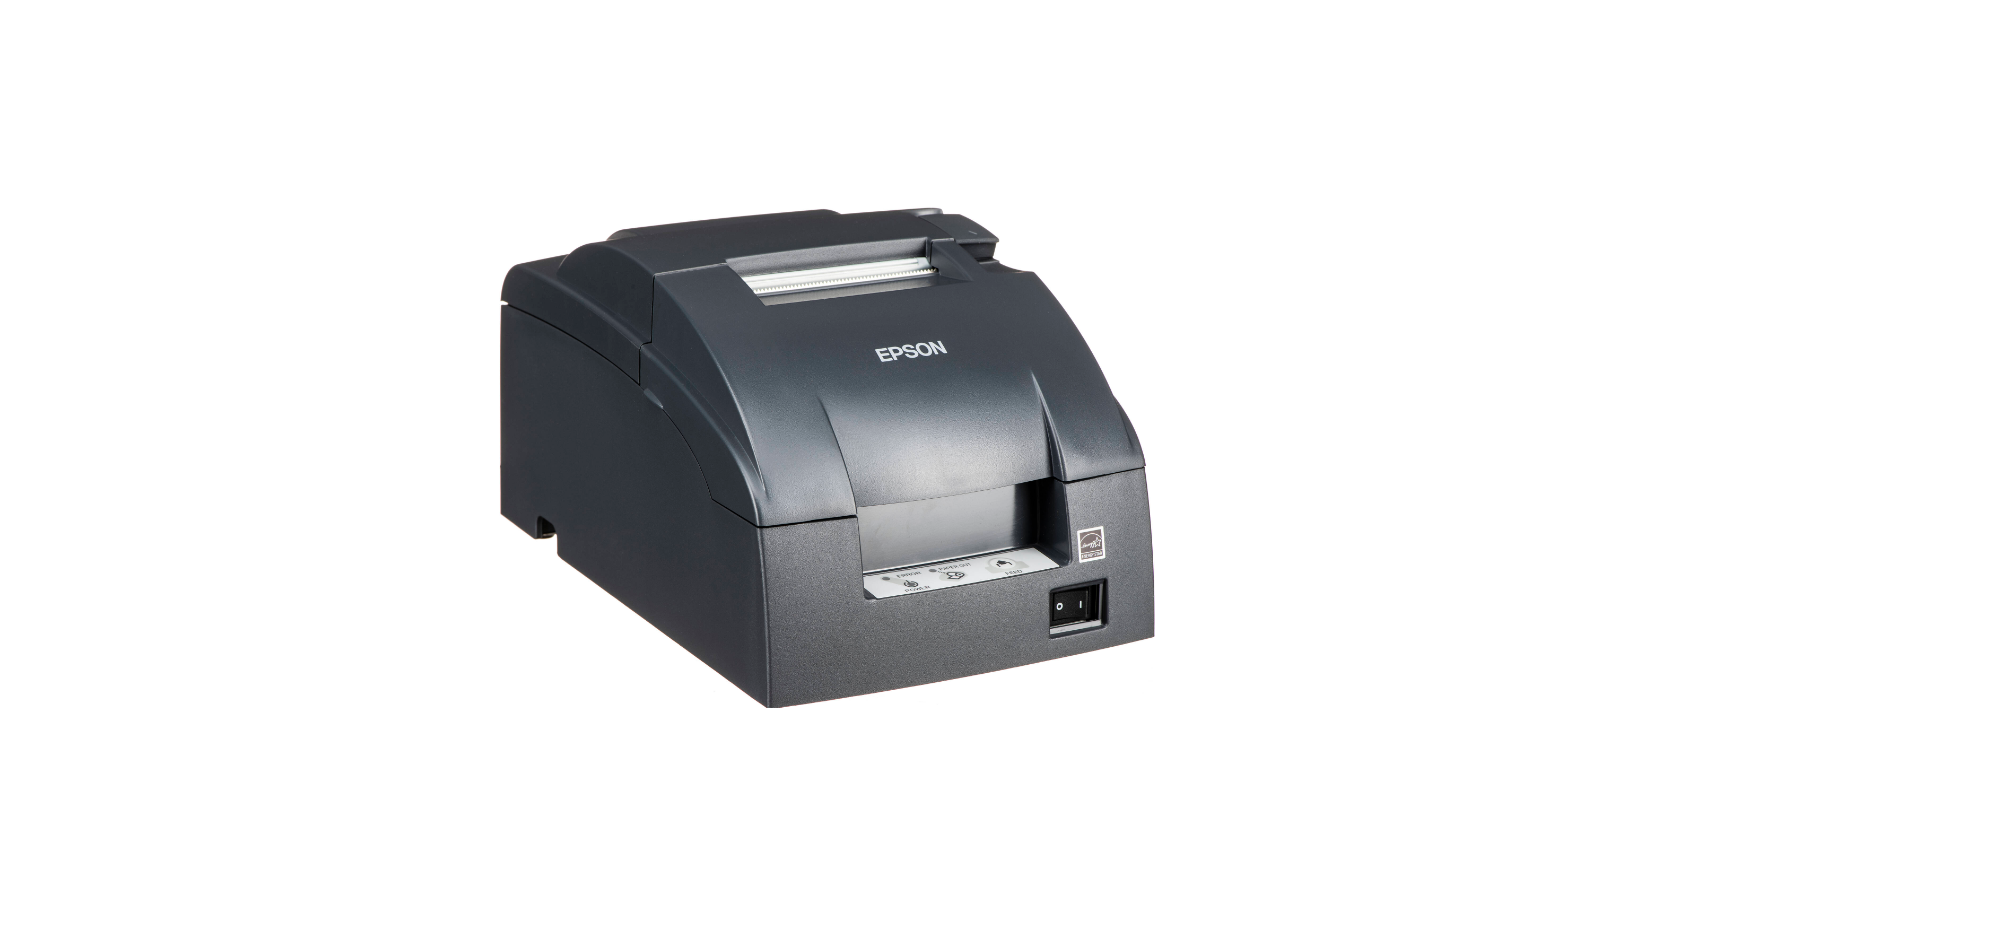
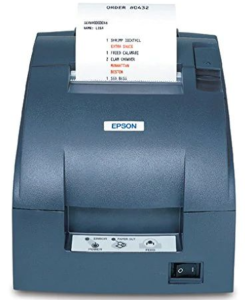
Epson TM-U220 Impact Printers User Manual
Important PICTURES


Standards and Approvals
The following standards are applied only to the printers that are so labeled. (EMC is tested using the Epson power supplies.)
For Users in the Americas
Warning
The connection of a non-shielded interface cable to this device will invalidate the EMC standards of this device. You are cautioned that changes or modifications not expressly approved by Seiko Epson Corporation could void your authority to operate the equipment.
FCC Compliance Statement for
Users in the USA
This equipment has been tested and found to comply with the limits for a Class A digital device, pursuant to Part 15 of the FCC Rules. These limits are designed to provide reasonable protection against harmful interference when the equipment is operated in a commercial environment. This equipment generates, uses, and can radiate radio frequency energy and, if not installed and used in accordance with the instruction manual, may cause harmful interference to radio communications. Operation of this equipment in a residential area is likely to cause harmful interference, in which case the user will be required to correct the interference at his own expense.
For Users in Canada
This Class A digital apparatus complies with Canadian ICES-003.
For Users in Europe
CE Marking
www.epson.eu/conformity
WARNING
This is a Class A product. In a domestic environment, this product may cause radio interference in which case the user may be required to take adequate measures.
AVERTISSEMENT
Cet appareil est un produit de classe A. Dans un environnement résidentiel, il risque de provoquer un brouillage radio, auquel cas l’utilisateur pourra être tenu de prendre des mesures adéquates.
ADVERTENCIA
Este es un producto de Clase A. En un ambiente residencial este producto podría causar radio interferencias, en cuyo caso el usuario podría verse en la necesidad de tomar las medidas apropiadas.
AVISO
Este é um produto de Classe A. Num ambiente doméstico, este produto poderá causar interferência de rádio. Nesse caso, o utilizador poderá ter de tomar medidas adequadas.
Important Safety Information
This section presents important information intended to ensure the safe and effective use of this product. Read this section carefully and store it in an accessible location.
Safety Precautions
WARNING:
Shut down your equipment immediately if it produces smoke, a strange odor, or unusual noise. Continued use may lead to a fire. Immediately unplug the equipment and contact your dealer or a Seiko Epson service center for advice. Never attempt to repair this product yourself. Improper repair work can be dangerous. Never disassemble or modify this product. Tampering with this product may result in injury or fire.
Be sure to use the specified power source. Connection to an improper power source may cause a fire. Do not allow foreign matter to fall into the equipment. Penetration by foreign objects may lead to a fire. If water or other liquid spills into this equipment, unplug the power cord immediately and then contact your dealer or a Seiko Epson service center for advice. Continued usage may lead to a fire.
If you open the DIP switch cover, be sure to close the cover and tighten the screw after adjusting the DIP switch. Using this product with the cover open may cause fire or electric shock.
Do not use aerosol sprayers containing flammable gas inside or around this product. Doing so may cause a fire. Do not connect a telephone line to the drawer kick-out connector; otherwise, the printer and the telephone line may be damaged.
CAUTION:
Do not connect cables in ways other than those mentioned in this manual. Different connections may cause equipment damage and burning. Be sure to set this equipment on a firm, stable, horizontal surface. The product may break or cause injury if it falls. Do not use in locations subject to high humidity or dust levels. Excessive humidity and dust may cause equipment damage or fire.
Restriction of Use
When this product is used for applications requiring high reliability/safety, such as transportation devices related to aviation, rail, marine, automotive, etc.; disaster prevention devices; various safety devices, etc.; or functional/precision devices, etc.; you should use this product only after giving consideration to including fail-safes and redundancies into your design to maintain safety and total system reliability. Because this product was not intended for use in applications requiring extremely high reliability/safety, such as aerospace equipment, main communication equipment, nuclear power control equipment, or medical equipment related to direct medical care, etc., please make your own judgment on this product’s suitability after a full evaluation.
Unpacking
The following items are included for the standard specification printer. If any item is damaged, contact your dealer.
- Printer
- Roll paper
- Exclusive ribbon cassette [ERC-38(B/R)]
- AC adapter (May not be included with the printer.)
Power Supply Switch and Power Supply Switch Cover
The power supply switch is on the front of the printer. Press the power supply switch to turn on the printer.
Power Supply Switch Cover
You can use the enclosed power supply switch cover to make sure that the power supply switch is not accidentally pressed. Just press the cover into place to install it. If you need to turn the power supply switch on or off with the cover attached, you can insert a thin tool into one of the holes in the cover to operate the switch. See illustration C.
WARNING:
If an accident occurs when the power supply switch cover is attached, immediately unplug the power supply cable to avoid fire. If you are going to store the printer or leave it unused for a long time, turn it off using the power supply switch on the printer.
Inserting and Replacing the Ribbon Cassette
CAUTION:
Never turn the ribbon cassette’s feed knob in the opposite direction of the arrow marked on the cassette; otherwise, the ribbon cassette may be damaged.
Note:
Use the EPSON ERC-38 ribbon cassette for your printer.
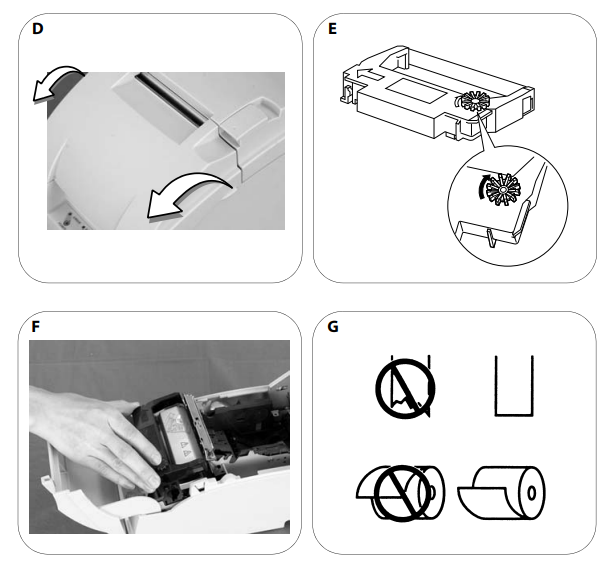
- Open the ribbon cassette cover by using the tabs on the sides of the cover, as shown in illustration D.
- Turn the knob two or three times in the direction of the arrow, as shown in illustration E.
- Insert the ribbon in the position shown in illustration F and push the ribbon cassette down until it clicks.
Note:
Make sure the ribbon is installed between the print head and the platen without wrinkles or creases. - Again turn the ribbon cassette’s knob 2 or 3 times in the direction of the arrow and close the ribbon cassette cover.
Be careful not to touch the print head with your fingers when turning the ribbon cassette knob because the print head is hot and you might be burned. When you replace the ribbon cassette, lift the left side of the ribbon cassette first; then lift the whole ribbon cassette.
Inserting Roll Paper
Be sure to use roll paper that meets the specifications. Be sure not to touch the manual cutter. Otherwise, your fingers might be injured.
- Using scissors, cut the leading edge of the roll paper, as shown in illustration G.
- Turn on the printer and open the roll paper cover by using the tab, as shown in illustration H.
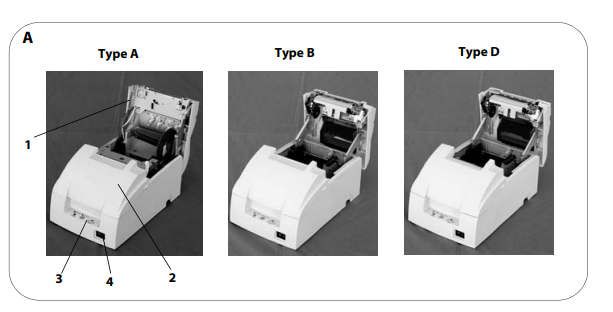
- Type A only: Open the unit by using the unit open lever, as shown in illustration I.
- Insert the roll paper, as shown in illustration J. Note: Note the direction in the paper comes off the roll, as shown in illustration G. When using 2-ply roll paper, be sure that the top and bottom sheets are aligned at the paper exit. See illustration G-a.
- If you are not using a take-up spool, pull out a small amount of roll paper and close the roll paper cover; then tear off the paper with the manual cutter. You can skip steps 6 through 11.
- Type A only: When using 2-ply roll paper, pull out the roll paper to the bottom front of the printer as a guide, as shown in illustration K.
- Close the unit, as shown in illustration L.
- Insert the end of the bottom paper (journal paper) into the paper take-up spool, as shown in illustration M.
- Insert the paper take-up spool in the printer. Be sure that the paper is aligned with the spool’s flange, as shown in illustration N.
- Feed the paper with the FEED button so that the paper is taken up by the spool.
- Close the roll paper cover and tear off the roll paper with the manual cutter, as shown in illustration O.
Replacing Roll Paper
- Open the roll paper cover by using the tab, as shown in illustration H.
- Types B and D: Remove the used roll paper core.
- Type A only: Remove the take-up spool, and open the unit by using the unit open lever, as shown in illustration I; then remove the used roll paper core.
- Insert new roll paper. See the section “Inserting Roll Paper”.
Troubleshooting
Printing stops before all the lines are printed or the printer prints the same line repeatedly If the correct power supply unit is not used, the printer cannot operate correctly. Make sure the correct power supply unit is connected to the printer, referring to the table below:

Multilingual means the printer model that can print any one of the following: Japanese Kanji, Simplified Chinese, Traditional Chinese, Thai characters, or Korean characters.
ERROR LED is flashing or lit
- The print head temperature may be too high or low. Wait until the print head cools or warms and the printer resumes printing automatically.
- Make sure that the roll paper cover is properly closed.
- Types A and B: The auto-cutter blade is not in the normal position and the auto-cutter is locked up. If it is a simple lock-up, the error is corrected automatically. If not, see the instructions below to return the blade to the normal position manually.
- A paper jam has occurred. To remove the jammed paper, see the instructions below.
- Turn off the power, wait several seconds, and then turn it on again. If the
error remains, contact your supervisor or a qualified service person.
Returning the auto cutter blade to the normal position
- Open the roll paper cover by using the tab, as shown in illustration H.
- Use a ballpoint pen or tweezers to turn the knob of the auto cutter in the direction indicated by the arrow until you see a round shaft in the hole, as shown in illustration P.


