Instant Multi-Pod Single Brew Coffee Maker Manual

IMPORTANT SAFEGUARDS
- For countertop use only. Always operate the appliance on a stable, non-combustible, level surface.
- For household use only. Not for commercial use. DO NOT use the appliance for anything other than its intended use.
- Make sure that your outlet voltage corresponds to the voltage stated on the rating label of the coffee maker.
- To protect against fire, electric shock, and injury to persons, DO NOT immerse the power cord, plug, or appliance in water or other liquid.
- Unplug from the outlet when not in use and before cleaning. Allow the appliance to cool before putting on or taking off parts, and before cleaning the appliance.
- Regularly inspect the appliance and power cord. DO NOT operate the appliance if the power cord or plug is damaged, or after the appliance malfunctions or is dropped or damaged in any manner. For assistance, contact Customer Care by email at support@instantappliances.com, by chat at instantappliances.com/#chat, or by phone at 1-800-828-7280.
- DO NOT let the power cord hang over the edge of tables or counters, and DO NOT allow it to touch hot surfaces.
- DO NOT place the appliance on or near a hot gas or electric burner, or in a heated oven.
- Only fill the water tank with clean, cold water. Never fill the water tank with mineral water, milk, or other liquids.
- DO NOT let the coffee maker operate without water.
Product specifications

what’s in the box?
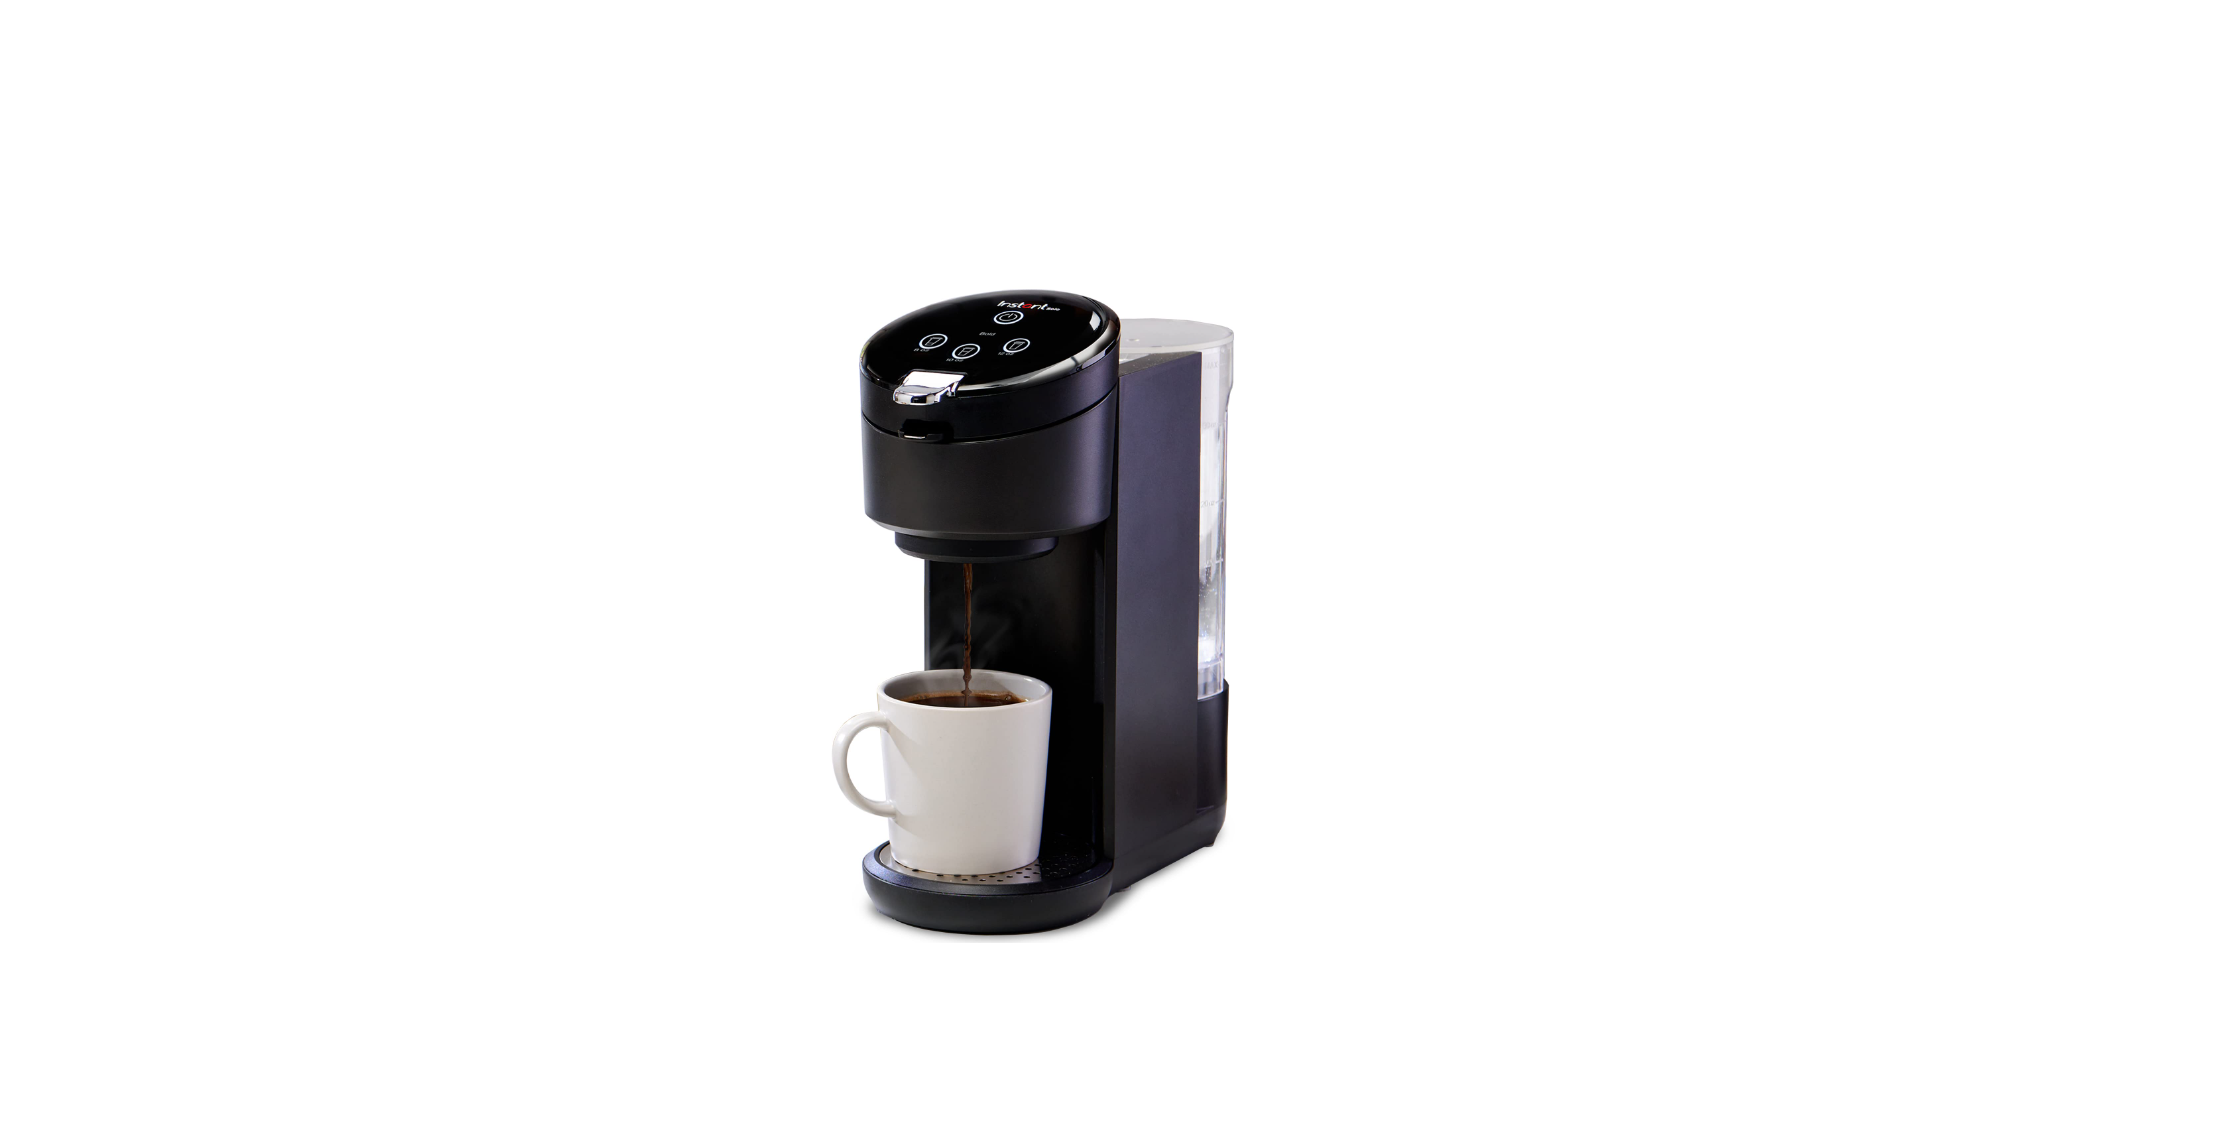
Before using your new coffee maker, make sure everything is present and accounted for. Illustrations in this document are for reference only and may differ from the actual product. Always refer to the actual product.
- Instant Pod Multi-Pod Single Brew Coffee and Espresso Maker
- Drip tray and drip tray plate
- User manual

See Product, parts, and accessories for a full parts breakdown. For more information and how-to videos, visit instantappliances.com/instantpod.
Is something missing or damaged?
Get in touch with a Customer Care Advisor through our chat widget at instantappliances.com/#chat, by email at support@instantappliances.com or by phone at 1-800-828-7280.
Product, parts, and accessories
Instant Pod Multi-pod Single Brew Coffee and Espresso Maker
Make sure everything is installed properly before use.

Illustrations in this document are for reference only and may differ from the actual product. Always refer to the actual product.
Control panel
The control panel of your Instant coffee maker is straightforward and super easy to use. If you haven’t had your coffee yet, fear not! Your brew is seconds away.

- Power on/off
- K-Cup pod options
- 12 oz cup (355 mL)
- 10 oz cup (296 mL)
- 8 oz cup (237 mL
- Espresso pod options
- 6 oz cup (177 mL)
- 4 oz cup (118 mL)
- 2 oz cup (60 mL)
Initial setup
Coffee is always a good idea, so let’s get this little guy going!
- Pull your new coffee maker out of the box.
- Remove all the material, adhesive strips, and loose parts from in and around the appliance.
- Place the coffee maker on a stable, level surface.
- Lift off the water tank, then remove and discard the red plug. Place the water tank back on the base and press down to secure it.

- Slide the drip tray into place beneath the front of the coffee maker
- Follow the instructions in the Initial cleaning before using the coffee maker for the first time.

Initial cleaning
Before making your first piping hot cup, you must clean the coffee maker. To do so, run the following programs without a pod in place. Initial cleaning
- Lift the water tank upwards to remove it from the back of the coffee maker.

- Clean the water tank with warm water and dish soap, then rinse it well with clean water.
- Fill the water tank with cool, clean water to the MAX fill line as indicated on the water tank.

- Align the water tank with the back of the coffee maker, then press down to secure it. Instant
Tip You can leave the water tank on the coffee maker and fill it with a cup or pitcher, or remove it to fill from your faucet or fridge — your choice! - Plug the power cord into a 120 V power source.
- Use the handle to close the top cover.
- Place a mug beneath the brew spout on the drip tray plate — make sure the mug is large enough to hold 8 oz / 237 mL of water.


Brewing K-Cups
Pick your favorite K-Cup, pop it in and in seconds you’ll have a hot, steaming cup of delicious brew.
- Fill the water tank with cool, clean water between the MIN and MAX fill lines as indicated on the water tank.
- Use the handle to open the top cover. It must be fully open to properly receive pods.
- If it is not already installed, insert the K-Cup holder into the K-Cup inlet.

The coffee maker is only compatible with generic, universal reusable K-cups (for use with versions 1.0 AND 2.0) - Insert a K-Cup into the K-Cup holder.
- Press the handle down to close the top cover.
- Place your mug beneath the brew spout on the drip tray plate, or if necessary, the entire drip tray can be removed to accommodate larger cups.
- Touch the power key. All of the keys illuminate.

Brewing espresso pods
Brewing espresso podsThere’s a world of flavor packed into those itty-bitty espresso pods just waiting to be brewed out. The coffee maker is compatible with the original Nespresso-style capsules.
NOTICE
Before brewing your first cup from an espresso pod, follow the steps in the Initial cleaning to heat a cup of water without a pod in place. Insert the espresso pod on its side into the Espresso inlet. Do not push down hard on the pod as it will go through to the used pod container.
- Fill the water tank with cool, clean water between the MIN and MAX fill lines as indicated on the water tank.
- Use the handle to open the top cover. It must be fully open to properly receive pods.
- Insert the espresso pod on its side into the Espresso inlet. Do not push down hard on the pod as it will go through to the used pod container.

- Press the handle down to close the top cover.
- To brew 2 oz or 4 oz, fold down the cup support and place your mug on it. To make 6 oz, place your cup onto the drip tray plate.

- Touch the power key. All of the keys illuminate.


Brewing tips
Follow these tips and tricks to make sure you’re treating yourself to the best cup possible. For how-to videos and other tips, visit instantappliances.com/instantpod.

Care, cleaning, and storage
Clean your Instant Pod regularly to ensure the best possible flavor, and to prevent scale build-up. Always unplug the coffee maker and let it cool to room temperature before cleaning. Clean with a damp cloth and wipe dry — never use metal scouring pads, abrasive powders, or harsh chemical detergents on any of the coffee maker’s parts. Let all parts dry thoroughly before use and before storage.

Removing mineral deposits
With regular use, minerals may accumulate in the coffee maker, which can affect the temperature and strength of your brew. To make sure your coffee maker stays in tip-top shape, descale it regularly to keep mineral deposits from building up. If you forget, don’t worry! After 300 cycles, the 10 oz and 12 oz keys flash to remind you to descale your coffee maker.
- Combine cleaner and water as directed above.
- Make sure the K-Cup holder is in place in the K-Cup inlet.
- Fill the water tank to the MAX line with the cleaning mixture.
- Place a large container beneath the drip nozzle. If necessary, remove the entire drip tray from the coffee maker.
- Touch and hold the 10 oz and 12 oz keys for 3 seconds. The cleaning mixture runs through the appliance until the water tank is empty.
- Discard the cleaning mixture and replace the container beneath the drip nozzle.
- Fill the water tank to the MAX line with cool, clean water.
- Touch and hold the 10 oz and 12 oz keys for 3 seconds. The water runs through the appliance until the water tank is empty.
- Discard the water
Troubleshooting
Register your Instant Pod today at instantappliances.com/support/register. Get in touch with a Customer Care Advisor through our chat widget at instantappliances.com/#chat, by email at support@instantappliances.com, or by phone at 1-800-828-7280. For more troubleshooting tips go to instantappliances.com/instantpod.
Resolution table

Warranty
Limited Warranty
This Limited Warranty is issued by Corelle Brands (Australia) Pty Ltd (Corelle Brands Australia) and is effective for one year from the date of the original consumer purchase. Proof of the original purchase date and return of your appliance is required to obtain service under this Limited. Return of your appliance to us will be done in accordance with our instructions only.
Provided that this appliance is operated and maintained in accordance with written operating instructions attached to or furnished with the appliance or published operating instructions on www.instantpot.com.au, Corelle Brands Australia will, in its sole and exclusive discretion, either: (i) repair defects in materials or workmanship; or (ii) replace the appliance. In the event that your appliance is replaced, the Limited Warranty on the replacement appliance will expire 12 months from the date of the original consumer purchase. We remind you the appliance you purchased is for personal use only (not commercial use).
Any modification/alteration or attempted modification/alteration to your appliance will void this Limited Warranty unless such modification/alteration or attempted modification/alteration was expressly authorized by a Corelle Brands Australia Representative in writing. This Limited Warranty only covers Corelle Brands Australia’s appliances/products and is not extended to any other appliances, products, equipment, components, or devices that you use or may use in conjunction with Corelle Brands Australia’s appliances. To claim under this Limited Warranty:
- Contact Corelle Brands Australia at: 9C Commercial Road, Kingsgrove, NSW, 2208 Email: sales.australia@corellebrands.com
- Provide a description of the appliance you believe has malfunctioned due to defective parts or workmanship.
Limitation and Exclusions
To the maximum extent permitted by law, the maximum liability of Corelle Brands Australia, if any, for any allegedly defective appliance or part shall in no circumstances exceed the purchase price of a comparable replacement appliance or part of the same age.
This Limited Warranty does not cover
- Damage resulting from accident, modification/alteration (unless expressly authorized by a Corelle Brands Australia Representative in writing), misuse, abuse, neglect, unreasonable use, use contrary to the written operating instructions attached to or furnished with the appliance or published operating instructions on www.instantpot.com.au, normal wear, and tear, commercial use, improper assembly by you or anyone, disassembly by you or anyone, repair by you or anyone, failure to provide reasonable and necessary maintenance, force majeure event including but not limited to fire, flood, acts of God;
- Repairs where your appliance is used for other than normal, personal use or when it is used in a manner that is contrary to the written operating instructions attached to or furnished with the appliance or published operating instructions on www.instantpot.com.au; or
- Use of unauthorized parts and accessories, or repairs to parts and systems resulting from unauthorized repairs or modifications/alterations made to your appliance.
REFERENCE LINK
https://www.instanthome.com/product/instant-appliances/2-in-1-Duo-Pod-Plus-Coffee-Maker


Excellent post. Thanks for sharing this informative post. Crux coffee makers are known for their sleek design, ease of use, and great-tasting coffee. This article shares our top picks for the best Crux coffee maker reviews.