Instant Omni Plus Toaster Oven User Manual

Welcome to the world of Instant cooking
Thank you for welcoming us into your kitchen. Having families ourselves, we developed the Instant Pot® Duo Crisp™ + Air Fryer to allow busy families and professionals alike to cook healthy, delicious meals more easily and in less time. We have partnered with chefs, authors, and bloggers to compile a collection of recipes that we hope you enjoy! Happy cooking,
IMPORTANT SAFEGUARDS
- Always operate the appliance on a stable, non-combustible, heat-resistant, level surface.
- The appliance’s outer surfaces may become hot during use. Do not touch hot surfaces. Wear hand protection when opening the Air Fryer and handling hot components. Extreme caution must be used when moving the appliance. Allow the appliance to cool to room temperature before handling or moving.
- Do not rinse the appliance under the tap.
- The cooking chamber contains electrical components. To avoid electrical shock, do not put liquid of any kind into the cooking chamber
- This appliance is NOT to be used by children or by persons with reduced physical, sensory, or mental capabilities, or lack of experience and knowledge. Close supervision is necessary when any appliance is used near children and these individuals. Children should not play with, clean, or perform maintenance on this appliance. 8. Unplug from the socket when not in use, as well as before adding or removing parts or accessories, and before cleaning. To unplug, grasp the plug and pull from the socket. Never pull from the power lead. 9. Avoid contact with moving parts.
Product Specifications

Special Cord Set Instructions
As per CE safety requirements, a short power supply cord is provided to reduce the hazards resulting from grabbing, entanglement, and tripping. This appliance has a 3-prong grounding plug. To reduce the risk of electric shock, plug the power cord into a grounded (earthed) electrical outlet that is easily accessible.
Initial Setup
- Remove all packaging material from, in, and around the oven, as well as all accessories from inside the oven chamber.
- Follow Care & Cleaning instructions in this manual to clean the oven before first use.
- Place the oven on a stable, level surface, away from combustible material and external heat sources. Leave at least 5” of space around the oven.
- Do not place the oven on a stovetop.
- Do not place anything on top of the oven.
- Do not block the air vents.
- Read the Important Safeguards in this User Manual before using the oven. Failure to read and follow Important Safeguards may result in damage to the oven, damage to property, or personal injury.
Power Cord and Plug
As per UL safety requirements, a short power supply cord (0.6 m to 0.9 m / 24” to 35”) is provided to reduce the hazards resulting from entanglement and tripping. This appliance has a 3-prong grounding plug. To reduce the risk of electric shock, plug the power cord into a grounded (earthed) electrical outlet that is easily accessible.
Product and Parts
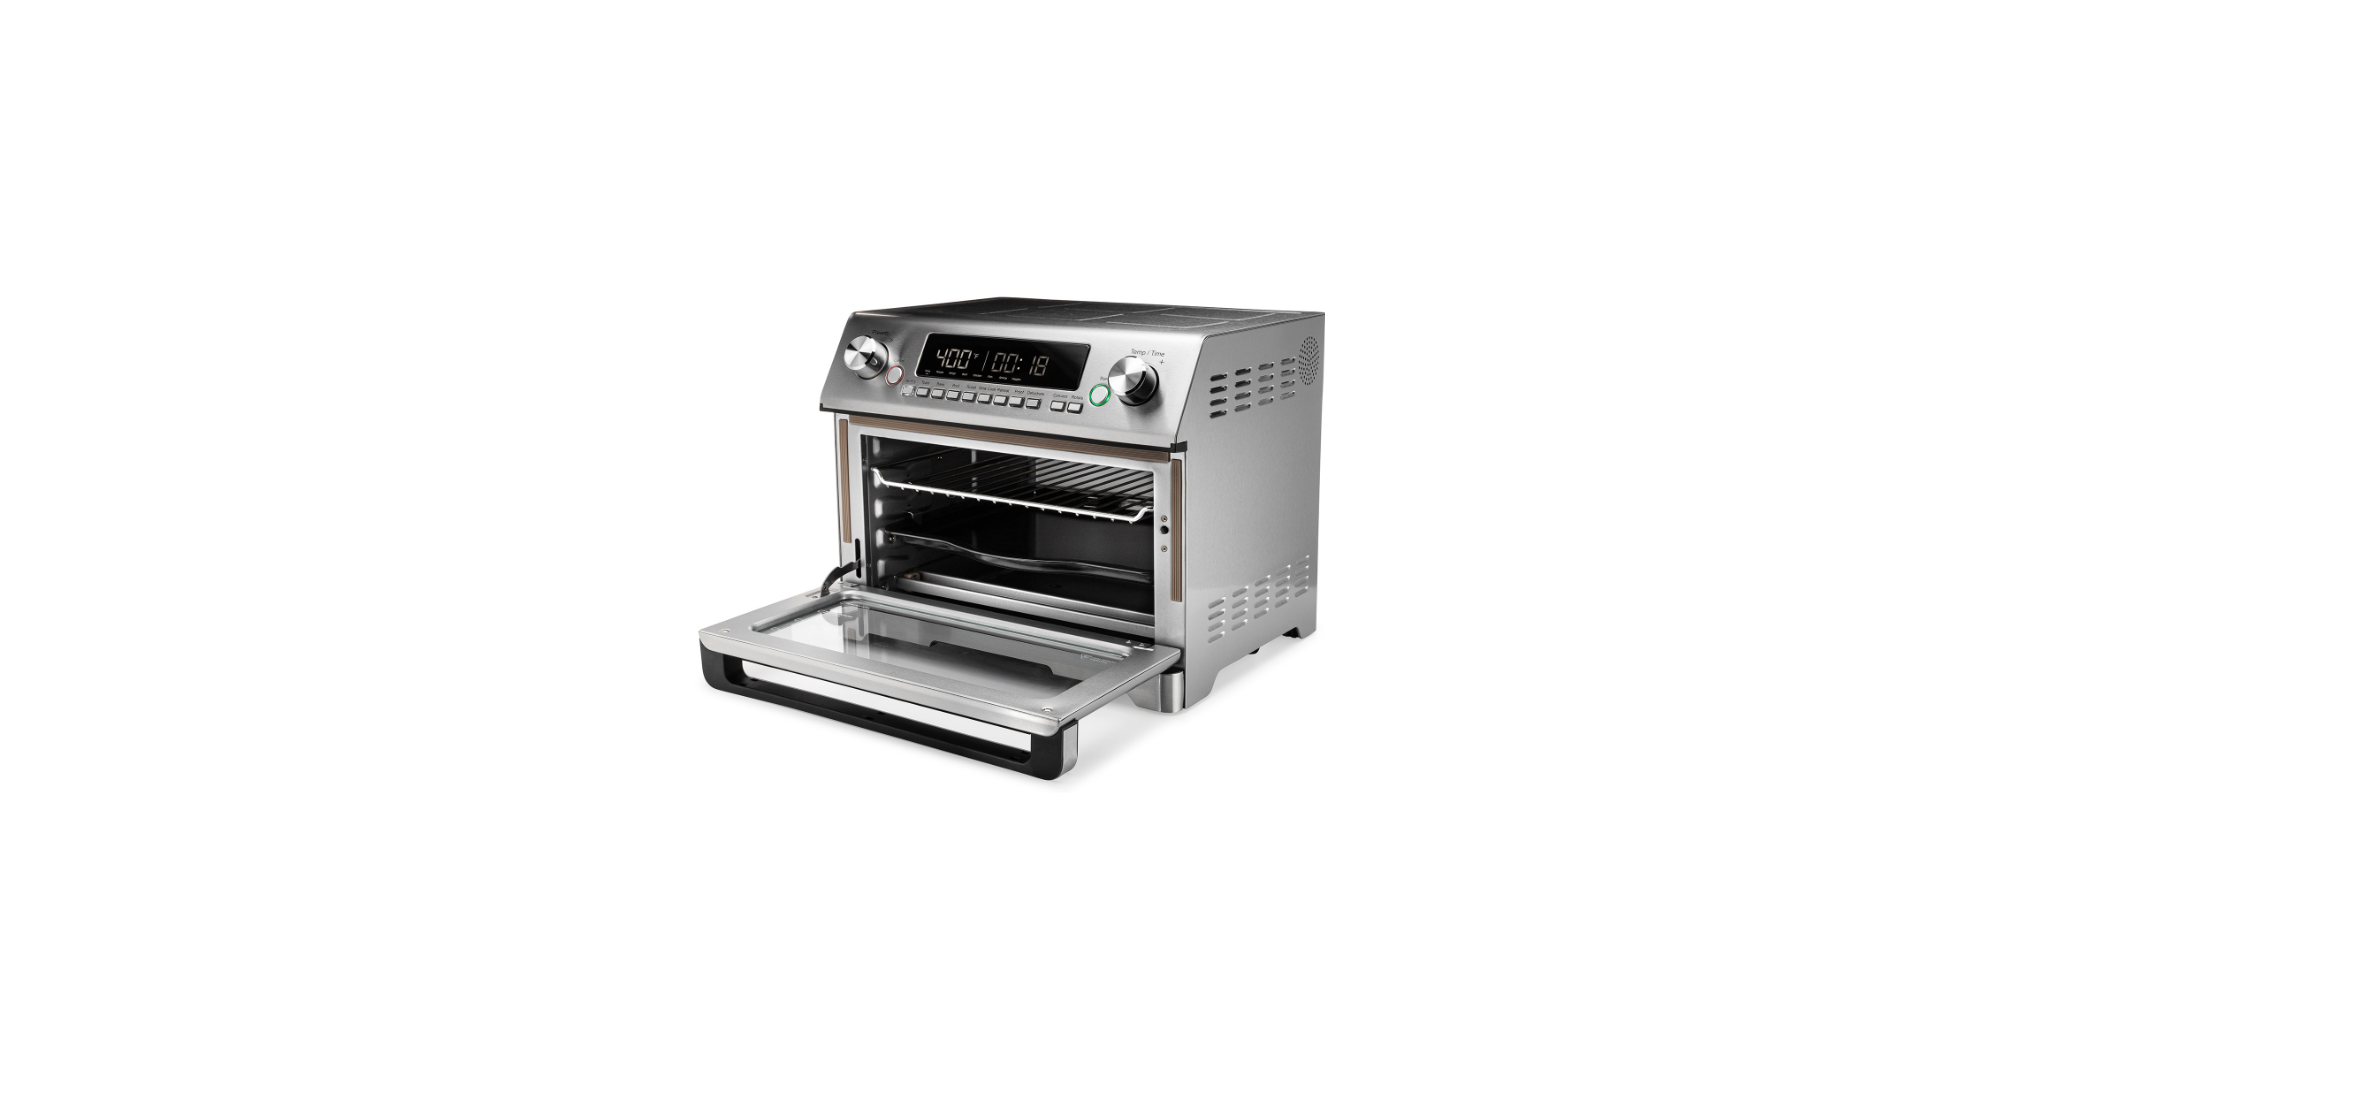
The Instant™ Omni™ Plus Toaster Oven combines the delicious results of air fryers, toasters, and convection ovens into one easy-to-use appliance. The Instant Omni Plus Toaster Oven is a multi-function countertop oven that provides 9 Smart Programs and 2 cooking methods in one small appliance.


Accessories

CAUTION
The external metal surfaces will get hot during the cooking process. The oven is equipped with a side fan to cool the appliance. The fan will remain on until the unit is sufficiently cooled. As well, an internal fan is included in the cooking chamber. The internal fan will remain on for 10 seconds after cooking has been completed.
Control Panel
The Omni Plus Toaster Oven control panel features an LED display, 9 Smart Program buttons, and 2 cooking method buttons. The left dial lets you select Preset options associated with the various Smart Programs, while the right dial controls the Temperature and Time as well as the cooking chamber light.

- Display The LED display includes the following elements:
- Cooking status indicators – Preheating/Cooking/Keep Warm
- Temperature • # of toast/bagel slices
- Cooking time
- Toasting level
- Preset programs
- Presets dial
- Temp/Time dial
- Cancel
- Start
Status Messages

OFF indicates that the Omni Plus Toaster Oven is plugged in and is in “Standby” mode.

On indicates that the Omni Plus Toaster Oven is in Preheat mode.

Use the Presets dial to select a preset program; Press Temp/Time dial to toggle between cook time and temperature, then turn the dial to make adjustments manually.

Select a Smart Program: Air Fry, Toast, Bake, Broil, Roast, Slow Cook, Reheat, Proof, or Dehydrate. The cooking time counts down in hours and minutes until 1-minute remains, then counts down in seconds until the Smart Program is complete

turn Food indicates that the food in the cooking chamber should be turned for even cooking.

End When 1 minute remains the cook time counts down in seconds. When the program has completed the display indicates End.
Settings
Adjust and Save Smart Program Time and/or Temperature
Smart Programs are programmed with optimal time and temperature settings. Once a Smart Program/Preset has been selected the time and temperature can be adjusted using the dial on the right of the control panel to customize the cooking to suit individual preferences. The new adjusted time and/or temperature will be saved in memory once the Start button is pressed.
Reset Individual Smart Programs
When the oven is in Standby mode the display indicates OFF. Press and hold the desired Smart Program button for 3 seconds. The appliance will beep when the Smart Program has been restored to the factory default setting.
Reset All Smart Programs
When the oven is in Standby mode the display indicates OFF. Press and hold Cancel for 3 seconds. The appliance will beep when all Smart Programs have been restored to the factory default settings.
Sound Settings

Initial Test Run
Follow these steps to ensure your oven is operating properly.
- Open the oven door. Place the cooking pan on the bottom of the cooking chamber. Close door.
- Plug the power cord into a 120V power source. The display indicates OFF signifying that the oven is in Standby mode.
- Press the Air Fry Smart Program button. Turn the Presets dial to select the Wings preset. Note: The default Air Fry/Wings Smart Program cooking temperature is 400ºF. The default time is 20 minutes.
- Turn the Temp/Time dial to adjust the cooking time. Press and turn the Temp/Time dial to adjust the temperature.
- Press the Start button on the right side of the control panel to begin cooking. The display indicates On when the oven is in Preheat mode. Note: The Temp and Time are preset by the Air Fry Smart Program, however, you can turn the Temp/Time dial to adjust the cooking temperature or time.
- When the oven reaches the Smart Program cooking temperature, the cooking time will start to count down on the display. Note: For the test run, do not add food to the cooking chamber.
- Partway through the Air Fry Smart Program cooking time, the oven will beep and indicate turn Food to remind you to turn your food. Open the door to automatically pause the Smart Program then close the door to resume. Note: The turn Food reminder only appears when using Air Fry, Bake, and Roast Smart Programs and only if Rotate is not turned on. Note: Cooking will recommence after 10 seconds whether food has been turned or not.
Rotisserie Cooking
Always insert rotisserie accessories and food before preheating the oven.
To use the Rotisserie Spit and Forks
- Remove the forks and screws from the package.

- Push the food item onto the spit.

- Slide the forks onto both ends of the spit, ensuring the prongs are inserted into the food item.


CAUTION
Ensure the food item is able to rotate freely. Do not allow food items to make contact.
Rotisserie Cooking
Rotisserie Cooking
- With the oven door open, slide the rotisserie spit into the guides in the cooking chamber.

- Insert the rotisserie arm with the pointed end in the rotisserie catch on the right, then place the square end in the rotisserie catch on the left side. Ensure the rotisserie spit is securely in place.

- Close the oven door.


Warranty
Limited Warranty
This Limited Warranty is issued by Corelle Brands (Australia) Pty Ltd (Corelle Brands Australia) and is effective for one year from the date of the original consumer purchase. Proof of the original purchase date and return of your appliance is required to obtain service under this Limited. Return of your appliance to us will be done in accordance with our instructions only.
Provided that this appliance is operated and maintained in accordance with written operating instructions attached to or furnished with the appliance or published operating instructions on www.instantpot.com.au, Corelle Brands Australia will, in its sole and exclusive discretion, either: (i) repair defects in materials or workmanship; or (ii) replace the appliance. In the event that your appliance is replaced, the Limited Warranty on the replacement appliance will expire 12 months from the date of the original consumer purchase. We remind you the appliance you purchased is for personal use only (not commercial use).
Any modification/alteration or attempted modification/alteration to your appliance will void this Limited Warranty unless such modification/alteration or attempted modification/alteration was expressly authorized by a Corelle Brands Australia Representative in writing. This Limited Warranty only covers Corelle Brands Australia’s appliances/products and is not extended to any other appliances, products, equipment, components, or devices that you use or may use in conjunction with Corelle Brands Australia’s appliances. To claim under this Limited Warranty:
- Contact Corelle Brands Australia at: 9C Commercial Road, Kingsgrove, NSW, 2208 Email: sales.australia@corellebrands.com
- Provide a description of the appliance you believe has malfunctioned due to defective parts or workmanship.
Limitation and Exclusions
To the maximum extent permitted by law, the maximum liability of Corelle Brands Australia, if any, for any allegedly defective appliance or part shall in no circumstances exceed the purchase price of a comparable replacement appliance or part of the same age.
This Limited Warranty does not cover
- Damage resulting from accident, modification/alteration (unless expressly authorized by a Corelle Brands Australia Representative in writing), misuse, abuse, neglect, unreasonable use, use contrary to the written operating instructions attached to or furnished with the appliance or published operating instructions on www.instantpot.com.au, normal wear and tear, commercial use, improper assembly by you or anyone, disassembly by you or anyone, repair by you or anyone, failure to provide reasonable and necessary maintenance, force majeure event including but not limited to fire, flood, acts of God;
- Repairs where your appliance is used for other than normal, personal use or when it is used in a manner that is contrary to the written operating instructions attached to or furnished with the appliance or published operating instructions on www.instantpot.com.au; or
- Use of unauthorized parts and accessories, or repairs to parts and systems resulting from unauthorized repairs or modifications/alterations made to your appliance.
REFERENCE LINK
https://www.instanthome.com/product/instant-appliances/omni-plus/18-litre-toaster-oven


