Smonet Wireless Network Video Recorder System Guide

Package Contents
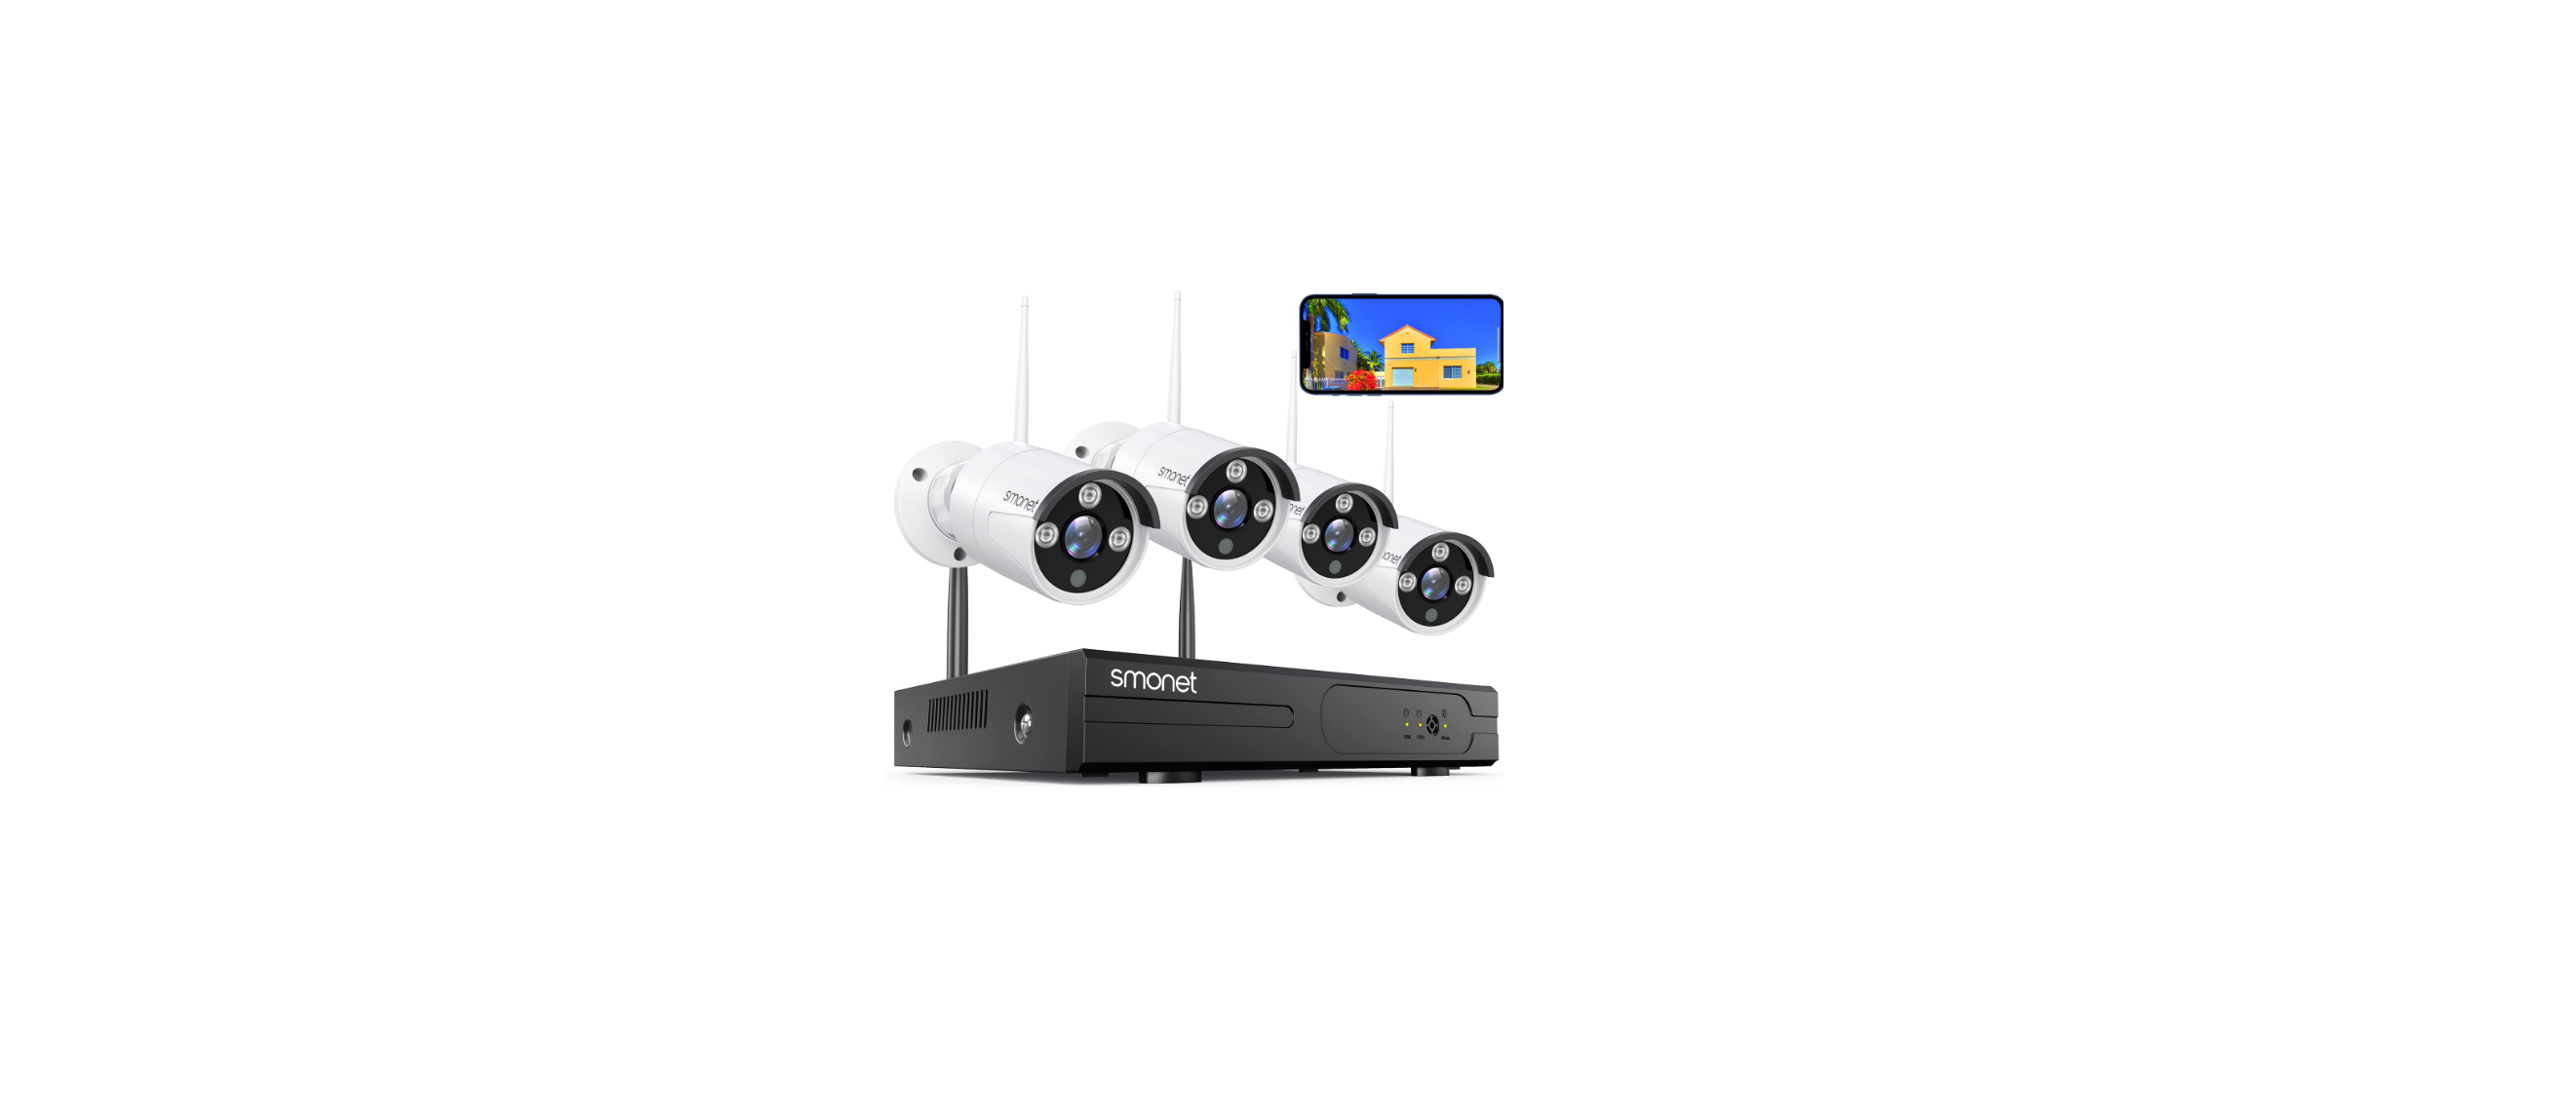
Thank you for choosing Smonet products. Here is the list of products and relevant accessories.
| S/N | Item | Quantity |
| 1 | NVR | 1pc |
| 2 | IP Camera(2CH/4CH/6CH/8CH) | 2/4/6/8 pcs |
| 3 | DC 12V/2A power supply(for NVR)-3.3 feet | 1pc |
| 4 | DC 12V/1A power supply(for IPC2CH/4CH/6CH/8CH)-10 feet | 2/4/6/8 pcs |
| 5 | 3.3 Ft network cable | 1pc |
| 6 | USB mouse | 1pc |
| 7 | 4 Screws for HDD (only for systems without HDD) | 1bag |
| 8 | User manual | 1pc |
How can I get product and technical support?
- US Toll Free:1-866-678-0666 (Available after 5:00 PM at Pacific Time)
- CA Toll Free:1-888-792-5254 (Available after 5:00 PM at Pacific Time)
- Email:smonet@hotmail.com
- Skype ID: safeskysales003
- FaceTime/What’s App/Viber/Tango: +86-158-1749-7067
- Wechat ID: B997520270
- Website: WWW.SMONETCCTV.COM
Installing your Network Video Recorder System
Getting Started
Before you begin installation, be sure to have the following:
- PC or TV monitor
- VGA or HDMI cable
- Router (WAN)
- Hard drive. If you purchased the system without a hard drive, you must first install it.
If you do not have a hard drive, you will not be able to record and playback video. Please see below for hard drive installation instructions.
Do not attempt to install your cameras until you can view images on your TV or PC monitor first.
Installing the hard drive – if your system has a pre-installed hard drive, please skip this step and go directly to the section below, Installing the NVR. If you purchased a hard drive separately, it must be formatted after installing it. See the Frequently Asked Questions section of this manual for instructions about how to format a hard drive, refer to the question, How do I format my new hard drive and check my hard drive information?

Installing the System
- Connect the NVR and cameras with the power adapters provided. Attach the antennas to the cameras, and connect the mouse to the NVR. (Please note, the power supply for the NVR box is 12V-2000mA)
- Connect the PC or TV monitor to the NVR with a VGA or HDMI cable. You must use a PC or TV monitor, you cannot connect to a laptop.
- Connect the Router LAN Port to the NVR WAN Port with the Network Cable Provided.
- The router must be WAN(Wide Area Network).

For step-by-step installation instructions, you can also watch our video: https://youtu.be/NaVM6BK-dZY
Check NVR Network, Change the NVR system login password
Once you have completed connecting the NVR, wait approximately 2-3 minutes. Next, you will see the window below on your monitor screen. No password is necessary, click ok to continue.

Right-click on the home screen of your monitor, and navigate to System setup > Network setup. In the middle of the window, you should see Cloud status as ONLINE and Network Status as Healthy Network. If this does not appear, select DHCP and click Enable as shown in the figure below. Click ok, then power off the NVR box, wait a few seconds, and power up.

Once you power up, repeat the steps outlined above. Cloud status must be ONLINE and Network Status must be Healthy Network. If this does not happen, you will not be able to view it remotely.

Right-click on the home screen of your monitor, navigate to System setup > System admin, and click User on the left menu bar > Set password(Request: 8 Characters Max.. Keep it short.). Create a password and type it in the field, repeat the new password, and click ok. Be sure to remember your password.

Viewing on your SmartPhone
- From your Smartphone, go to the App Store. Download “IP PRO” or “Eseecloud”.
- Create an account and password. Be sure to remember your account login info.#Pic 1
- Click “+”, then click Add device by ID.#Pic2
- On your device, either scan the QR code or manually enter your Cloud ID. You can locate your Cloud ID on your monitor screen as seen earlier in section 2 of this manual. (Use NVR login Username/password on your monitor screen here).#Pic3
- If you have multiple Smartphones, you must register multiple accounts. You cannot have one account across multiple devices.

Viewing your system on your computer or laptop by CMS software
- For the Windows system, please download CMS software from WWW.SMON ETCCTV.COM
- Click Settings > Device Manage & Add device

- Select “By ESee ID”.
- In the “ESee ID” box, enter the cloud ID(9 or 10 numbers). You can find it on your home monitor screen. Look at your home monitor screen, right-click the mouse,
- Navigate to System setup> Network setup>find the Cloud ID.
- The username is the NVR system user name on your home monitor screen. (If you don’t change it in your setup, it should be admin)
- Password is your NVR system password on your home monitor screen.(If you don’t change it in your setup, it should be blank, no password)
- Channels: Input 4 6 or 8. If you have 4 cameras, enter 4, etc.
- Click Confirm and you will see the video.


If that does not work, you may select “By IP address” and go to your System Setup, and then go to the Network setup tab and get your IP address, Gateway, etc. Please note, if you use MAC OS system, please send an e-mail to smonet@hotmail.com. E-mail Subject: Request CMS software for MAC OS system
Record Video
- Here is an easy way to set the recording function if you need to record 24 hours every day: Right-click on the home screen of your monitor, navigate to Manual record > select all > click All on > click ok. Once you have completed setting up the recording function, you will see a red dot in the upper right corner of each video. This indicates the system is recording.

- Here is another alternative way to set the recording. From the home screen of your monitor, right-click the mouse, navigate to System setup >Record setup>Record Plan, pls select Everyday for Weekday, please select a time and click ok(If no hard drive or hard drive is not formatted, you can’t record and playback)

- Right-click on the home screen of your monitor and navigate to System Setup> Record Setup again, click Copy to, check All, and Click OK. Copy the same setting for Channel 1 for the remaining channels.


Playback Video.
- Right-click on the home screen of your monitor and navigate to System Setup> Record Setup again, click Copy to, check All, and Click OK. Copy the same setting for Channel 1 for the remaining channels. To use the playback feature, you must first set up the recording function as described in the section above. To playback, from the home screen of your monitor, right-click and navigate to Video playback > Manual Search. Please note that when the hard drive is full, the new recording will automatically overwrite the prior recording.

- Search the time at which you want to playback, click search, and click Playback.

Frequently Asked Questions
Q: How do I format my new hard drive and check my hard drive information?
A: From the home screen of your monitor, right-click the mouse, navigate to System setup > General setup > HDD Setup, select Format, and click Format > click Ok. From this screen, you can also check to see if your system has a pre-installed hard drive.

Q: Do I need to connect the camera with a network cable?
A:No, the cameras are wireless. You do, however, need to connect the camera to a power supply. The cameras and NVR are already paired. The camera will connect with the NVR automatically once attached to a power supply. Do not attempt to install your cameras until you can view images on your TV or PC monitor first.
Q: How can I troubleshoot camera issues?
A: First check to see if the power adapter is working by testing with another power adapter. If the power adapter is functioning, move the camera close to the NVR box to check whether you have video or not. If there is no video, cover the photocell with your finger as shown in the figure below. If the IR-CUT light turns red, the camera is working. If it does not turn red, this indicates that the camera has experienced a malfunction. In this case, please contact us for after-sale service.

Q: How can I get motion notifications on my Smartphone?
A: First verify that the status of your Cloud ID is ONLINE and the Network Status indicates Healthy Network (refer to section 2). Next, from the home screen of your monitor, right-click the mouse, and navigate to System Setup> Channel Setup > Video Detection. Next, select the following: Enable for Motion Detection, Alarm, E-mail Notice, and APP Alarm. Click Ok.

After you have finished setting your preferred channel as outlined above, repeat the process for your remaining preferred channels. Starting from the home screen of your monitor, right-click the mouse, and navigate to System Setup> Channel Setup > Video detection. Next, select Copy to and either select the All option for all cameras, or you can select the specific channel(s) you prefer. Click ok. You can adjust the sensitivity at any time by returning to this screen. When people pass by, you will get a motion detection signal and notification as shown

Q: How can I receive e-mail notifications for motion detection?
A:
- First, ensure you follow the steps outlined in the previous question How can I get motion notifications on my Smartphone?
- To receive notifications, you need an Email account (Such as Hotmail, Gmail, Yahoo, etc.)
- Next, log into the web version of your email account. In the upper right-hand corner, click on the Settings button, then select Connected accounts > POP and
- IMAP Select Yes and Don’t as shown in the figure and Save.

From the home screen of your monitor, right click your mouse and navigate to System Setup, select Network setup, select Email from the left menu bar. From there, click Enable, enter the information in the fields as shown in the figure below. For the dot, please be sure to use the correct key on the keyboard next to the forward slash as shown in this figure:

- Complete the fields on the screen as follows(take hotmail account as an example):
- SMTP Server: smtp-mail.outlook.com Port: 587
- Username: Sender e-mail address (click shift on the virtual keyboard for “@” symbol Hotmail e-mail address) to send alarm
- Password: Sender E-mail login password
- Encryption Type: SSL
- Sender: Sender e-mail address to send alarm
- Sendee: Receiver e-mail address to receive alarm (it must be different with sender, you can use another Hotmail/Gmail/Yahoo Email address)
- If you use other email account as sender,such as gmail,yahoo,etc,you need find out their own SMTP server and port,or you can contact our service person.

- After you have entered all of your information, click Test until the Test success message appears on the screen. Please allow a few minutes for the testing cycle to complete. If the test failed, try another Email account.Click Ok. Whether or not your test was successful, be sure to click Ok to save your settings.
- To test your alarm, walk past your camera. You will receive an Email notification within 2 to 3 minutes as shown in the sample figure below.

Q: How can I strengthen the wireless signal?
A: Adjust the direction of the antennas as shown in the figure below

Q:How do I reset the NVR login password?
A: To protect your privacy, please send an Email to smonet@hotmail.com, Email subject: Request Password Reset.
Q: What’s the meaning of IRON on the TV/PC monitor?
A:
| Picture | IRON | Location | Meaning |
| | Green bar | Top Right Corner | Wireless Signal |
| | Red dot | Top Right Corner | Recording |
| Red Triangle | Bottom Left Screen | Alarm | |
| | Little Yellow man | Top Right Corner | Motion Detection |
Q:I connected the system, why nothing is showing on my monitor?
A: The default output resolution of the NVR is 1280*1024, which may not be compatible with some monitor screens. There are a few options you can try to fix it: Connect PC/TV monitor with NVR box by VGA cable first. On the monitor, make sure the “input” is set to VGA.
If no VGA cable, try another monitor with HDMI cable until getting video on the monitor screen. Don’t forget to change the input to HDMI on a TV. When you see the video on another monitor, right click the mouse>System setup>- General setup&Screen setup, adjust the VGA resolution to 1024×768, click OK finally. Change to connect system with the first TV monitor, check if you can see the video once connected.
How can I get product and technical support?
- US Toll Free:1-866-678-0666 (Available after 5:00 PM at Pacific Time)
- CA Toll Free:1-888-792-5254 (Available after 5:00 PM at Pacific Time)
- Email:smonet@hotmail.com
- Skype ID: safeskysales003
- FaceTime/What’s App/Viber/Tango: +86-158-1749-7067
- Wechat ID: B997520270
- Website: WWW.SMONETCCTV.COM
