Vaddio In-Wall Recessed Camera Mounting Systems User Guide

OVERVIEW
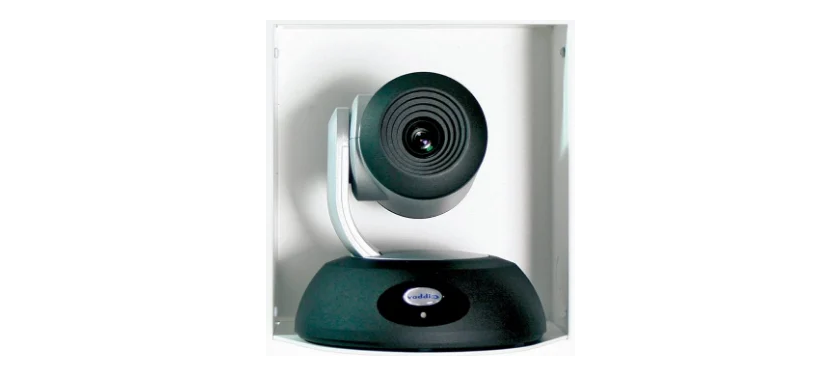
The Vaddio IN-Wall camera mounting systems are an attractive way to mount PTZ camera s on a wall where room aesthetics are critical. These mounting systems use the depth of the wall cavity to minimize the camera’s extension into the room while providing a finished look to the installation. Each system consists of an in- wall mounting box, camera platform and face frame, which are powder coated white, but can be painted to match any décor.
IN-Wall Enclosure Supported Cameras and Part Numbers

Intended Use:
Please read the entire manual thoroughly. The IN-Wall Enclosure was designed, built and tested for use indoors
and for a particular camera listed above. Mounting the wrong camera in t he IN-Wall may create a potentially unsafe operating condition.
UNPACKING
Carefully remove the product and all of the p arts from the packaging and identify the following parts:
- One (1) Back Box Enclosure
- One (1) Camera Platform
- One (1) Face Frame
- One (1) Set Mounting Hardware and Screws
- Four (4) 8-32 X ¼” White Pan Head Screws (for Face Frame attachment)
- Four (4) 10-32 x ¼” Flat Head Screws (for Camera Platform attachment)
- Four (4) Self-Drilling Drywall Anchors
- Four #8 x 1.25” Screws for Wall Anchors
- One (1) ¼” x 20 Camera Mounting Screw (for those cameras that use ¼” x 20 screws)
Before Installing
When locating the IN-Wall en closure, consider viewing angles, lighting conditions, possible line of site obstructions and check for in-wall obstructions where the camera is to be mounted (like studs). Pick a mounting location to optimize the performance of the camera. Please read the step-by-step instructions fully before starting the installation.
INSTALLATION INSTRUCTIONS:
- Position the back box enclosure against the wall, level the box and trace the outline of the box on the wall with a pencil.
- After checking for in-wall obstructions, cut out the area marked on the wall with a drywall saw.
- Place the enclosure into the wall opening for a dry fit and mark the four holes for the spiral wall anchors through the mounting flanges. The integrator ca n use any wall anchor of their choice or use the supp lied wall anchors. Level the back box. Remove the back box and install the wall anchors. Pull the cabling through the
wall and back box and pus h it into the opening. Fasten the enclosure to the wall with wall anchors. - On the sides of the face frame, there are four holes (see drawing be low) for attaching the Face Frame to the Back Box with the supplied white pan head machine screws.
- Place the Camera Platform onto the bottom of the Back Box, and screw the platform down with the four flat head machine screws. If using the cable pass-through, thread the cables through the platform.
- Connect the camera system and push the slack in the cabling back into the wall.
- Place the camera on the Camera Platform and secure the camera to the platform with the supplied screws.

HARDWARE WARRANTY
Please see the Vaddio website at support.vaddio.com for the Vaddio Statement of Warranty for all Vaddio Products. The Statement of Warranty covers the policies and procedures of the Hardware Warranty, Exclusions, Customer Service, Technical Support, Return Material Authorizations (RMA), Voided Warranty, Shipping, Handling and Products Not Under Warranty. The Vaddio Warranty Statement supercedes all other published warranty statements here of ore in content and coverages . Vaddio Technical Support can be contacted through the Vaddio website or through e-mail support at support@vaddio.com.


