Table of contents
show
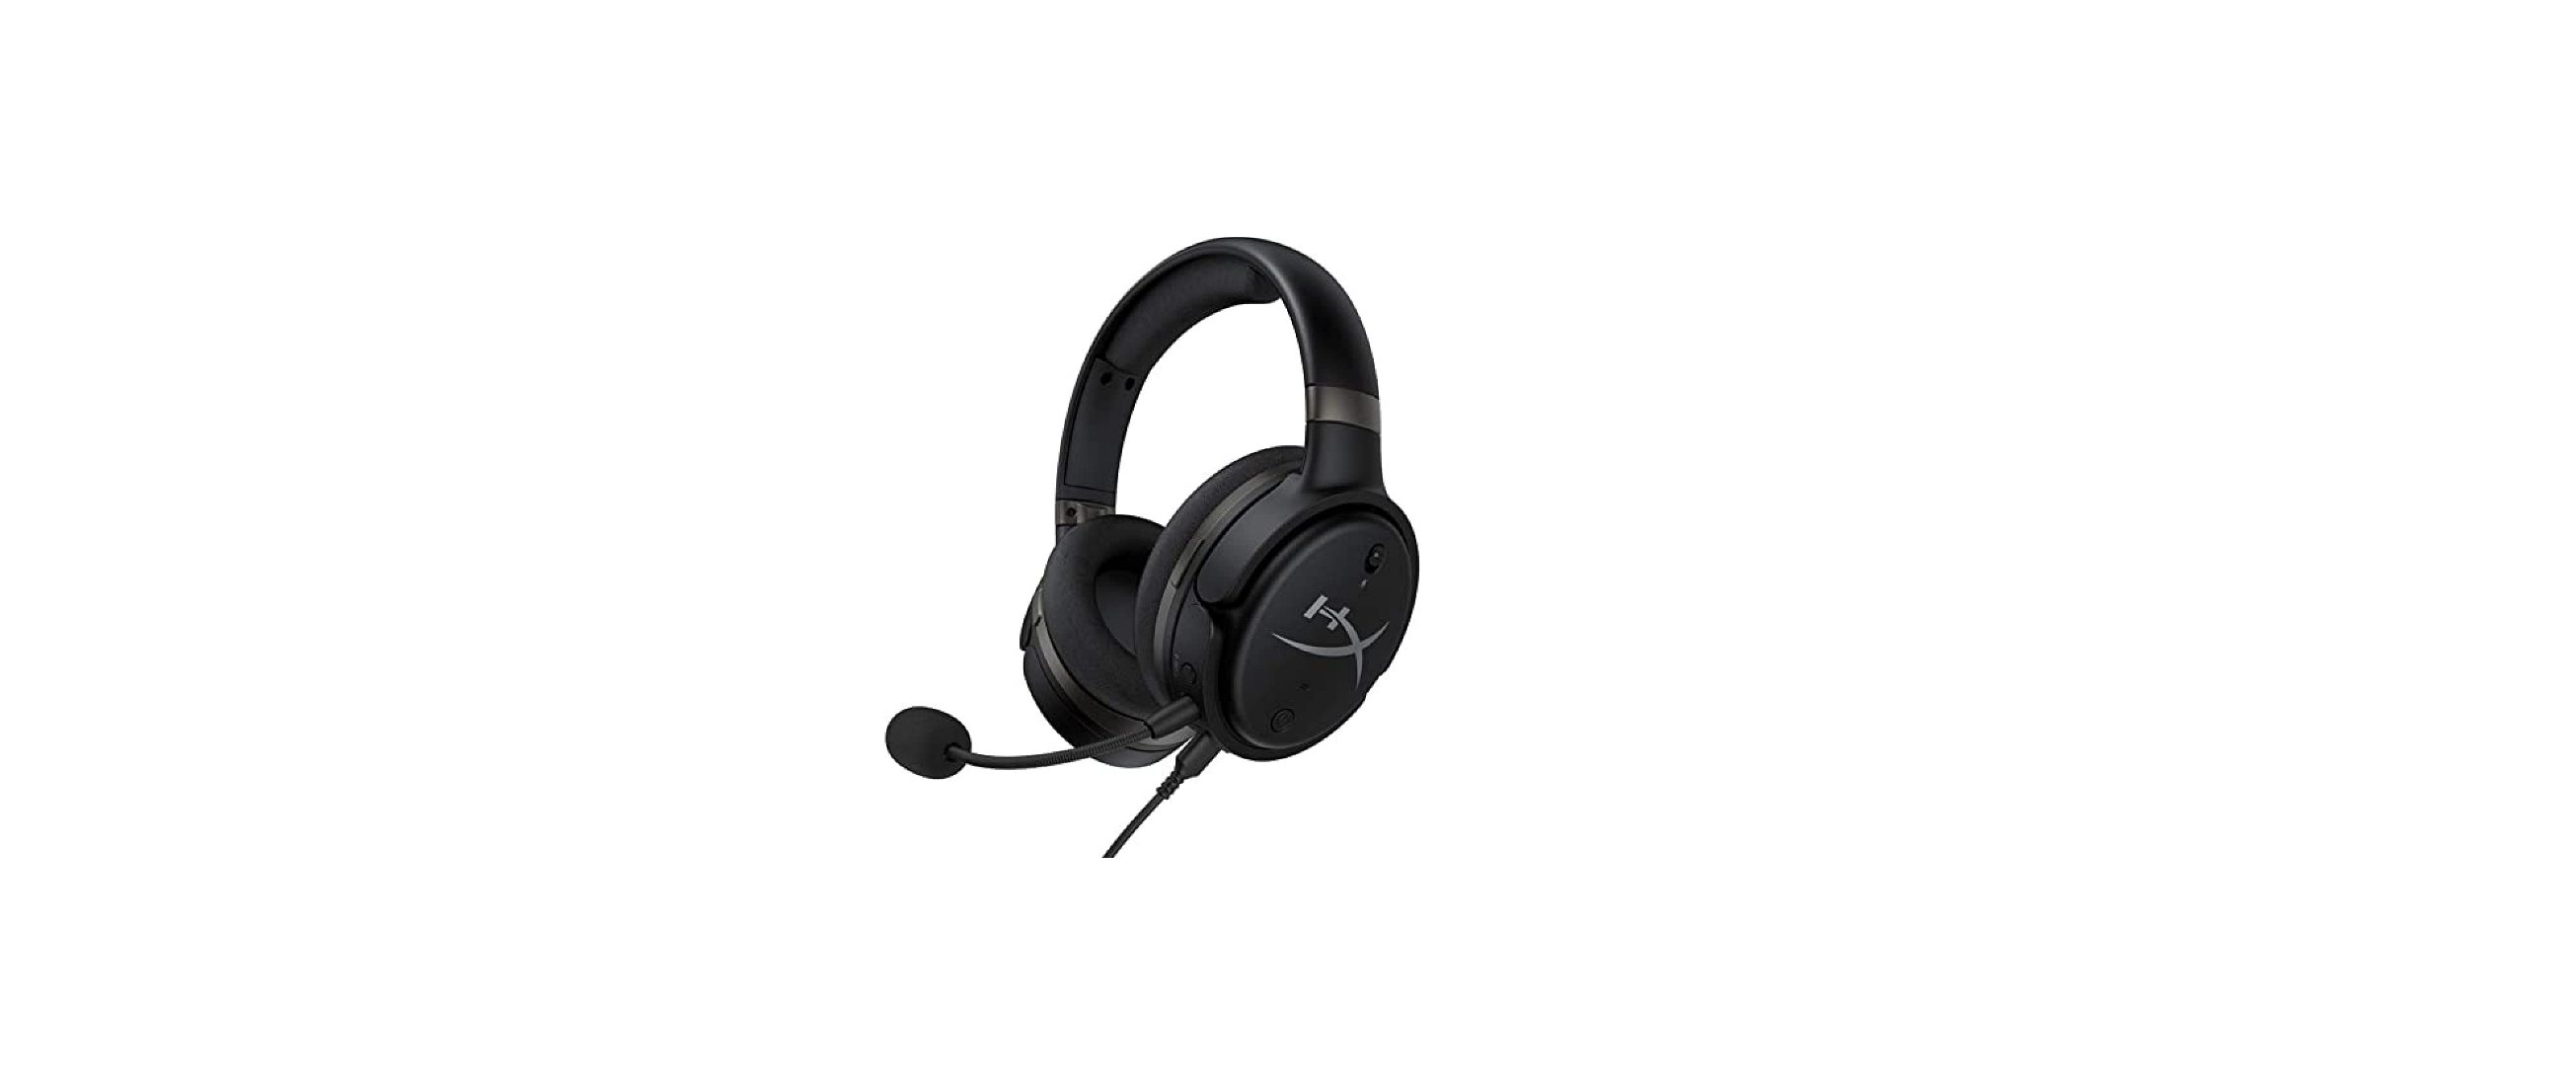
HyperX Cloud Orbit Orbit User Manual

Overview

- A. Microphone mute
- B. Status LED
- C. Power button
- D. 3D button
- E. Microphone port
- F. USB Type-C port
- G. 3.5mm port
- H. Microphone volume wheel
- I. Headphone volume wheel
- J. Detachable boom microphone
- K. USB Type-C to USB Type-A cable
- L. USB Type-C to USB Type-C cable
- M. 3.5mm cable (4-pole)
Specifications
Headphone
- Driver: Planar transducer, 100 mm
- Type: Circumaural, Closed back
- Frequency response: 10Hz–50,000Hz
- Sound pressure level: >120 dB
- T.H.D.: < 0.1% (1 kHz, 1 mW)
- Weight: 368g
- Modes
- Orbit: 3D audio
- Orbit S: 3D audio with head tracking
- Cable length:
- USB Type-C to USB Type-A: 3m
- USB Type-C to USB Type-C: 1.5m
- 3.5mm plug (4-pole): 1.2m
Using the Headset
USB Mode
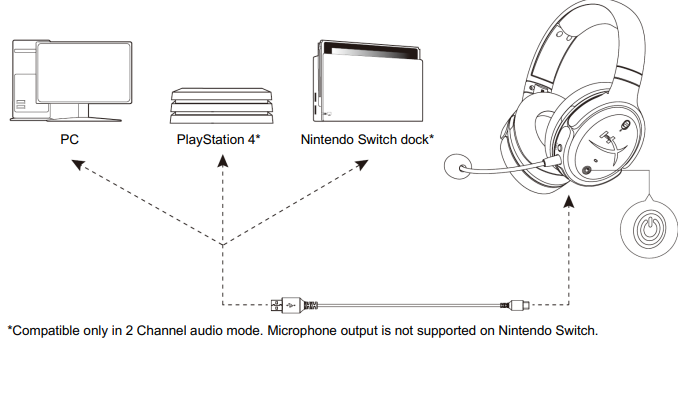
Compatible only in 2 Channel audio mode. The microphone output is not supported on Nintendo Switch.
PC USB Setup
- Power on the headset.
- Connect the headset to the PC with the USB Type-C to USB Type-A cable.
- Right-click the speaker icon > Select Open Sound settings > Select Sound control panel.

- Under the Playback tab, click on “HyperX Cloud Orbit” / “HyperX Cloud Orbit S” and click on Set Default.
- Under the Recording tab, click on “HyperX Cloud Orbit” / “HyperX Cloud Orbit S” and click on Set Default.

PlayStation 4 USB Setup
- Power on the headset.
- Hold down the microphone volume wheel for 2 seconds to change audio modes. Repeat this step until the headset plays the voice prompt “2 Channel”.
- Connect the headset to the PlayStation 4 console with the USB Type-C to USB Type-A cable.
- From the PS4 main menu, go to Settings > Devices > Audio Devices
- Set Input Device to USB Headset (HyperX Cloud Orbit 2Ch) or USB Headset (HyperX Cloud Orbit S 2Ch)
- Set Output Device to USB Headset (HyperX Cloud Orbit 2Ch) or USB Headset (HyperX Cloud Orbit S 2Ch)
- Set Output to Headphones to All Audio
- Set Volume Control (Headphones) to the maximum.

Nintendo Switch USB Setup
- Power on the headset.
- Hold down the microphone volume wheel for 2 seconds to change audio modes. Repeat this step until the headset plays the voice prompt “2 Channel”.
- Connect the headset to the Nintendo Switch dock via the USB Type-C to Type-A cable.
- Hold the HOME button on the controller for 1 second to access the Quick Settings menu.
- Go to the USB volume control and set the level to maximum.
Analog 3.5mm Mode

- Power on the headset.
- Connect the headset to the device’s 3.5mm port with the 3.5mm (4-pole) cable.


